You don’t need a gym to build real strength.
With just your bodyweight and a small patch of floor you can get stronger, more stable, and fitter in about 15 minutes a session.
This post gives a quick no-equipment full body circuit that hits legs, core, upper body, and cardio while keeping form and safety first.
You’ll get beginner, intermediate, and advanced options, warm ups, and a simple weekly plan so you can keep making progress without guesswork.
Ready to start? Here’s the plan.
Quick No Equipment Full Body Routine
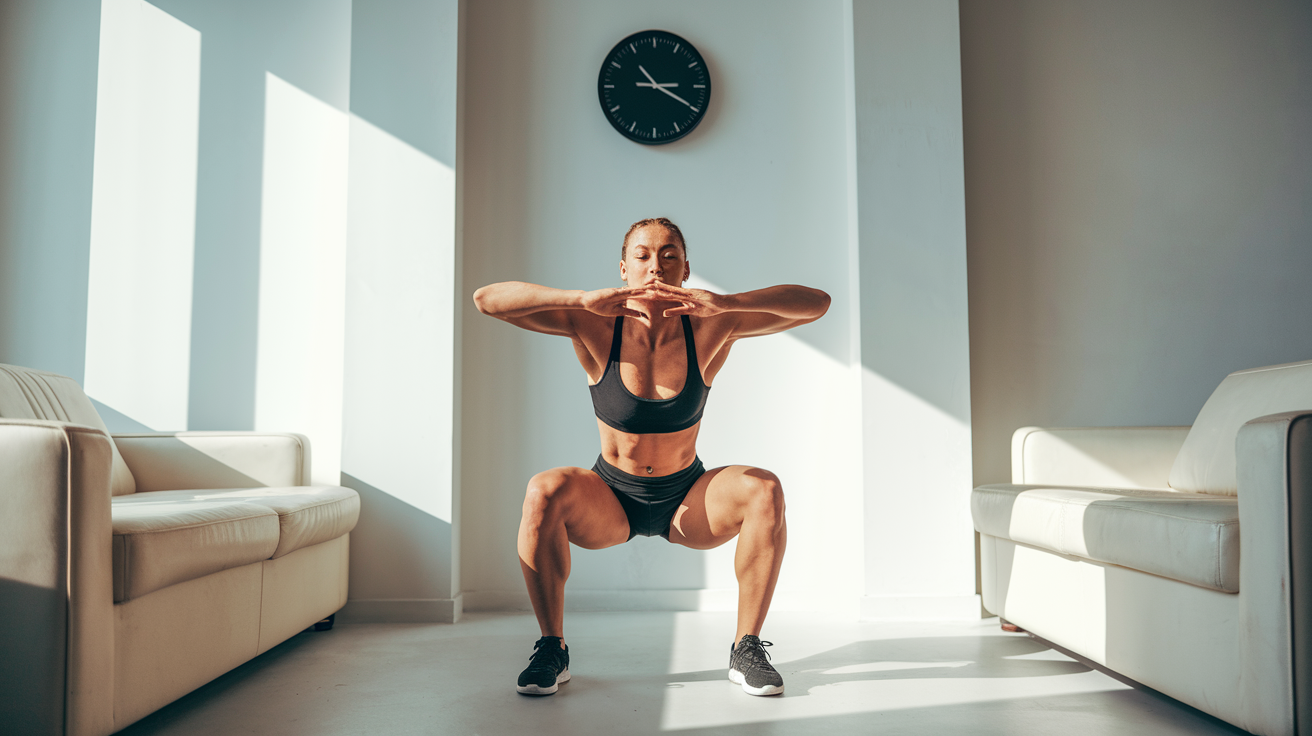
You can build real strength using nothing more than your bodyweight and a small patch of floor. This routine hits legs, core, upper body, and stability in about 15 minutes. Each exercise flows into the next, keeping your heart rate up while your muscles do the work.
Perform each movement with control, rest when needed, and focus on quality reps.
-
Bodyweight Squats – Stand with feet hip width apart, lower until your thighs are parallel to the ground, then drive through your heels to stand. Aim for 15 reps.
-
Push Ups – Start in a plank with hands under shoulders, lower your chest to about 6 inches from the floor, then press back up. If your form breaks, drop to your knees. Perform 10 reps.
-
Walking Lunges – Step forward, drop your back knee until it lightly touches the floor, stand, and repeat on the opposite leg. Do 10 reps per leg for 20 total steps.
-
Plank Hold – Hold a forearm plank with your head in line with your heels, feet together or slightly apart. Maintain a straight line from shoulders to ankles. Hold for 15 to 30 seconds.
-
Glute Bridges – Lie on your back, feet flat and 6 inches from your glutes, press your hips up until your body forms a straight line from shoulders to knees, then lower. Complete 15 reps.
-
Triceps Dips – Sit on the floor in a reverse tabletop, fingers pointing toward your toes, butt lifted 6 inches off the ground. Bend your elbows back, then extend. Do 10 reps.
-
High Knees – Stand tall and drive each knee to hip height, alternating as quickly as you can while staying controlled. Perform for 30 seconds.
-
Jumping Jacks – Jump your feet out wide while raising your arms overhead, then jump back to start. Continue for 30 seconds.
Once you finish all eight exercises, rest for one minute if you need it. Then repeat the entire circuit 2 to 3 times. If you’re pushing hard and keeping rest short, your muscles and lungs will both get the message.
Warm Up Essentials for Safe Training
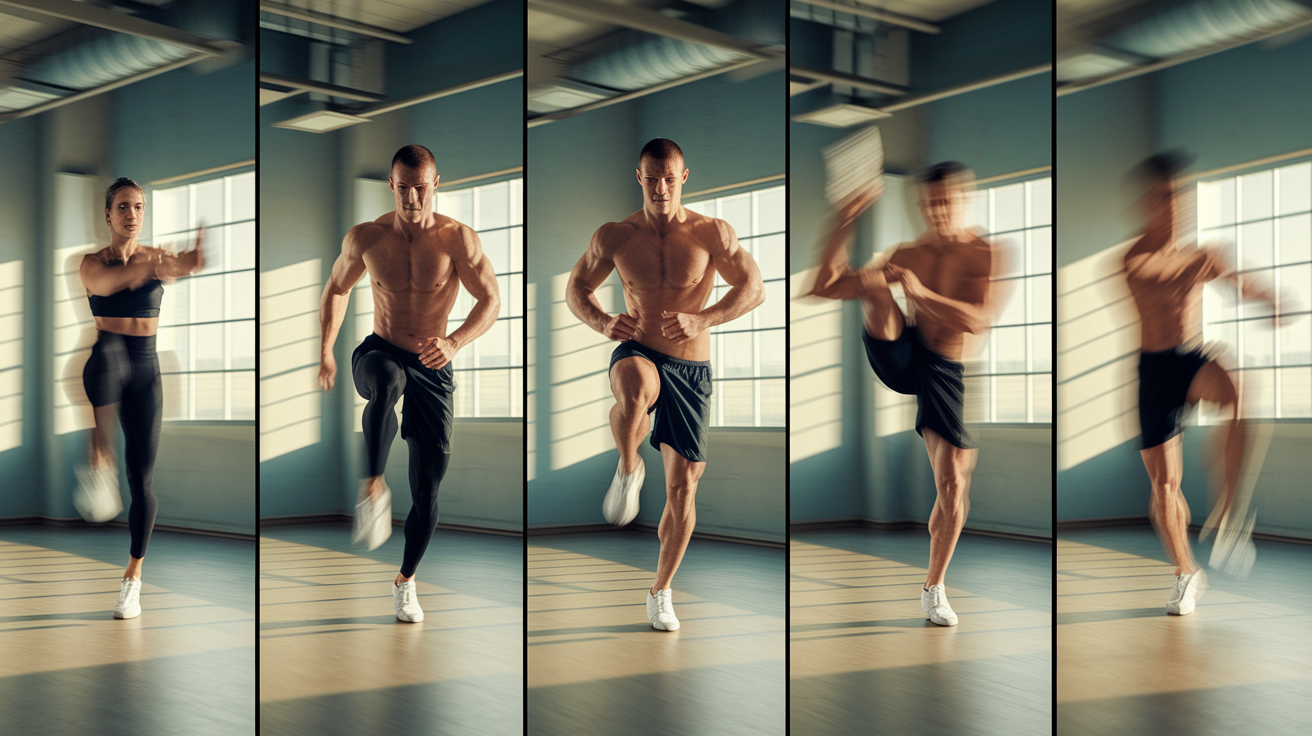
A proper warm up gets blood flowing to your muscles, wakes up your nervous system, and reduces the chance of straining something before you even start the hard work. Skipping this step is how people tweak their backs on the first squat or feel shoulder tightness during push ups.
Here are five simple movements that prepare your body in about 5 minutes:
- Arm Circles – Make big circles forward for 30 seconds, then reverse for 30 seconds.
- Marching in Place – Lift your knees to hip height and swing your arms naturally. Continue for 60 seconds.
- Torso Rotations – Stand with feet shoulder width apart, rotate your upper body side to side while keeping your hips stable. Do this for 30 seconds.
- Leg Swings – Hold a wall or chair for balance, swing one leg forward and back in a controlled arc. Perform 10 swings per leg.
- Bodyweight Good Mornings – Hinge at your hips with a flat back, lower your torso until you feel tension in your hamstrings, then stand. Complete 10 slow reps.
A few minutes of dynamic movement before training helps you perform better during the session and recover faster afterward. Your muscles respond better, your joints feel smoother, and you’ll notice the difference in how you move. Treat this like the first real set of your workout, not an optional extra.
Full Body Exercises and Proper Form Cues
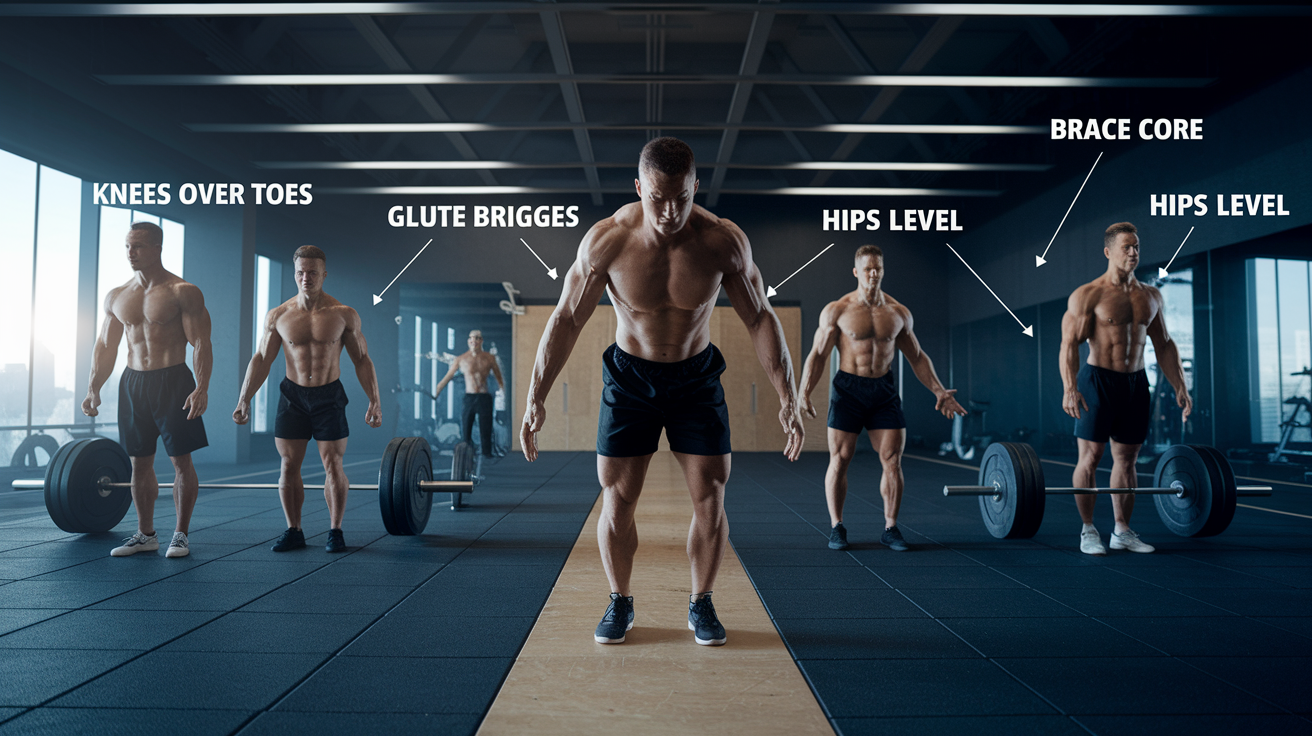
Bodyweight Squats are the foundation of lower body training at home. Stand with your feet hip width apart and your toes pointed slightly out. Keep your chest up, hinge at your hips, and lower until your thighs are parallel to the ground. Drive through your heels to stand. Three cues matter most: keep your knees tracking over your toes, brace your core like someone’s about to poke your stomach, and don’t let your chest collapse forward.
Push Ups build your chest, shoulders, and triceps while forcing your core to stay stable. Start in a plank with your hands just outside your shoulders and your body in a straight line from head to heels. Lower your chest until it’s about 6 inches off the floor, keeping your elbows at roughly 45 degrees from your body, then press back up. The important points: don’t let your hips sag, keep your shoulder blades pulled down and back, and if your form starts breaking, drop to your knees or elevate your hands on a bench.
Glute Bridges target your glutes and hamstrings while protecting your lower back. Lie on your back with your knees bent and feet flat, about 6 inches from your butt. Press your heels into the floor and lift your hips until your body forms a straight line from shoulders to knees. Squeeze your glutes at the top, then lower with control. Key cues: don’t arch your lower back at the top, keep your ribs down, and push through your heels instead of your toes.
Plank Holds train your entire core without flexing or extending your spine. Get into a forearm plank with your elbows under your shoulders and your feet together or slightly apart. Hold your body in a straight line from head to heels, belly button pulled toward your spine. Focus on three things: don’t let your hips drop or pike up, keep your head neutral (not craning up or sagging down), and breathe steadily instead of holding your breath.
Walking Lunges work your quads, glutes, and stabilizers while improving balance. Step forward with one leg and lower until your back knee lightly touches the floor. Both knees should form roughly 90 degree angles. Push off your front foot to stand and step forward with the opposite leg. Form cues: keep your torso upright throughout the movement, track your front knee over your toes, and don’t let your front knee collapse inward.
Single Leg Romanian Deadlifts (using bodyweight or a light household item) challenge your hamstrings, glutes, and balance. Stand on one leg, hinge at the hip, and lower your torso while extending your free leg behind you for balance. Keep a flat back and only go as low as you can without rounding your spine. Important points: maintain a slight bend in your standing knee, keep your hips square to the floor, and control the movement on the way down and up.
Beginner, Intermediate, and Advanced Home Routines
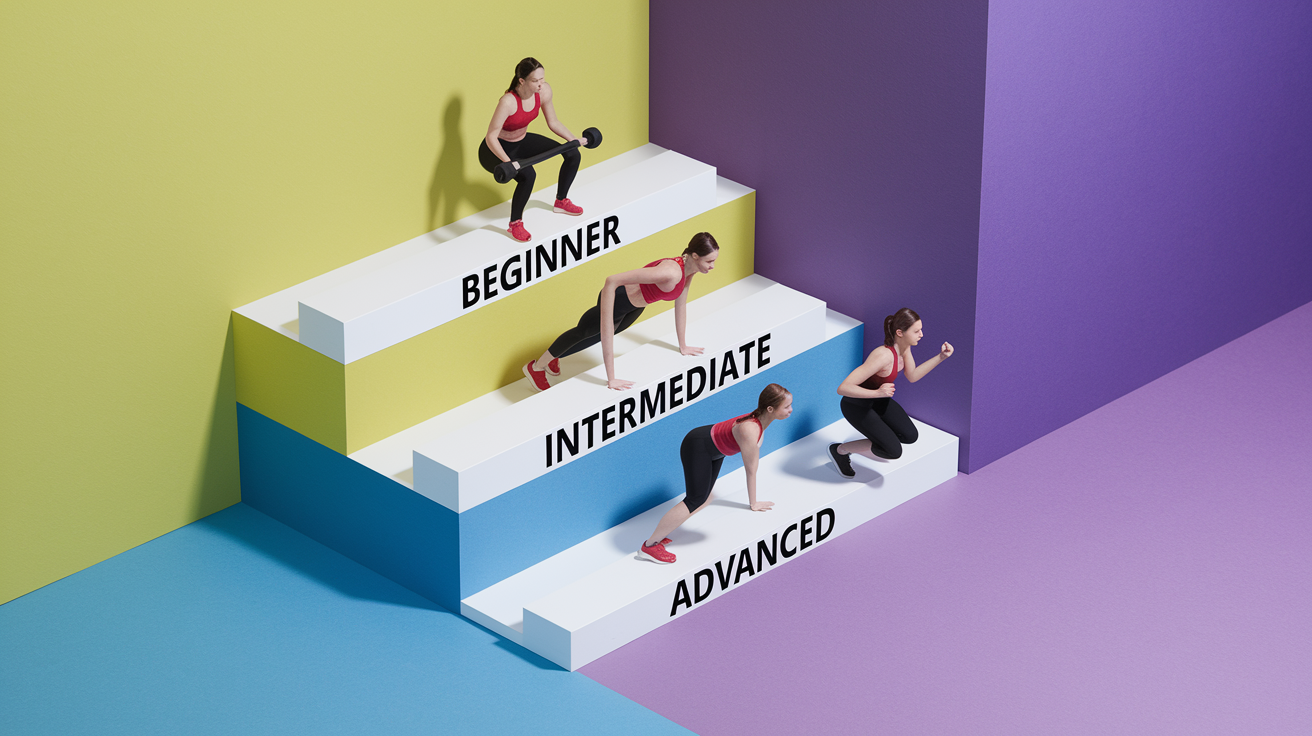
Training at home works for everyone, but the routine you follow depends on where you’re starting. If you’re new to training or coming back after a break, you need a plan that builds foundational strength without wrecking you. If you’ve been consistent for a while, you’ll want higher volume and harder variations. And if you’re already strong, you’ll need creative ways to keep progressing without a barbell.
Beginner Routine
This plan focuses on learning movement patterns and building work capacity. Perform 2 to 3 rounds with rest as needed between circuits. If one circuit feels hard, that’s fine. Track your performance and aim to add one rep next session.
- Assisted Bodyweight Squats – Hold a stable surface like a countertop or doorframe for balance. Lower slowly and stand. Do 12 reps.
- Wall Push Ups – Place your hands on a wall at chest height, lean in, and press back. Complete 10 reps.
- Glute Bridges – Lie on your back, press your hips up, hold briefly at the top, then lower. Perform 12 reps.
- Knee Plank Hold – Hold a plank position with your knees on the ground and your body straight from knees to head. Maintain for 20 seconds.
- Supported Lunges – Hold a wall or chair for balance while stepping back into reverse lunges. Do 8 reps per leg.
Intermediate Routine
At this level, you can handle more reps, shorter rest, and unassisted movements. Aim for 3 rounds with 30 to 60 seconds of rest between circuits.
- Bodyweight Squats – Feet hip width, lower to parallel, drive through heels. Complete 20 reps.
- Standard Push Ups – Full plank position, lower chest to 6 inches from the floor, press up. Do 15 reps.
- Walking Lunges – Step forward, drop back knee to the floor, alternate. Perform 12 reps per leg.
- Plank Hold – Forearm plank, body straight from head to heels. Hold for 30 seconds.
- Single Leg Glute Bridges – Press one leg up at a time, keeping hips level. Do 10 reps per side.
Advanced Routine
Advanced variations increase time under tension, add explosive movements, and demand better control. Perform 3 to 4 rounds with minimal rest. Track reps and aim for progressive overload each week.
- Jump Squats – Lower into a squat, explode up into a jump, land softly, and repeat. Do 15 reps.
- Decline Push Ups – Elevate your feet on a chair or step, lower your chest, press up. Complete 12 reps.
- Bulgarian Split Squats – Rear foot elevated on a chair, lower until your front thigh is parallel. Perform 10 reps per leg.
- Plank to Push Up – Start in a forearm plank, press up to a high plank one hand at a time, then lower back down. Do 10 total transitions.
- Single Leg Romanian Deadlifts – Hinge on one leg, extend the free leg behind you, maintain a flat back. Complete 10 reps per side.
Weekly Training Schedules for Results
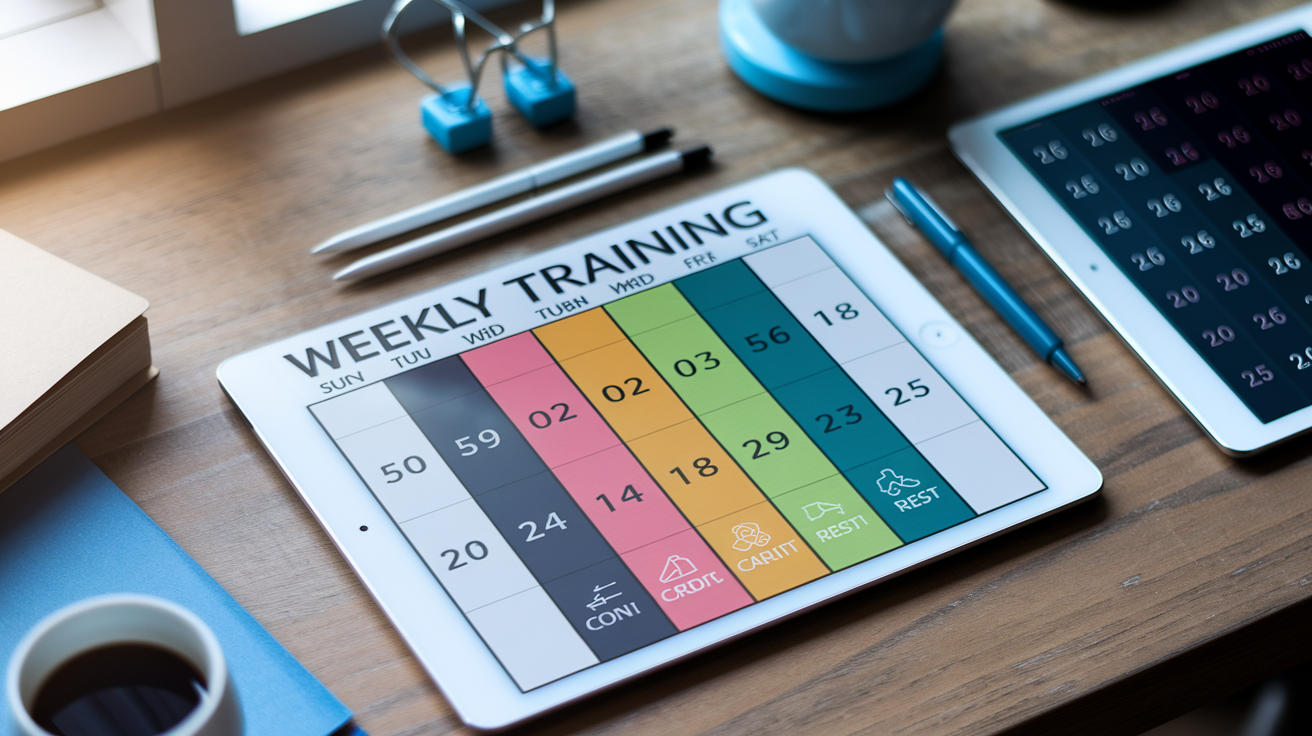
Consistency beats intensity when you’re building strength at home. Training 3 to 5 days per week gives your muscles enough stimulus to adapt without leaving you too sore to move. Rest days matter just as much as work days because growth happens during recovery, not during the workout.
Here’s a practical weekly schedule that balances full body strength, active recovery, and rest:
| Day | Focus | Duration |
|---|---|---|
| Monday | Full body strength circuit | 20 to 30 minutes |
| Tuesday | Walk, yoga, or light stretching | 20 to 30 minutes |
| Wednesday | Full body strength circuit | 20 to 30 minutes |
| Thursday | Active recovery or rest | Optional 15 to 20 minutes |
| Friday | Full body strength circuit | 20 to 30 minutes |
| Saturday | Interval training or longer walk | 25 to 35 minutes |
| Sunday | Complete rest | — |
If you’re just starting, 2 to 3 strength sessions per week is enough. Add a fourth session once you can complete your routine without excessive soreness the next day. For intermediate and advanced trainees, 4 to 5 sessions work well when you rotate between full body, upper body focus, and lower body focus days.
Space your strength workouts so you have roughly 48 hours between sessions that target the same muscle groups. If you trained hard on Monday, Tuesday should be lighter movement like walking or stretching. This pattern keeps you active without piling stress on fatigued muscles. Recovery isn’t optional. It’s part of the plan.
Safety and Injury Prevention Tips
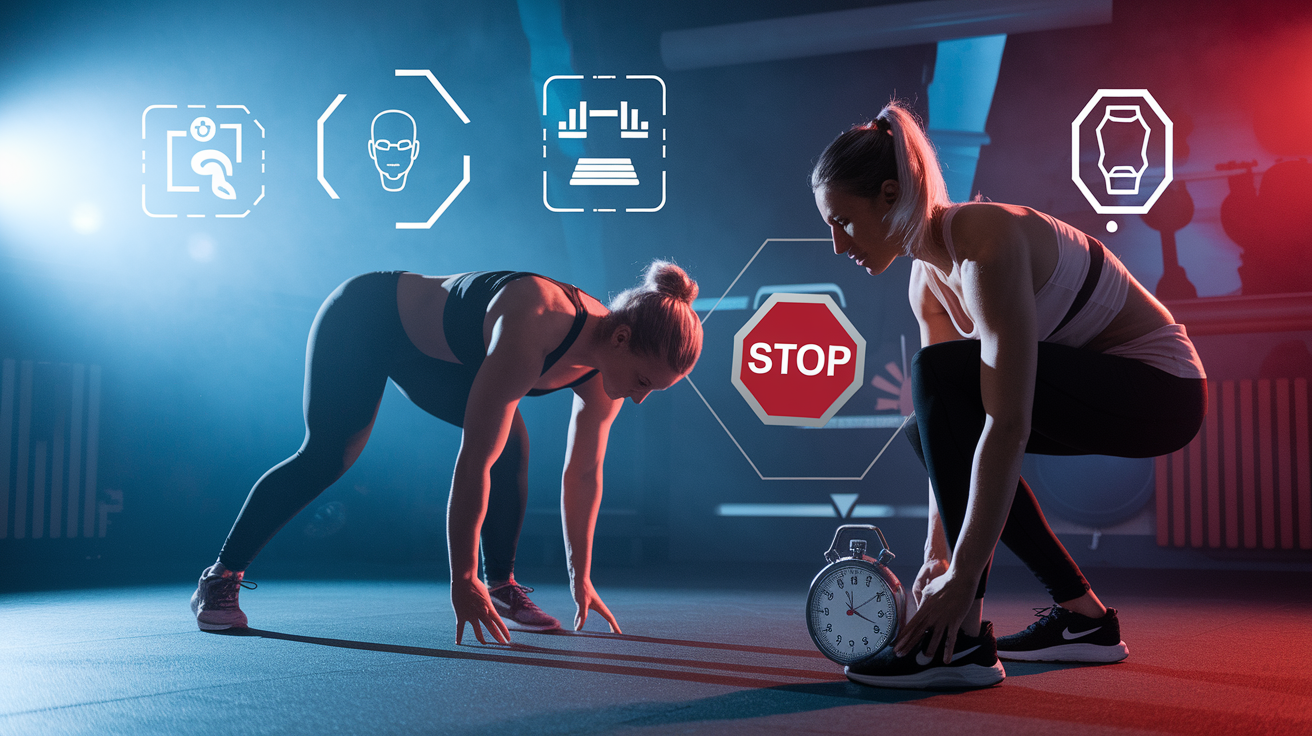
Training at home gives you freedom, but it also means you’re responsible for your own coaching. Most injuries happen when people rush through reps, ignore discomfort, or skip the basics like warming up. A sore muscle is normal. Sharp pain in a joint is not.
Here are four safety rules that keep you training without setbacks:
- Prioritize form over reps. If your technique breaks down halfway through a set, stop. Rest, reset, and finish with quality reps instead of grinding through sloppy ones.
- Use a stable surface. Soft couches, wobbly chairs, and slippery floors increase injury risk. Train on a firm, flat surface where your hands and feet won’t slide.
- Stop if you feel sharp pain. Muscle fatigue and burning are normal. Pain in your knees, wrists, lower back, or shoulders is a signal to stop, assess, and regress the movement.
- Warm up every session. Five minutes of movement prep is cheaper and faster than dealing with a pulled muscle.
If a movement doesn’t feel right, there’s usually a reason. Maybe your mobility isn’t there yet, maybe you’re fatigued, or maybe the exercise isn’t a good fit for your body right now. That’s fine. Swap it for a variation that works. Training at home without pain or injury is how you stay consistent long enough to see real results.
Cooldown and Recovery at Home
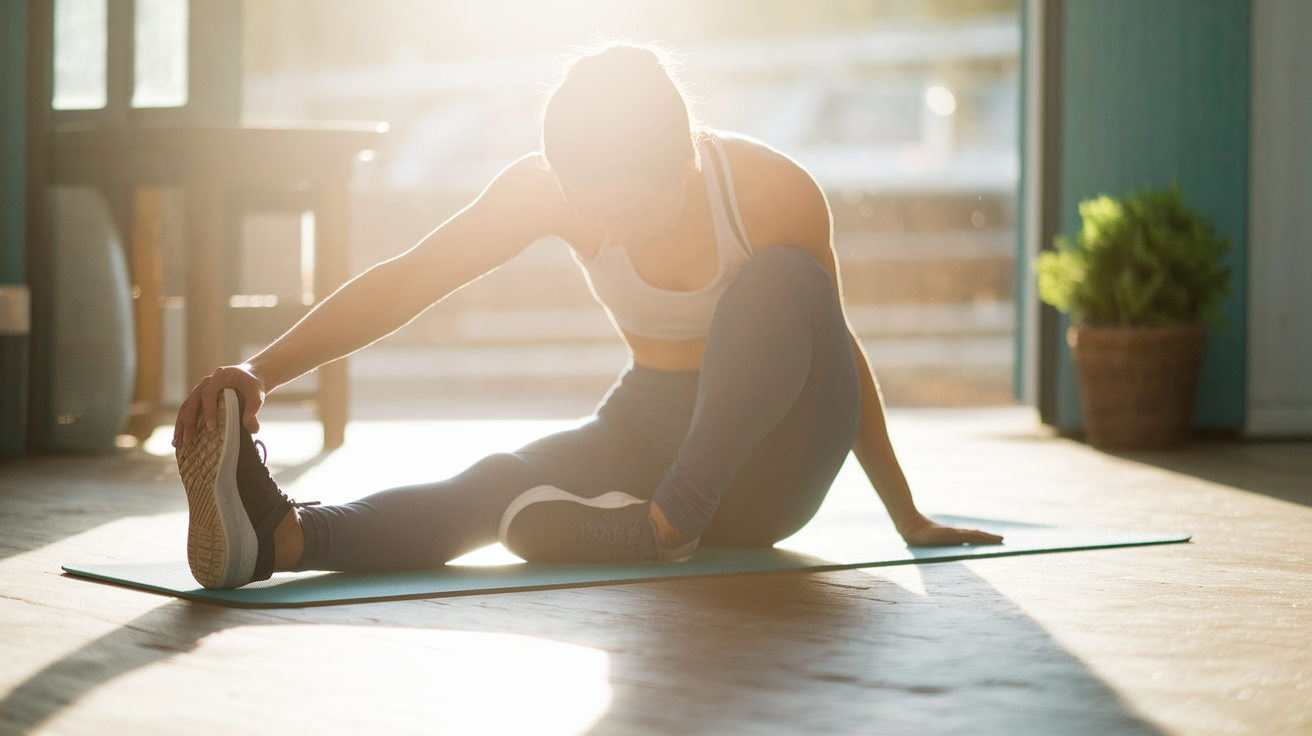
Your workout isn’t finished when you complete your last rep. A proper cooldown brings your heart rate down gradually, reduces muscle tightness, and helps your nervous system shift out of work mode. Skipping this step won’t ruin your progress, but adding it makes the next session feel smoother.
Spend 5 to 8 minutes stretching the muscle groups you just worked. Hold each stretch for 20 to 30 seconds and breathe slowly.
- Hamstring Stretch – Sit on the floor with one leg extended, reach toward your toes, keep your back flat. Hold for 30 seconds per leg.
- Quad Stretch – Stand on one leg, pull your opposite heel toward your glute, keep your knees together. Hold for 30 seconds per side.
- Chest Doorway Stretch – Place your forearm on a doorframe, step forward slightly until you feel a stretch across your chest and front shoulder. Hold for 30 seconds per side.
- Child’s Pose – Kneel on the floor, sit your hips back toward your heels, extend your arms forward, and relax your forehead to the ground. Hold for 45 to 60 seconds.
- Hip Flexor Stretch – Kneel on one knee with your other foot forward in a lunge position, push your hips forward gently until you feel a stretch in the front of your hip. Hold for 30 seconds per side.
Stretching while your muscles are still warm improves flexibility over time and reduces soreness the next day. You don’t need to spend 20 minutes on this. A few minutes of intentional stretching after each session is enough to notice the difference. Recovery also includes sleep, hydration, and eating enough protein to support muscle repair. Cooldowns are just one piece, but they’re a piece most people skip for no good reason.
Final Words
Start with the quick no-equipment circuit: eight simple bodyweight moves you can do now. Warm up with dynamic drills, use the form cues for squats, push-ups, planks and bridges, and pick the routine that fits your level, beginner, intermediate, or advanced.
Follow the weekly schedule, mind the safety tips, and finish with the cooldown stretches to recover right.
This plan gives a clear, repeatable path to progress. Do this full body workout at home a few times weekly, and you’ll feel stronger and more confident. Steady wins.
FAQ
Q: What is the best full-body home workout?
A: The best full-body home workout is a bodyweight circuit that hits all major muscles: squats, push-ups, lunges, glute bridges, planks, hip hinges, and short cardio bursts. Do 30–45 seconds per move, 2–4 rounds.
Q: What is the 3 3 3 rule for working out?
A: The 3-3-3 rule for working out is a simple consistency guide: do three workouts per week for three weeks, then reassess and safely raise frequency or intensity if you’re ready.
Q: What exercise is best for high blood pressure?
A: The best exercise for high blood pressure is regular moderate aerobic activity—brisk walking, cycling, or swimming—about 30 minutes most days. Check with your healthcare provider before starting or changing exercise.
Q: What gym equipment is best for osteoarthritis?
A: The best gym equipment for osteoarthritis is low-impact gear: stationary bike, elliptical, rowing machine, resistance bands, and cable machines for controlled strength work with light loads and pain-free range of motion.