
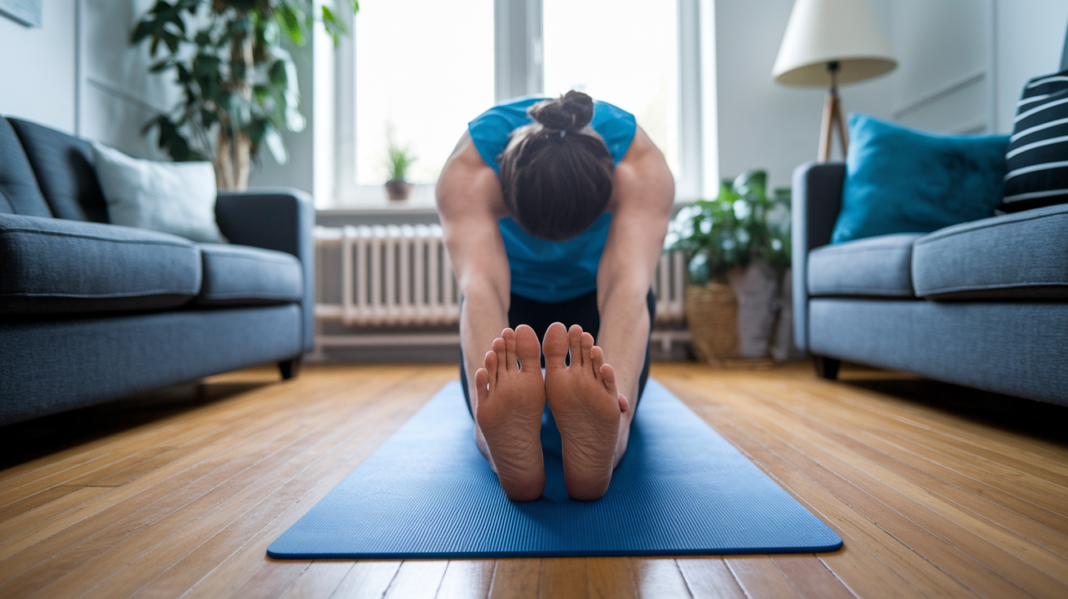
What if your lower back pain isn’t a back problem at all?
It’s often a movement problem, with tight hips and weak glutes making the spine do the work.
This simple routine pairs mobility drills that free hips and thoracic rotation with strength moves to rebuild glutes, hamstrings, and the deep core.
Do it twice a week and add 10 to 15 minutes of daily mobility to teach your body to share the load instead of dumping stress on a few discs.
You’ll get a practical, sustainable plan that protects your spine and fits busy lives.
A Practical Routine Combining Mobility and Strength for Lower Back Pain Relief
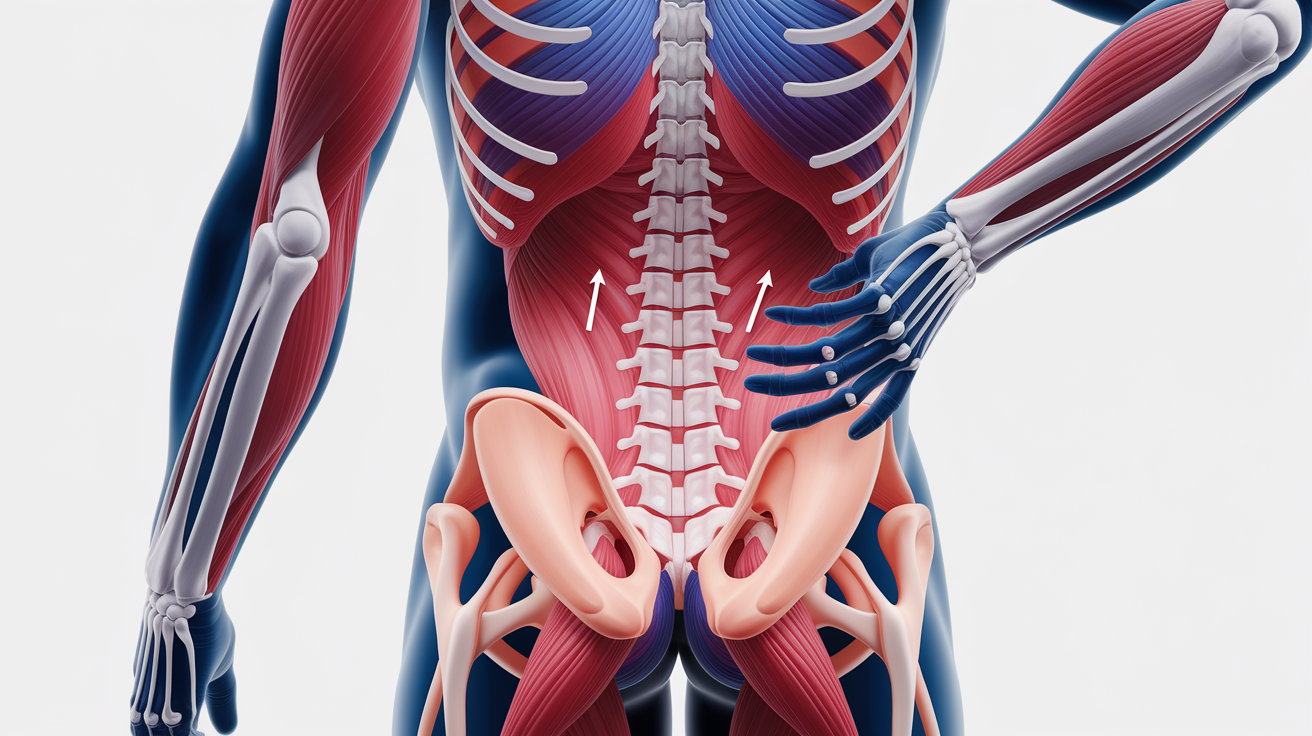
Mobility work paired with strength training takes pressure off your lumbar spine. Mobility drills loosen up tight spots in your upper back and hips so your lower back doesn’t overcompensate. Strength work rebuilds the glutes, hamstrings, and deep core muscles that should be sharing the load. When everything fires properly, each movement gets distributed more evenly instead of dumping stress onto a few vertebrae.
You’re targeting four main areas: glutes (which extend your hip and take load off the spine when you lift), deep abs (which brace and protect each segment), hamstrings (which control pelvic tilt and cut down on forward shear), and hip flexors (which, when tight, yank your lower back into too much arch). Research backs this up. Stronger glutes during a squat or bridge keep your spine neutral instead of rounded or hyperextended.
Start with two sessions per week minimum. Once severe pain calms down, you can toss in short daily gentle sessions (10 to 15 minutes of easy mobility and light activation). A lot of people feel initial relief within one or two weeks if they stick to the schedule. Consistency matters more than working harder.
Here’s the weekly breakdown:
- Mobility warm-up. 5 to 10 minutes of dynamic spinal and hip movements before you load anything.
- Core strengthening moves. Four main exercises (Pelvic Tilts, Knee-to-Chest, Bridges, Bird Dogs) done at prescribed doses. 5 to 10 reps to start, building toward 10 to 20 over time.
- Daily movement. Light walking, standing breaks, or gentle stretching between training days to keep your back mobile.
- Gentle stretches. Static holds of 30 to 60 seconds for hip flexors and hamstrings to counter postural tightness.
- Recovery basics. One active recovery day per week (easy walking or low-intensity mobility only) plus the option to use heat, cold, or OTC pain relievers during early flare-ups.
Mobility Exercises Supporting a Sustainable Lower Back Routine

Mobility work restores controlled range across your upper back, hips, and lumbar segments. When these joints move freely, your body uses the right areas for rotation, flexion, and extension instead of forcing everything through a few overworked vertebrae. That controlled range also improves posture by teaching your nervous system where neutral feels normal again. Think of mobility as rehearsal for real-world movements (bending, twisting, reaching) that used to hurt.
These exercises double as a warm-up before you add load. Moving through gentle ranges with focused breathing increases synovial fluid production, raises local tissue temperature, and primes stabilizing muscles for the work ahead. You’re not just stretching. You’re waking up the right patterns and dialing down the compensations.
Here are the three core mobility moves:
Child’s Pose. A 30- to 60-second hold that gently opens your lower back, hips, and shoulders while encouraging diaphragmatic breathing.
Thoracic Rotations. 10 to 15 reps per side to restore upper back rotation and reduce compensatory strain on the lumbar spine.
Lumbar Rotations. 6 alternating reps per side to reintroduce controlled spinal movement and release tension in the glutes and lower back.
Strength Training Movements That Build Spinal Stability
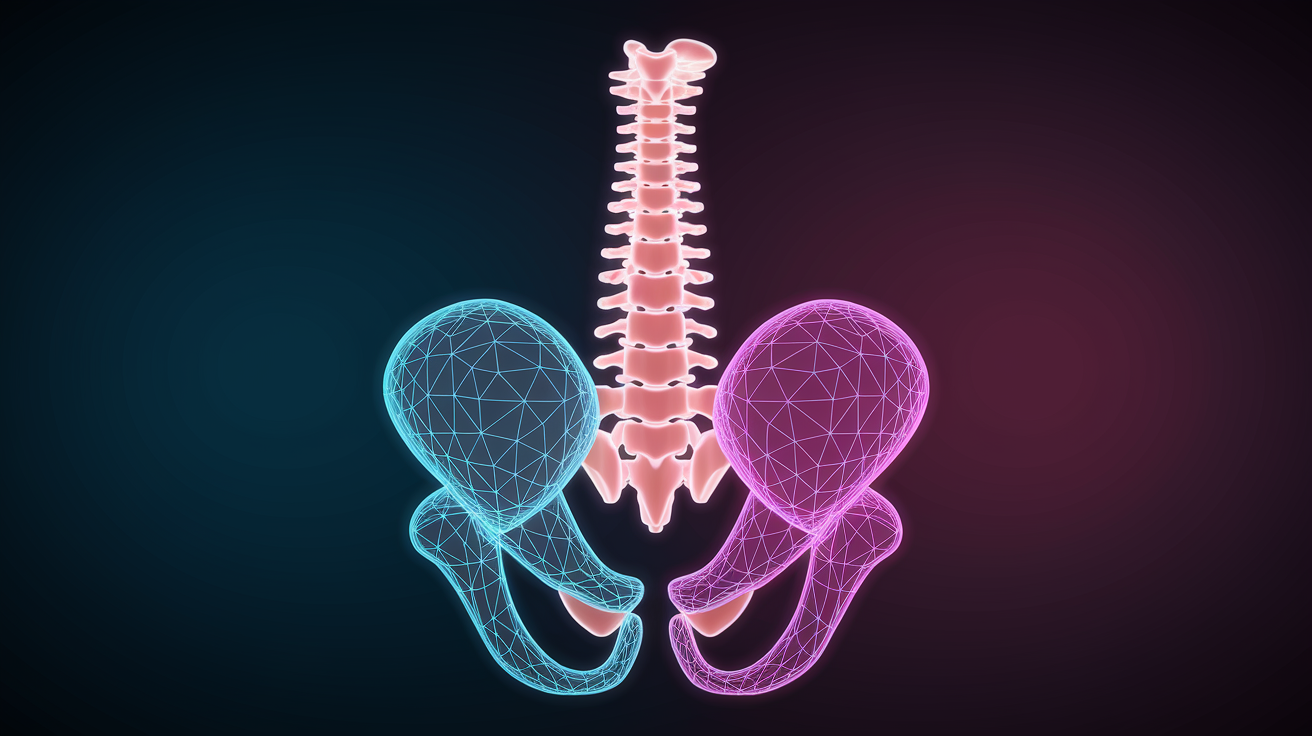
Most chronic lower back pain comes from muscle imbalances. Your glutes are weak or underactive, so hamstrings and lower back take over during hip extension. The transverse abdominis (your deep core belt) doesn’t fire on time, so lumbar erectors work overtime to stabilize your trunk. The multifidus (a small muscle running along each vertebra) shrinks after an injury, leaving segments vulnerable to shear and rotation forces.
Strength work rebuilds these support systems. Well-trained glutes offload the spine during squats, deadlifts, and even standing. A strong transverse abdominis and multifidus create an internal brace that resists unwanted movement. Over weeks and months, this shifts the load away from passive structures (discs, ligaments, facet joints) and onto active muscle. Pain drops because your tissues aren’t being asked to do jobs they weren’t designed for.
Safety comes first. Keep a neutral spine during every rep (a straight line from head to tailbone, not arched or rounded). Control the tempo. Lower slowly, pause at the hardest point, and lift with intention. Brace by gently drawing your lower ribs toward your pelvis before each movement. That small contraction activates the deep stabilizers and protects the spine under load.
Pelvic Tilts for Deep Core Activation
Pelvic tilts teach your body to move the lumbar spine through posterior tilt (flattening the low back into the floor) using the abs and glutes instead of passive momentum. This activates the transverse abdominis and builds awareness of neutral versus tilted positions. Low load, but it wakes up stabilization patterns that often go offline after injury or prolonged sitting.
Bridges for Glute and Hamstring Strength
Bridges train the glutes and hamstrings to extend the hip while the spine stays locked in neutral. You need this movement pattern for walking, lifting, and standing without dumping stress into the lumbar discs. Stronger glutes mean better load distribution during everyday tasks and less compensatory strain on the lower back.
Bird Dogs for Anti-Rotation Stability
Bird dogs challenge your ability to resist rotation and extension while moving your limbs. This builds coordination between the core, glutes, and shoulder stabilizers. The exercise mimics real-world demands (reaching, twisting, carrying) and improves balance, making it harder for unexpected movements to catch your back off guard.
Technique Cues and Form Guidelines for Pain-Free Movement Patterns
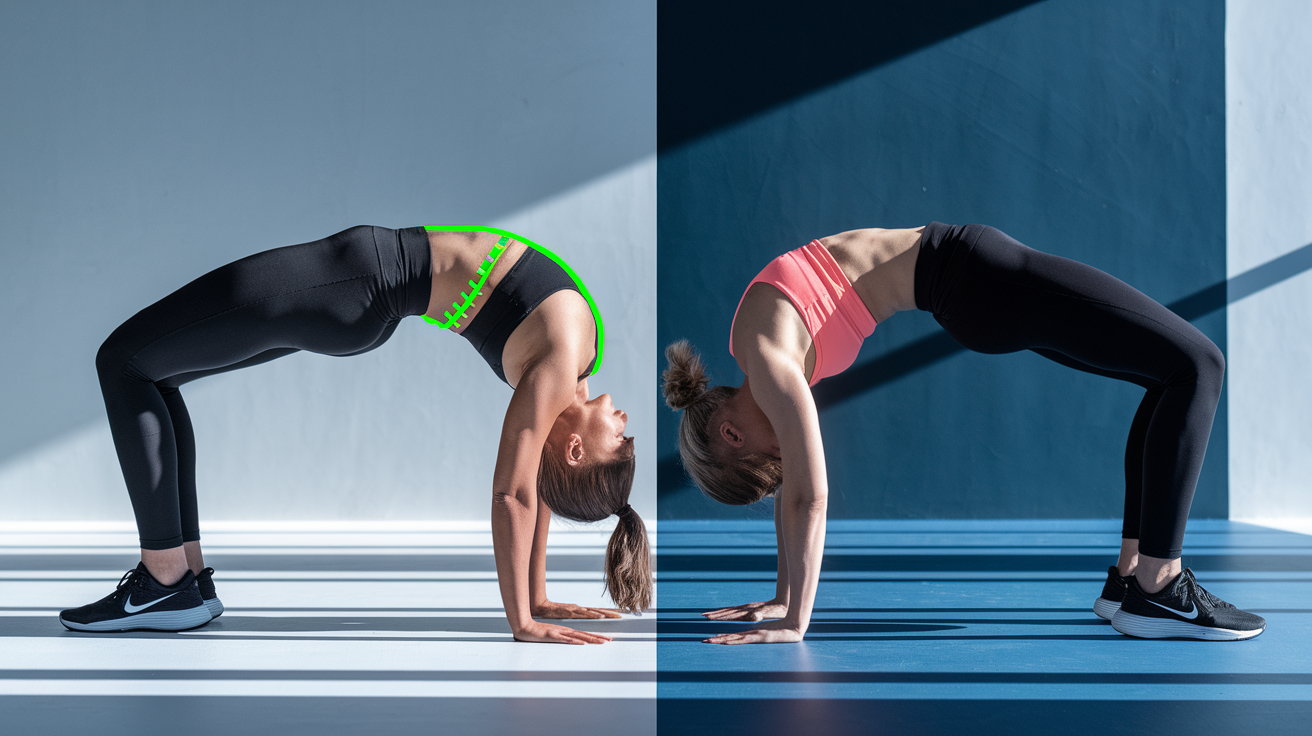
Neutral spine means your lumbar curve is present but not exaggerated. Picture a straight edge resting on your tailbone, sacrum, and the back of your head all at once. That alignment protects discs and facet joints from shear and compression forces. Breathing control matters just as much. Exhale during effort (the lift or push phase) to engage the diaphragm and pelvic floor as part of your core brace. Holding your breath creates pressure but bypasses the stabilizers you’re trying to train.
Tight hip flexors pull the pelvis into anterior tilt, which forces the lower back into excessive arch (lordosis). Short hamstrings do the opposite, dragging the pelvis into posterior tilt and rounding the lumbar spine during bending. Both patterns overload the discs and facet joints. Improving flexibility in these two groups restores a balanced pelvis and lets the lumbar spine sit in a safer position during movement and rest.
| Movement Fault | Corrective Cue |
|---|---|
| Excessive arching during bridge or plank | Squeeze glutes and gently tuck pelvis to flatten the curve. Imagine pulling your front hip bones toward your ribs. |
| Breath-holding during holds or lifts | Exhale slowly through pursed lips during the hardest part of the movement. Keep a steady rhythm instead of gasping. |
| Hip shift to one side during single-leg work | Keep your belt buckle facing forward and press evenly through both sit bones. Engage the lateral glutes to prevent drift. |
Weekly Structure for a Sustainable Strength and Mobility Routine
Balancing recovery with frequency is the difference between a program you can maintain and one that burns you out or flares symptoms. Training four to six times per week gives your body enough stimulus to adapt without piling on fatigue. If you prefer shorter, more frequent sessions, you can split the routine into two 10- to 15-minute blocks each day (morning mobility, evening strength). If you like longer blocks, aim for 20 to 30 minutes blending all components in one session. Both work as long as you stay consistent.
Consistency beats intensity when you’re managing chronic pain. Your nervous system needs repeated exposures to pain-free movement patterns to rewire protective guarding reflexes. Showing up regularly (even on days when motivation is low) builds trust between your brain and your back. You’re proving through action that these movements are safe, and over time the fear-avoidance cycle weakens.
Active recovery doesn’t mean sitting on the couch. It means moving gently without adding load or pushing range. A 20-minute walk, easy stretching, or a few minutes of pelvic mobility keeps blood flowing and prevents stiffness without taxing your recovery systems. Use one day per week for this lighter work, especially if you’ve done four to six full sessions already.
Here’s a simple four-step weekly structure:
Days 1 through 6. Perform the blended mobility and strength routine (20 to 30 minutes per session, or split into two shorter blocks). Include all core exercises at prescribed reps and holds.
Day 7. Active recovery only. Walk for 15 to 30 minutes, do gentle hip and hamstring stretches, or practice breathing and light pelvic tilts. No strength work.
Week-to-week progression. Increase reps by two to five, extend hold times by a few seconds, or add a second set once the current volume feels manageable and pain-free.
Track weekly. Note pain levels (0 to 10 scale), movement quality, and any new symptoms. Adjust volume or intensity if symptoms spike.
Progression Guidelines for Building Mobility and Strength Safely
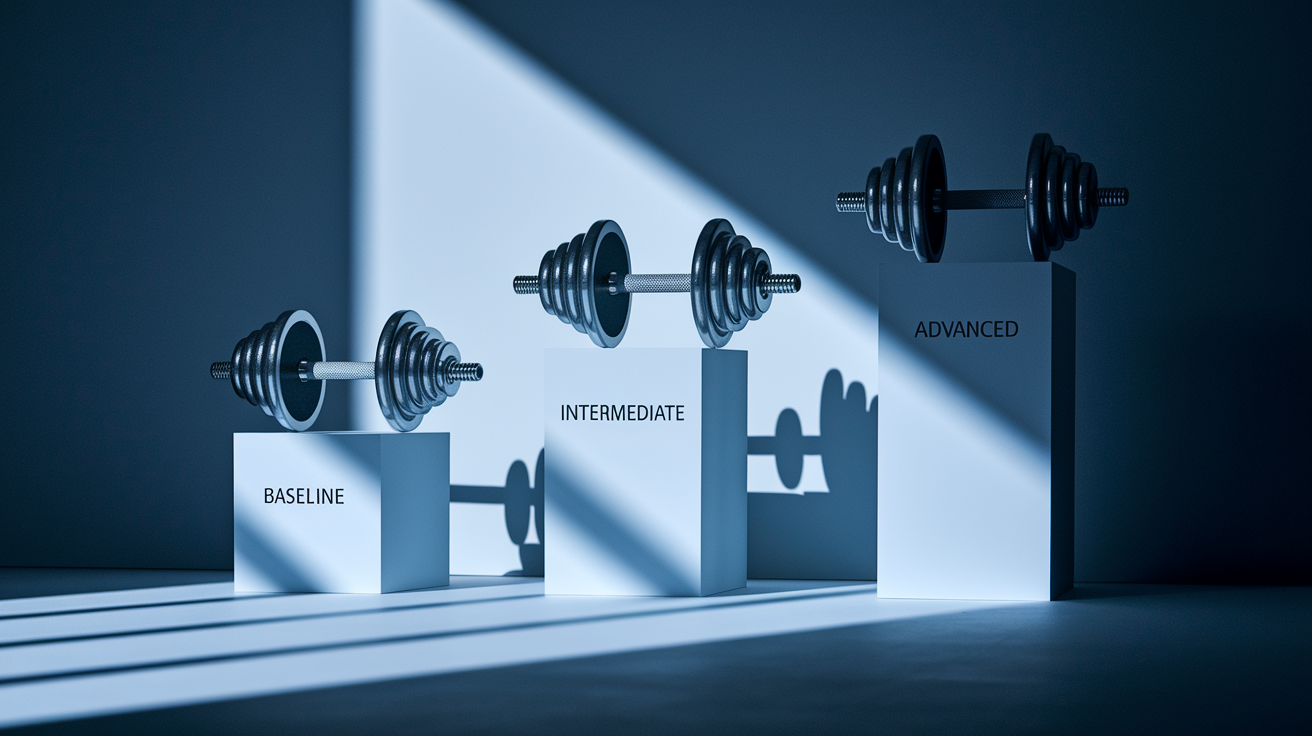
During the first few weeks, your body adapts through neural changes (better coordination, muscle firing patterns, and movement control) rather than new muscle growth. This is why you can feel stronger and move more confidently even before visible size changes. Start at the lower end of the prescribed ranges (5 reps, 5-second holds) if you’re dealing with acute or moderate pain. Once those doses feel easy and pain remains stable or improves, add two to five reps per week or extend holds from 5 seconds toward 10 to 30 seconds.
Longer-term progression follows a volume-to-unilateral-to-resistance sequence. First, increase total reps and sets (moving from 1 set of 10 to 2 sets of 15, for example). Next, introduce single-leg or single-arm variations (single-leg bridges, single-arm bird dogs) to challenge balance and anti-rotation strength. Finally, after four to eight weeks of pain-free training, add light resistance like a band around your knees during bridges or a small weight held during bird dogs. Each stage builds on the last. Skipping steps invites flare-ups.
Here are the three progressive stages:
Baseline (weeks 1–2). 5 to 10 reps per exercise, 5-second holds, twice weekly. Focus on form and breathing. Stop if pain worsens.
Intermediate (weeks 3–6). 10 to 15 reps, 10-second holds, three to four sessions per week. Add a second set when the first set feels easy. Introduce single-limb variations if balance is stable.
Advanced (weeks 7+). 15 to 20 reps, 15- to 30-second holds, four to six sessions per week. Use light bands or ankle weights. Maintain perfect form. Keep one recovery day weekly.
Modifications and Safety Measures for Different Pain Levels

When symptoms are mild, you can usually complete the full program as written (10 to 20 reps, prescribed hold times, standard range of motion). Your body tolerates load and movement without significant discomfort, so the focus is steady progression and building resilience over weeks.
Moderate pain calls for scaling down. Cut reps and hold times in half (5 to 10 reps instead of 10 to 20, 5-second holds instead of 10). Reduce range of motion so you stay within a pain-free window. Lower your knees only halfway to the floor during lumbar rotations, or lift your hips just two to three inches during bridges. Perform sessions once daily instead of twice, and avoid any exercise that increases symptoms during or immediately after. If pain stays moderate or worsens after one week of modified training, consult a physiotherapist or exercise professional.
Severe pain or radiating leg symptoms (numbness, tingling, shooting pain down the back of the thigh) require clinical guidance before you begin any exercise routine. These signs can indicate nerve compression (sciatica, lumbar stenosis, herniated disc) that may be aggravated by certain movements. A physiotherapist can prescribe targeted mobility work that decompresses the affected nerve while avoiding positions that worsen radicular symptoms. In the early days of a flare, you might only perform gentle range-of-motion exercises (pelvic tilts, knee-to-chest stretches) and use heat or cold packs and OTC pain relievers to ease discomfort enough to move.
| Pain Level | Recommended Adjustment |
|---|---|
| Mild | Full program as written. 10–20 reps, standard holds, twice weekly or more. Progress reps and intensity normally. |
| Moderate | Halve reps and holds (5–10 reps, 5-second holds). Reduce range of motion. Perform once daily. Avoid movements that spike symptoms. |
| Severe or radicular | Range-of-motion work only (gentle tilts, stretches). Consult physiotherapist or physician before progressing. Use heat, cold, or OTC medication as needed. |
Cool-Down Techniques to Support Long-Term Lumbar Health
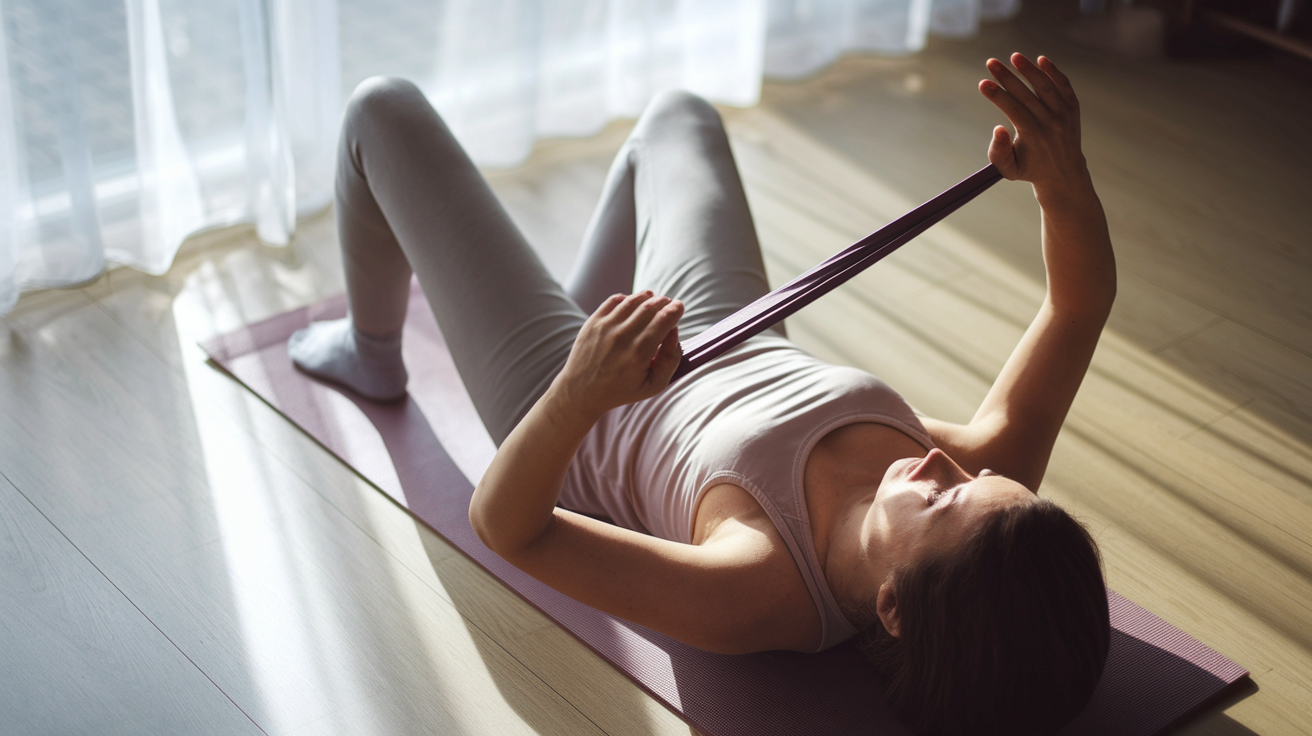
A three- to five-minute cool-down after each session helps your body transition from work to rest and reduces post-exercise stiffness. Static stretching at the end of a workout (not before) takes advantage of warm, pliable tissues. Hold each stretch for 30 to 60 seconds without bouncing. Breathe slowly and try to relax into the position. This signals your nervous system to dial down muscle tone and promotes flexibility gains over time.
Diaphragmatic breathing (slow inhales through the nose, longer exhales through the mouth) activates the parasympathetic nervous system and lowers residual tension in the core and hip muscles. Pair this with gentle pelvic mobility (small pelvic tilts or hip circles) to keep the lower back from locking up as you cool down. The combination of static stretching, controlled breathing, and light movement reduces soreness and prepares you for the next session.
Two recommended static stretches:
Hamstring stretch. Lie on your back, loop a towel or band around one foot, and gently pull the straight leg toward your chest. Hold 30 to 60 seconds per leg.
Hip flexor stretch. Kneel on one knee with the other foot forward in a lunge position. Gently press your hips forward until you feel a stretch across the front of the back hip. Hold 30 to 60 seconds per side.
Expected Timeline for Lower Back Pain Improvement Through Sustainable Training
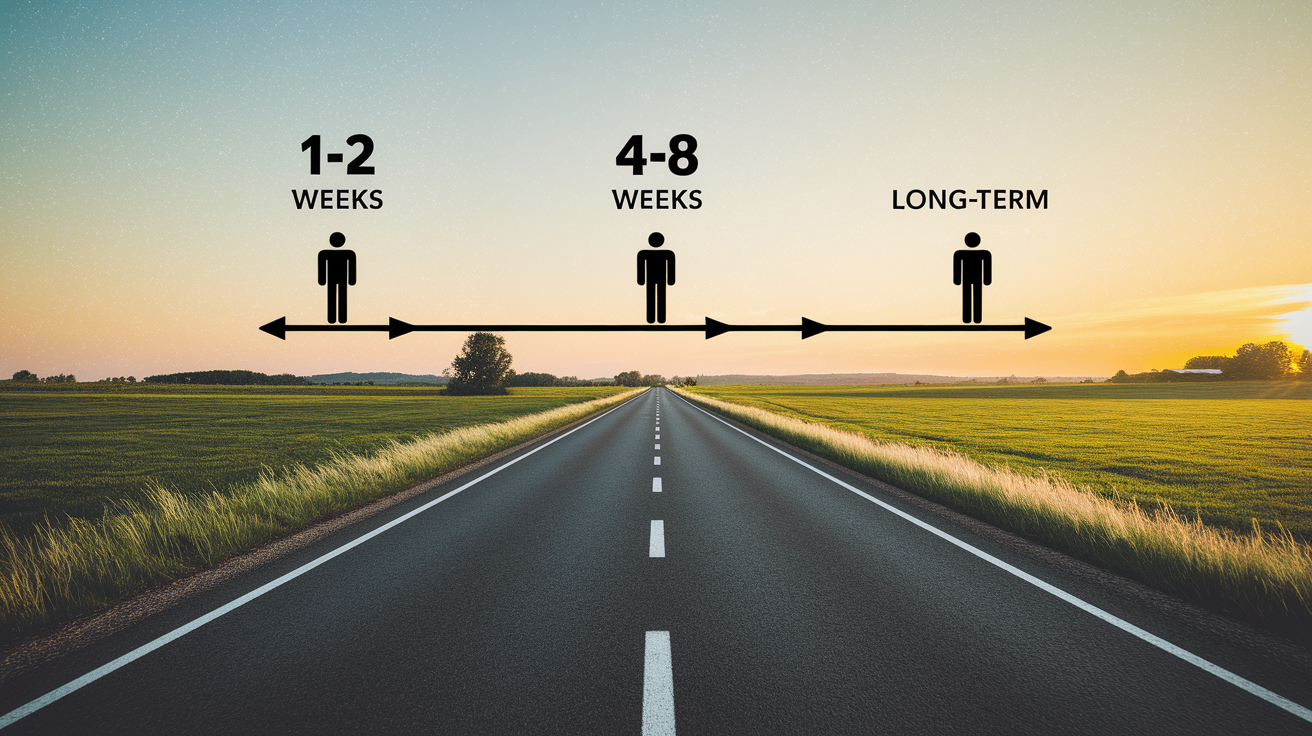
Most people notice some relief within one to two weeks of consistent practice. Pain may decrease during daily activities, range of motion improves slightly, and movements that used to trigger discomfort feel safer. This early improvement comes from better movement patterns, reduced guarding, and small gains in muscle activation. You’re not dramatically stronger yet, but your nervous system has started to trust the exercises and dial down protective tension.
Measurable strength and mobility improvements typically appear around four to eight weeks. Bridges feel easier, you can hold a bird dog longer without wobbling, and your hamstring or hip flexor flexibility has visibly increased. Functional changes follow. Bending to pick up objects hurts less, sitting for long periods doesn’t stiffen your back as much, and you recover faster after a busy day. For chronic cases, ongoing practice (three to five sessions per week) is essential. Research supports programs like yoga, Pilates, and core stabilization work for long-term pain reduction, and the principles are the same: show up regularly, progress gradually, and make the routine part of your normal week rather than a short-term fix.
Final Words
Do the mobility warm-up first, Child’s Pose, thoracic rotations, lumbar rotations, then move into pelvic tilts, bridges, and bird dogs with a neutral spine and steady breathing. Aim for the dosages: 5–10 second holds early, 10–20 reps for strength, and repeat at least 2× a week.
Scale by pain level, add daily gentle movement when you can, and watch for small wins in 1–2 weeks.
Stick with this sustainable mobility and strength routine to reduce lower back pain, and you’ll likely feel steadier and stronger soon.
FAQ
Q: How often should I do the mobility and strength routine for lower back pain?
A: The recommended frequency is at least two sessions per week of 20–30 minute blended mobility and strength work, aiming for 4–6×/week or short twice‑daily sessions for faster progress.
Q: Which muscles does this routine target to reduce lower back pain?
A: The routine targets glutes, deep core (transverse abdominis), multifidus, hamstrings, and hip flexors to improve load sharing, pelvic control, and reduce lumbar stress that often causes pain.
Q: What are the recommended sets, reps, and hold times for key exercises like Knee‑to‑Chest, Pelvic Tilts, Knee Cradle, and Bridge?
A: The recommended dosages are Knee‑to‑Chest 5–10 reps with 5–10 second holds; Pelvic Tilts 5–10 reps (build to 10–20); Knee Cradle five holds per leg; Bridge 4–6 inch lift, 5–10 reps.
Q: Can I do these exercises daily if I have lower back pain?
A: You can do gentle daily mobility once severe pain eases; maintain at least two full blended sessions weekly. If pain flares, reduce range, stop, and consult a clinician.
Q: How quickly will I see improvement from the routine?
A: You can expect initial symptom relief in 1–2 weeks with consistent work, and measurable strength and mobility gains typically appear in 4–8 weeks with steady practice.
Q: What mobility exercises should I do before strength work?
A: The key mobility warm‑ups are Child’s Pose (30–60 seconds), Thoracic Rotations (10–15 reps per side), and Lumbar Rotations (6 reps per side) to prepare the spine and hips.
Q: How should I progress exercises without flaring symptoms?
A: Progress by adding 2–5 reps weekly, lengthening holds from 5 toward 10–30 seconds, then add resistance after 4–8 weeks; avoid fast, jerky movements and stop if pain increases.
Q: What modifications should I use for mild, moderate, and severe lower back pain?
A: Modifications by pain level: mild—follow the full program; moderate—half reps and reduced range of motion; severe—ROM‑only work and clinician consult. Seek care for numbness, radiating leg pain, or weakness.
Q: What cool‑down techniques help long‑term lumbar health?
A: Effective cool‑downs include static hamstring and hip flexor stretches held 30–60 seconds, diaphragmatic breathing, and 3–5 minutes of gentle pelvic mobility to reduce muscle tension.