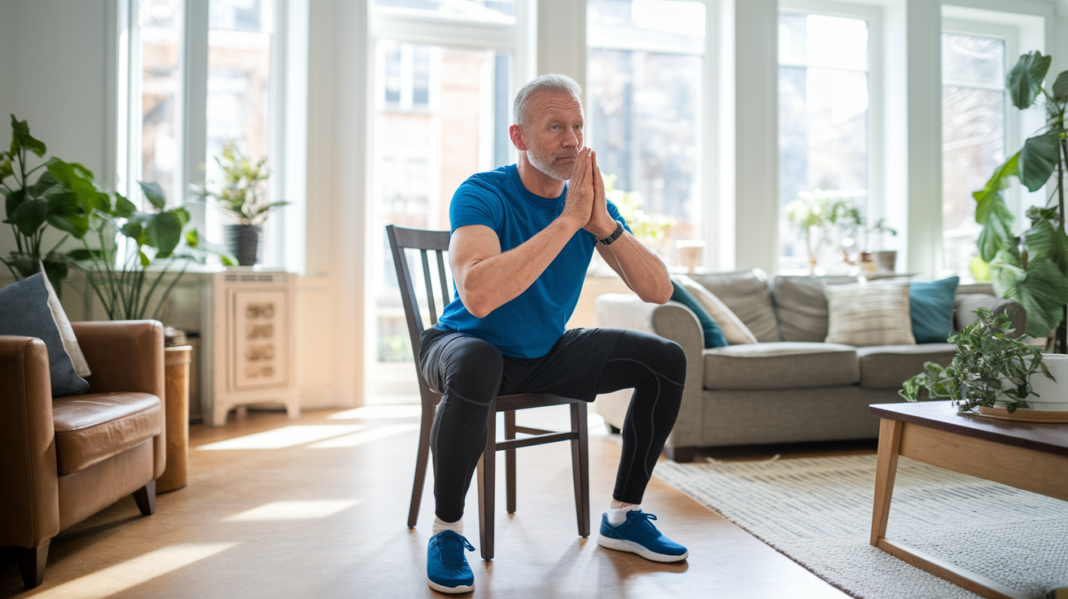
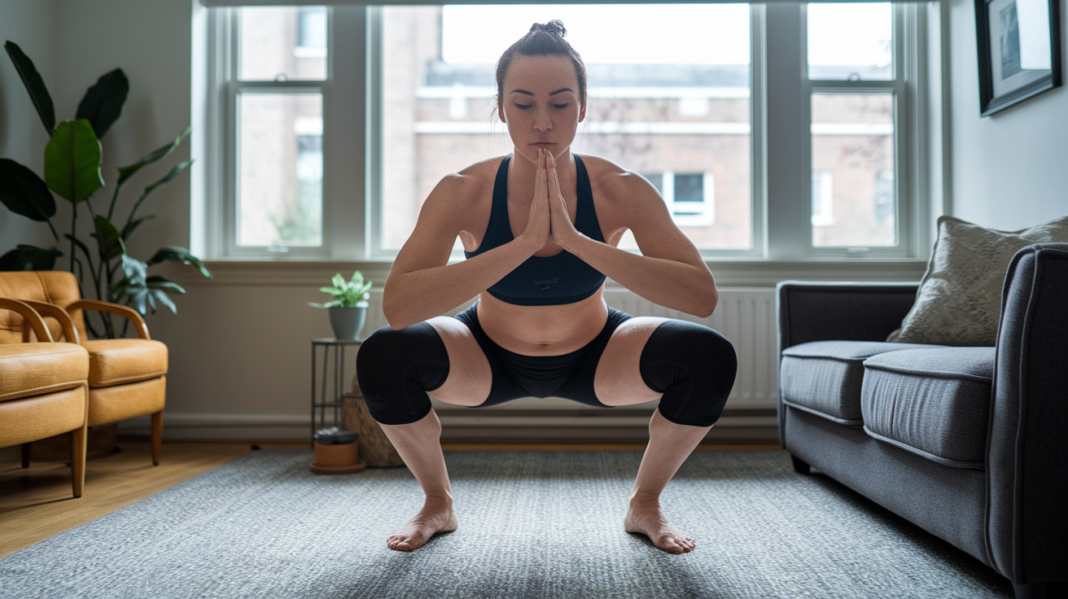
Think you need weights to build real strength? You don’t.
With smart bodyweight work you can make steady gains at home.
This post shows a simple, equipment-free progression that uses four levers, range of motion, tempo (time under tension), reps and volume, and leverage to keep muscles challenged.
You’ll get a trackable 4-week phase plan, easy weekly frequency options for busy schedules, and clear progressions for push, pull, hinge, and legs.
If you want steady strength that lasts, follow this routine.
Core Structure of an Equipment-Free Strength Progression Plan
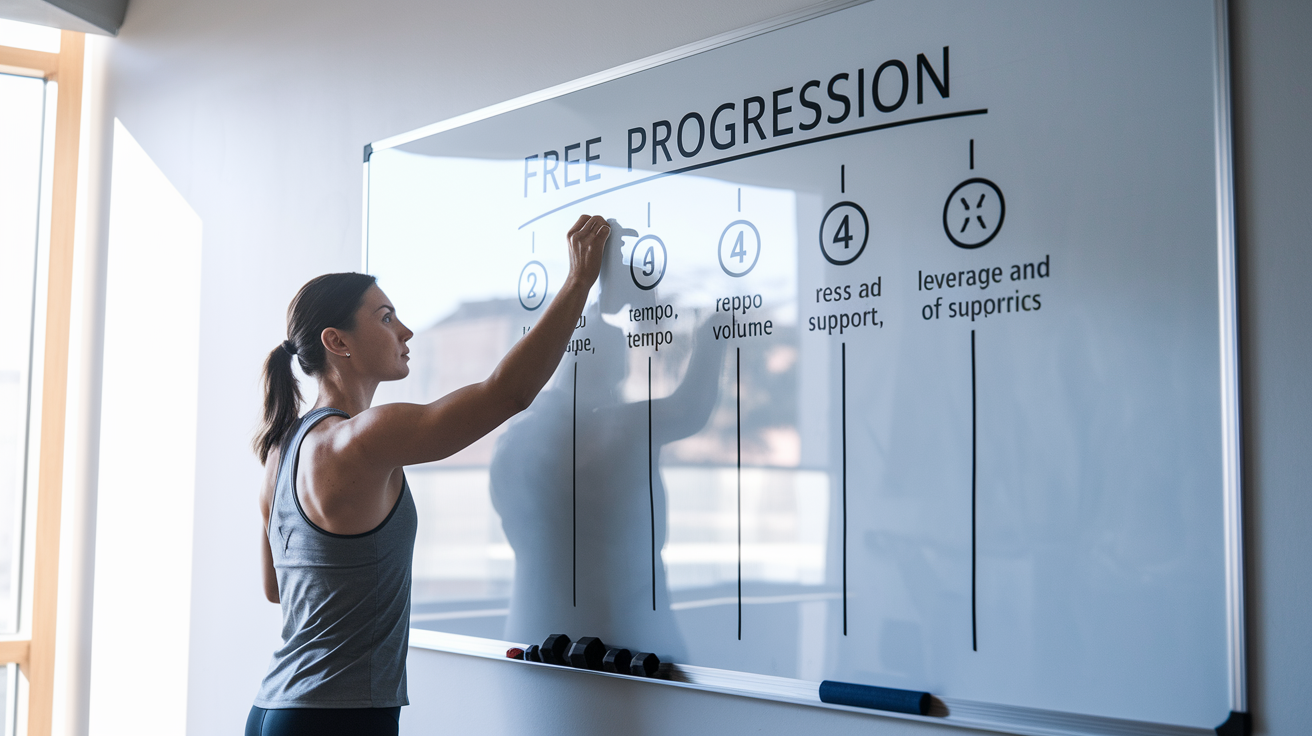
Progressive overload without weights comes down to four levers: expanding range of motion, messing with tempo to boost time under tension, adding reps or sets, and tweaking leverage through how you position your body. Each one keeps your muscles challenged without needing dumbbells or machines. When a movement feels comfortable and your form’s clean, you pick one lever and crank it up.
The 4-week phase model keeps things sustainable and trackable. Three weeks of steady training where you gradually push rep counts and form quality higher. Fourth week, you dial back volume by 30 to 50 percent so your body can actually recover and soak in the work. Then you jump into a fresh phase with harder variations or new targets. This rhythm stops burnout and constant soreness while letting you see real improvement every month.
Weekly frequency sits between 2 and 4 sessions. Depends on your recovery speed and experience level. Beginners handle 2 to 3 workouts fine. More seasoned people can push 4 if recovery’s locked in. Each exercise gets 3 to 5 sets, rest windows run 30 to 90 seconds. Shorter rest builds conditioning. Longer rest protects strength quality. Pick your rest length based on whether you’re chasing muscular endurance or pure strength that day.
Here are the five core progression levers you’ll cycle through:
- Range of motion – Grab furniture, books, or steps to elevate hands or feet, forcing deeper squats or higher push-up angles.
- Tempo – Slow the lowering phase to 4 or 5 seconds, pause for 3 seconds, control the lift back up.
- Reps and volume – Add one or two reps each session until you hit the top of your target range, then switch to a harder variation.
- Leverage and base of support – Go from two legs to one leg, or wide hand placement to narrow, changing the mechanical load.
- Plyometrics and power – Once base strength’s there, add explosive stuff like jump squats or clap push-ups for neuromuscular challenge.
Using Range of Motion to Progress Bodyweight Strength Workouts
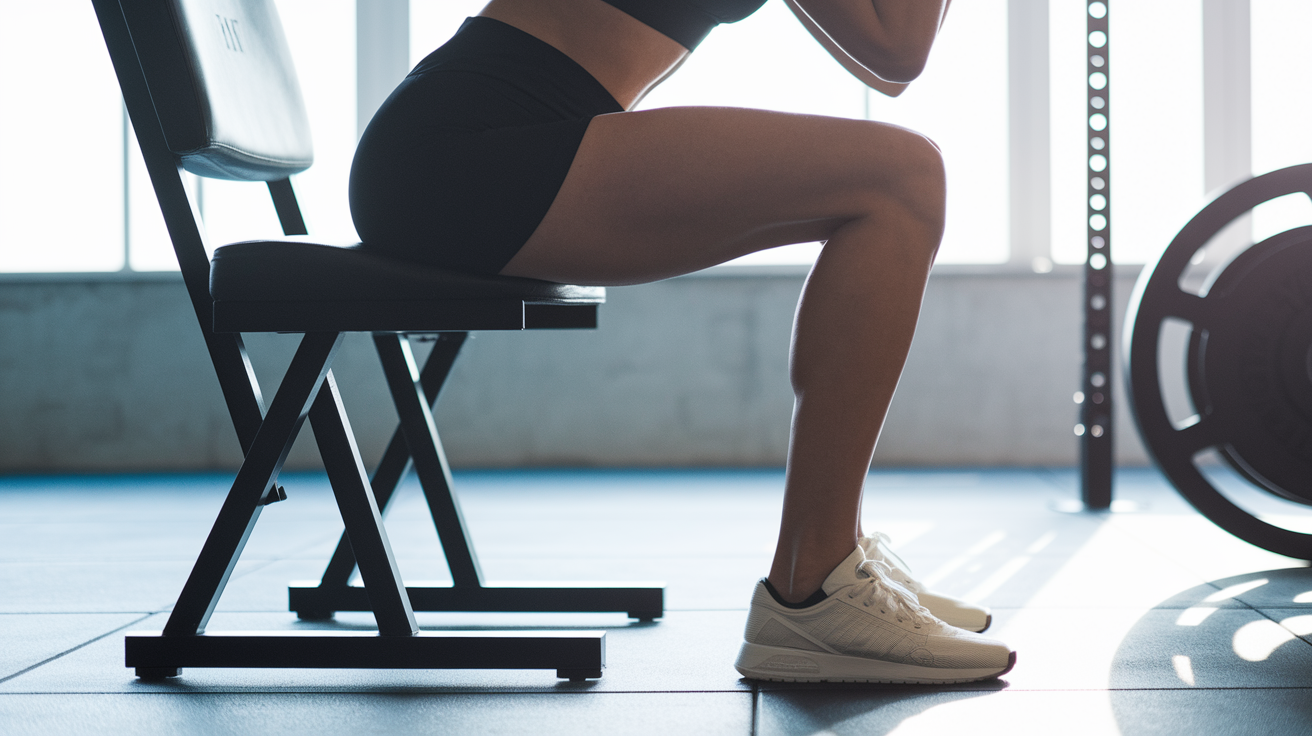
Increasing range of motion creates load by making your muscles work through a longer distance or from a spot where they’re mechanically disadvantaged. A regular squat gets way harder when you put your rear foot on a chair for a Bulgarian split squat. A normal push-up feels easy until you elevate your feet on a step and suddenly your shoulders and chest are under serious tension.
You don’t need fancy gear. A stack of thick books works. Sturdy chair. Bottom stair step. Edge of your couch. All good. Progress ROM before you try explosive or plyometric versions of a movement. Own the deeper, slower version first, then layer in speed or impact later if you want.
| Movement | Baseline ROM | Advanced ROM Option | Notes |
|---|---|---|---|
| Squat | Parallel depth, both feet flat | Rear foot elevated on chair (Bulgarian split squat) | Increases hip flexion and single-leg demand |
| Push-Up | Hands on floor, feet on floor | Feet elevated on step or chair | Shifts load toward shoulders and upper chest |
| Hinge | Two-leg Romanian deadlift stance | Single-leg RDL with extended rear leg | Requires balance and posterior-chain control |
| Lunge | Standard forward lunge, flat surface | Front foot elevated on low step | Deepens hip and knee flexion on lead leg |
Slow Tempo, Time Under Tension, and Isometrics for Strength Gains
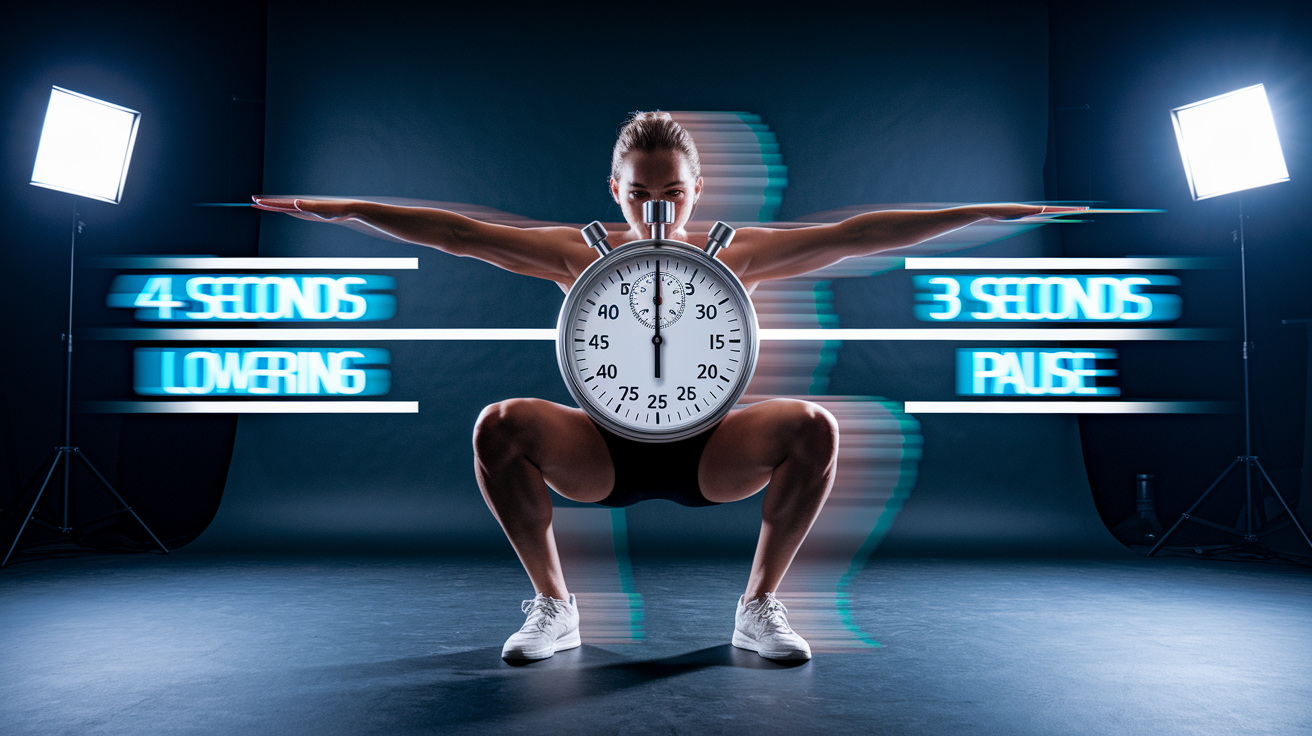
Tempo training turns a simple bodyweight movement into a legit strength challenge. Standard prescription is a 4 to 5 second lowering phase, a 3 second pause at the bottom or hardest spot, and a 4 to 5 second return to the start. That tempo keeps your muscles under constant tension for 11 to 13 seconds per rep, building strength and control without heavier resistance.
Isometric holds at mid-range or bottom positions are another way to crank up difficulty safely. After your normal reps, hold the hardest part of the movement for 3 to 5 seconds. You can also toss in partial-range follow-ups. Like, after 10 full-range squats, do 5 half-range pulses at the bottom. These techniques force neuromuscular adaptation. Your nervous system learns to recruit more muscle fibers and coordinate them better.
Sample tempo prescriptions for common movements:
Squats – Lower for 4 seconds, pause at parallel for 3 seconds, rise in 4 seconds. Keep a slight knee bend at the top to maintain quad tension.
Push-Ups – Push up in 2 seconds, pause at the top for 1 second with elbows fully extended, lower for 4 seconds until chest nearly touches the floor.
Hip Hinges (Single-Leg RDL) – Hinge forward for 3 seconds, pause at the bottom for 2 seconds, return in 3 seconds while balancing on one leg.
Plank – Hold neutral spine for 30 to 60 seconds, then shift to a side plank and hold another 30 seconds per side.
Lunges – Step forward in 2 seconds, pause at the bottom for 2 seconds, drive up in 2 seconds, alternate legs.
Sample 4-Week Foundation Phase for an Equipment-Free Strength Routine
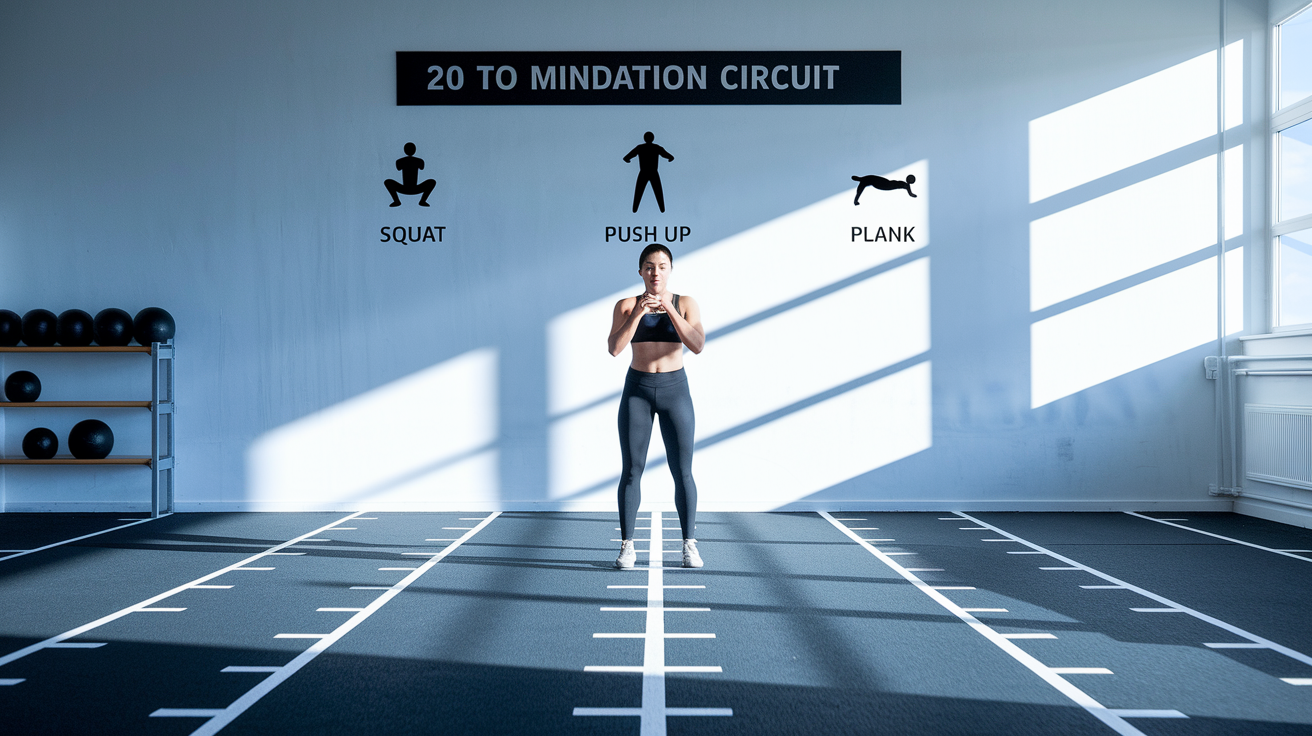
The Foundation block builds movement literacy and base strength before you progress to harder variations. Goal here isn’t chasing max reps. It’s learning perfect form, dialing in tempo, letting your connective tissue adapt to regular loading. Most people finish this phase feeling more stable and controlled, even if rep counts don’t skyrocket.
You’ll train 3 times per week with at least one rest day between sessions. Each workout includes a lower-body movement, an upper-body push, a hip-dominant hinge, and a core hold. You cycle through 3 rounds of the circuit, resting 60 seconds between rounds. Total session time runs about 20 to 30 minutes once you include a brief warm-up. Tempo baseline is 4-3-4 for strength movements and controlled holds for core.
| Exercise | Sets | Reps/Time | Tempo | Notes |
|---|---|---|---|---|
| Bodyweight Squat | 3 | 8–12 | 4-3-4 | Lower slowly, pause at parallel, maintain slight knee bend at top |
| Knee or Standard Push-Up | 3 | 8–12 | 2-1-4 | Push up in 2s, pause 1s at top, lower 4s; drop to knees if form slips |
| Glute Bridge or Single-Leg RDL (assisted) | 3 | 10–15 each side | 3-2-3 | Control the hinge; use a wall or chair for balance if needed |
| Plank (high or low) | 3 | 30–60s | Hold | Neutral spine, shoulders over elbows or hands; switch to side plank at 30s if desired |
Progressions for Lower Body Movements Without Equipment
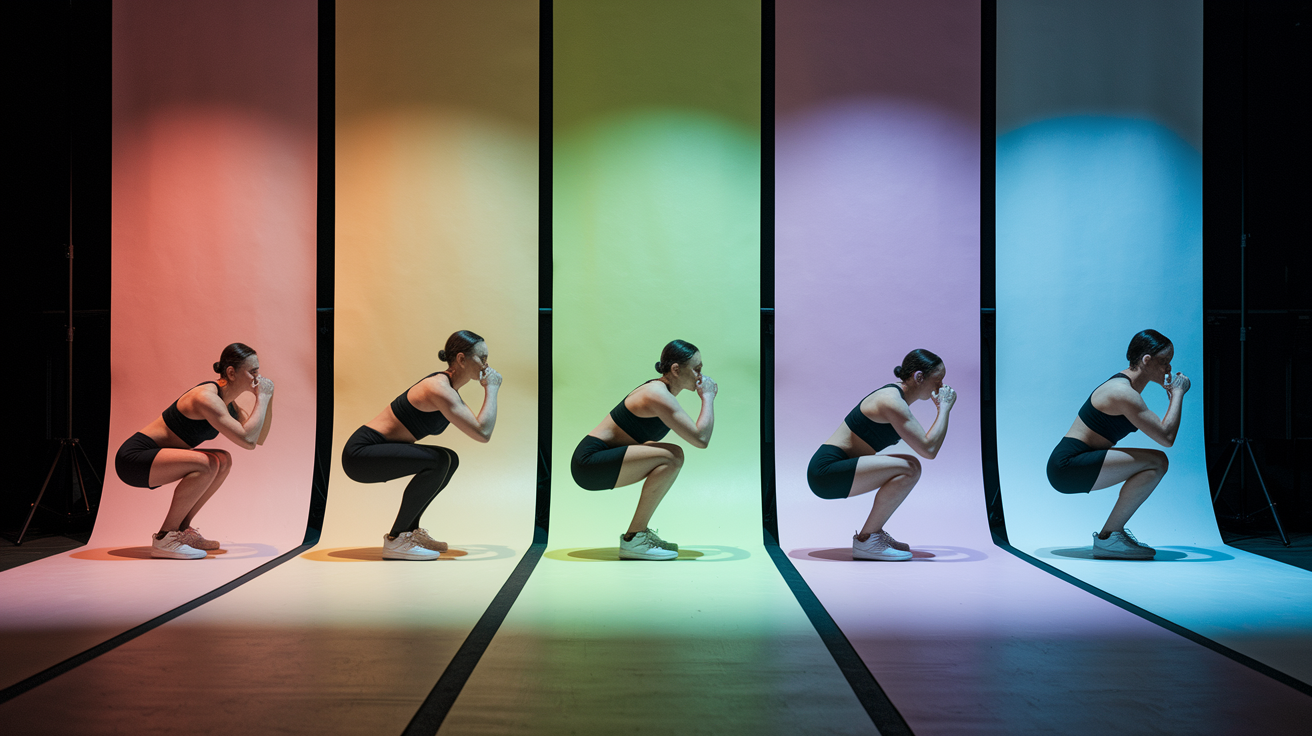
Lower-body strength without equipment comes from changing leverage, shrinking base of support, and pushing range of motion. You start with two feet on the ground, move to split stance, then elevate one foot, eventually work toward single-leg variations. Each step cuts stability or increases the demand on one leg, forcing your muscles to produce more force per rep.
Full progression ladder looks like this: bodyweight squat to parallel, then deep squat below parallel, then stationary split squat, then elevated split squat with rear foot on a low step, then Bulgarian split squat with rear foot on a chair, and finally assisted pistol squat progressions. You’re ready to move up when you can nail 12 to 15 reps with slow tempo for 2 or 3 consecutive sessions without your form breaking down.
Lower Body Progression Ladder
Lunges follow a similar path. Start with stationary forward lunges, try walking lunges for added balance demand, then lateral lunges to challenge the frontal plane, finish with rear-foot-elevated split squats. For posterior chain work, go from two-leg glute bridges to single-leg bridges, then to single-leg Romanian deadlifts. Use a wall or chair for light fingertip support at first. As balance improves, let go and extend your free leg farther behind you for a longer lever.
Watch your knee tracking during all these movements. Your knee should travel in the same direction as your toes, not caving inward. If your knee collapses or you feel unstable, regress one step and build more volume there before trying again. Strength and balance improve together over weeks, not days.
Upper Body Progressions Using Bodyweight Only
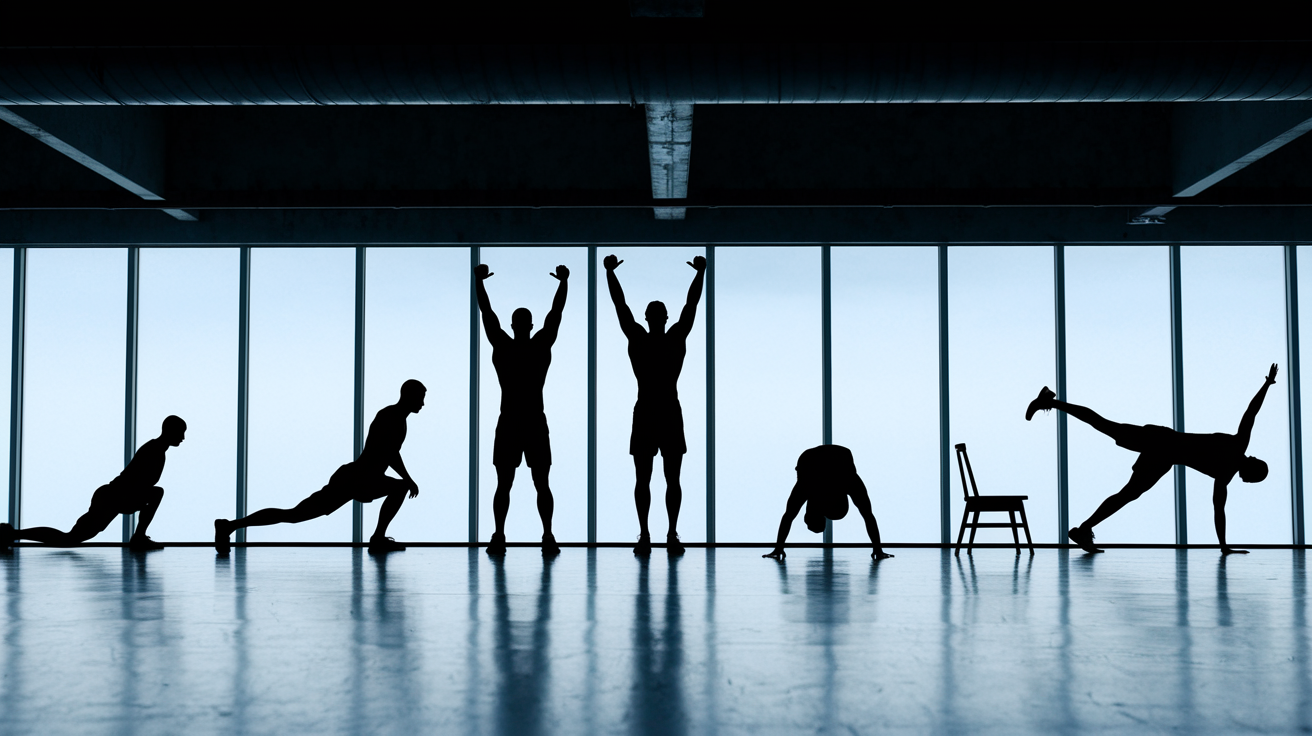
Upper-body training without equipment covers horizontal and vertical push patterns, plus pulling if you can rig a stable bar or use a door-mounted station. Horizontal pushing comes from push-up variations. Vertical pushing can come from pike push-ups or handstand progressions if you’ve got the shoulder mobility. Pulling takes some creativity. Inverted rows under a sturdy table work. Negative chin-ups or pull-ups work if you’ve got a bar. If not, you can substitute with isometric holds in a top-of-pull position using a resistance band looped over a door.
Push-up progressions move from easier to harder by changing leverage and range of motion. The sequence: knee push-ups, standard push-ups, feet-elevated push-ups on a low step, feet-elevated on a chair, archer push-ups (shifting weight side to side), eventually one-arm push-up progressions. Negative-only reps are a smart bridge when you can’t yet perform a full rep of the next variation. Start at the top of the movement, then lower yourself as slowly as possible for 10 seconds until you reach the bottom.
Six key upper-body progressions:
Push-Up Base – Knee push-up, standard push-up, diamond or close-grip push-up.
Push-Up Elevation – Feet on floor, feet on 6-inch step, feet on chair for increased shoulder load.
Archer Push-Up – Shift weight to one side during the push, keep the opposite arm straighter to prep for one-arm work.
Negative Chin-Up – Step onto a chair, start with chin above bar, step off and lower for 10 seconds, repeat 3 to 5 times.
Inverted Row – Lie under a table, grab the edge, pull chest to table. Elevate feet on a chair to crank up difficulty.
Tricep Dip Alternative – Use a stable chair, palms on edge behind you, lower hips toward floor. Keep elbows tracking back, not flaring wide.
Core Strength Progressions for Sustainable Bodyweight Training

Core work for strength focuses on anti-movement. Your abs, obliques, and lower back work to resist unwanted motion, not to crunch repeatedly. Planks, side planks, and holds teach your torso to stay rigid under load. Once static holds feel easy, you add movement to one limb or shift your base of support to make stabilization harder.
Start with a 30 to 60 second high or low plank, keeping a neutral spine from head to hips. When you can hold that cleanly, lift one leg for 15 to 20 seconds, then switch. Next, try side planks for 30 seconds per side. After that, add dynamic movement like plank shoulder taps, where you lift one hand to tap the opposite shoulder while keeping your hips level. Advanced options include L-sit progressions, where you sit on the floor with legs extended and lift your hips off the ground using only your hands.
Four core progressions to follow:
Plank Hold – 30 to 60 seconds, neutral spine, shoulders over elbows or hands.
Single-Leg Plank – Lift one foot 6 inches off the floor, hold 15 to 20 seconds, switch.
Side Plank – 30 seconds per side, stack feet or stagger for easier balance.
L-Sit Progression – Sit with legs extended, place hands beside hips, press down and lift hips. Start with knees bent, move toward straight legs.
Rules for Progressing and Scaling an Equipment-Free Strength Routine
You progress when you can complete your current prescription with perfect form for 2 to 3 consecutive sessions. Perfect form means controlled tempo, full range of motion, no compensations, no joint pain. If you hit that standard, pick one lever to adjust. Add 1 or 2 reps, slow the tempo by one second, increase range of motion by elevating a limb, or shift to a unilateral variation.
Deload every fourth week by cutting total volume by 30 to 50 percent. You can trim sets, reps, or session frequency. Point is to give your nervous system and connective tissue a recovery window so you can start the next phase fresher. Deloads stop overuse injuries and let strength gains settle in. Some people feel weak during a deload week. That’s normal. You’ll feel stronger again in week five.
| Lever | How It Works | When to Use |
|---|---|---|
| Range of Motion | Elevate hands or feet to increase depth or leverage demand | When current ROM feels comfortable for 12+ reps |
| Tempo | Slow eccentric to 5s, add 1s to pause, increase concentric control | When you want strength without changing the exercise |
| Reps/Volume | Add 1–2 reps per session or add one extra set | First progression step for beginners; easy to track |
| Leverage/Unilateral | Shift to single-leg or single-arm variations | After mastering bilateral version with slow tempo and full ROM |
| Plyometrics | Add explosive jump or clap variations | Only after 8+ weeks of strength base; not for rank beginners |
Form, Joint Safety, and Injury Prevention in Bodyweight Strength Training

Warm up for 5 to 10 minutes with dynamic movement before you start working sets. Arm circles, leg swings, bodyweight squats, light lunges prepare your joints and nervous system. Cold muscles and stiff joints bump up injury risk, especially when you’re working through a full range of motion or using slow tempos that expose weak links.
Stop any movement that causes sharp or pinching pain. Dull muscle fatigue is normal. Joint pain, especially in knees, shoulders, or lower back, is a signal to regress or modify. Check your form first. If form’s clean and pain sticks around, swap the exercise for a different pattern or trim range of motion. Pushing through joint pain creates chronic issues that take weeks or months to resolve.
Common bodyweight overuse problems come from doing too much volume too soon or ignoring recovery. Tendonitis in the elbow or shoulder often shows up when people jump into daily push-up or pull-up challenges without a progression plan. Knee pain during lunges or squats usually points to poor tracking, weak warm-up, or jumping to single-leg work before the supporting muscles are ready. Build volume gradually, take rest days seriously, listen when your body says to back off.
Recovery, Nutrition Basics, and Lifestyle Habits Supporting Equipment-Free Strength Training

Training 2 to 4 times per week leaves room for recovery between sessions. Beginners recover faster with 2 or 3 workouts. More experienced folks can handle 4 if sleep and nutrition are solid. On rest days, light movement like walking or gentle mobility work helps blood flow without piling on training stress.
Sleep is the primary recovery tool. Shoot for 7 to 9 hours per night. Your nervous system adapts to strength training during deep sleep, and muscle repair kicks into high gear overnight. Chronic short sleep kills strength gains and raises injury risk. Balanced nutrition supports recovery too. You don’t need a complicated meal plan. Eat enough protein (a palm-sized portion with most meals), toss in vegetables and whole grains for micronutrients and fiber, stay hydrated throughout the day.
Three recovery pillars to follow:
Sleep Quality – Lock in 7 to 9 hours per night in a cool, dark room. Keep a consistent bedtime to regulate your nervous system.
Nutrition – Eat a palm-sized protein source with each meal, include colorful vegetables, drink water consistently, avoid extreme calorie restriction that messes with recovery.
Stress Management – Chronic stress jacks up cortisol, which interferes with muscle repair and strength gains. Include rest days, practice breathing exercises, protect downtime between training sessions.
Final Words
Start by using range of motion, slow tempo, reps, leverage, and unilateral work to make bodyweight moves harder without gear.
Run three 4-week phases, deload every fourth week, and train 2–4 sessions a week with 30–90s rests. Keep sets to 3–5 and reps in the 6–20+ range depending on the movement.
Track progress by hitting tempo and rep targets for 2–3 sessions before stepping up. Focus on form, warm-ups, and recovery.
This equipment-free progressive routine to build strength sustainably is simple to follow. Small, steady steps add up—keep at it.
FAQ
Q: How does progressive overload work without equipment?
A: Progressive overload without equipment works by increasing range of motion, slowing tempo (long eccentrics and pauses), adding reps and sets, changing leverage, and using unilateral or plyometric variations over time.
Q: What are the main progression levers for bodyweight strength?
A: The main progression levers for bodyweight strength are range of motion, tempo/time under tension, rep and set volume, leverage/body angle, plus unilateral and plyometric progressions.
Q: Why use 4-week training phases?
A: Using 4-week training phases helps build quality strength, lets you focus on one progression at a time, and schedules predictable deloads to avoid burnout and keep steady progress.
Q: How often should I train per week for sustainable gains?
A: Training two to four sessions per week provides sustainable gains; aim for three sessions most weeks, adjust for recovery, rest 30–90 seconds between sets, and deload every fourth week.
Q: What tempo should I use to increase strength?
A: Use slow tempo: four to five second lowering, a three second pause, then four to five second lifting; isometrics and partial reps further increase strength safely without weight.
Q: How do I progress lower-body movements without weights?
A: Progress lower-body by moving from basic squats to deep squats, split and elevated split squats, Bulgarian split squats, then single-leg or pistol variations when tempo reps feel easy.
Q: How do I progress upper-body exercises with only my bodyweight?
A: Progress upper-body by moving from knee to standard to feet-elevated push-ups, then archer and one-arm variations; use inverted rows, negatives, and leverage changes for pulls.
Q: How should I structure a 4-week foundation block?
A: A 4-week foundation block uses three full-body workouts weekly: three rounds of 8–15 tempo squats, 8–12 push variations, 8–12 hinges, and 30–60 second core work with about 60 seconds rest.
Q: When should I progress an exercise or deload?
A: Progress an exercise when you hit the target reps and tempo for two to three sessions; deload every fourth week by reducing volume roughly 30–50 percent to aid recovery.
Q: How do I use range of motion to make exercises harder?
A: Use range of motion to increase difficulty by elevating hands or feet, deepening squats, or adding split stances; expand ROM before adding plyometrics for safety.
Q: What safety and form rules should I follow to avoid injury?
A: Follow warm-ups and mobility work, keep controlled technique, stop with sharp pain, choose regressions if form breaks, and schedule rest to prevent overuse and joint issues.
Q: What recovery, nutrition, and lifestyle habits support bodyweight strength?
A: Support strength with consistent sleep, adequate protein and hydration, stress management, and light mobility on off days; adjust session frequency to how well you recover.