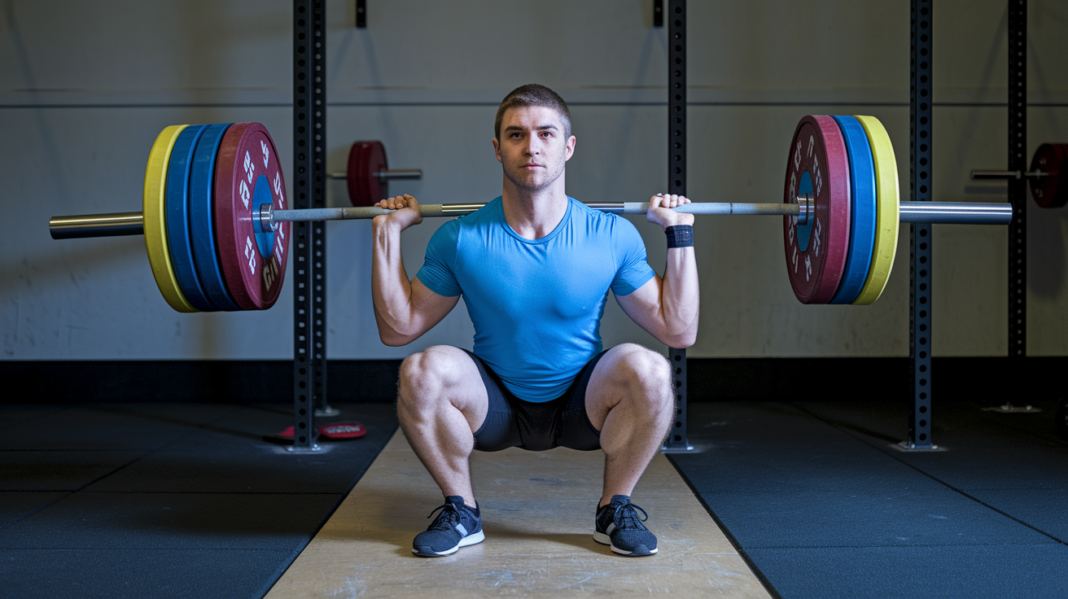

You don’t have to lift heavy to get stronger.
Lifting too much too soon is what makes beginners stall or get injured.
This post shows six safe levers: reps, load, tempo, rest, exercise variations and unilateral work, and explains how to change one thing at a time so your form, recovery and progress stay on track.
I’ll give step-by-step tweaks and quick 15-minute options for busy days so you can keep improving without losing good technique.
Core Methods to Safely Progress Beginner Strength Circuits
Progressive overload is about adding small, controlled bumps in training stress so your body adapts and builds strength. For beginners, you want just enough to spark improvement without wrecking your recovery or turning your form into a mess. When you’re new to strength circuits, your nervous system’s still figuring out how to coordinate each movement. Push too hard too soon and you’ll get sloppy reps, burnout, and injuries.
The safest way forward? Change one thing at a time. Don’t pile on extra weight and cut rest and crank out more reps all in the same session. Pick one lever. Adjust it slightly over a few weeks. That’s how you keep your form tight and actually know what’s driving results.
Start with the variables that won’t bite you and give clear feedback. Beginners respond best to small tweaks they can feel and measure week to week.
Here are six safe levers you can pull:
Repetitions. Tack on 1 to 3 reps per exercise once you can nail your current number with clean form for two sessions straight.
Load. Bump the weight in tiny steps (2.5 to 5 lb upper body, 5 to 10 lb lower body) only after reps and form are locked in.
Tempo. Slow down the lowering phase to 2 to 4 seconds. You’ll get more time under tension without touching heavier weights.
Rest intervals. Shave off 10 to 15 seconds between exercises every week or two, as long as your movement quality stays solid.
Exercise variations. Progress from easier to harder versions of the same move (incline push-up to standard push-up, for example).
Unilateral work. Swap two-limb movements for single-limb versions (goblet squat to split squat) to increase stability demands and per-leg load.
Increasing Repetitions to Build Volume Safely

Adding reps is the simplest, lowest-risk move you can make. When you can hit the top of your target range with solid technique, throw in 1 to 3 more reps per exercise. Let’s say your circuit calls for 8 to 10 reps per station and you’re comfortably hitting 10. Try 11 or 12 next time. This builds your work capacity and drills those movement patterns deeper before you start loading up the bar.
Watch for signs you’ve gone too far. If your breathing turns chaotic, your spine starts rounding, or your joints shift out of position, you’ve crossed your current ceiling. Here’s what a too-aggressive rep jump looks like: week one you nail 10 clean reps, week two you grind out 15 but your form crumbles by rep 12. That’s your red flag. Pull back. Hold at 10 to 12 for another week, then try 13. You want to own every rep, not just survive it.
If you can talk through the set without gasping and your posture stays neutral, you’re good to keep climbing.
Adding Weight Gradually for Safe Load Progression

Once your rep range feels easy and stable, it’s time for external resistance. Load progression carries more risk than reps, so use the smallest jumps your gym offers.
Safe load increases follow these rules:
Use microloading. Add 2.5 to 5 lb (1 to 2.5 kg) for upper-body exercises like presses and rows. Add 5 to 10 lb (2.5 to 5 kg) for lower-body moves like squats and deadlifts.
Alternate rounds with heavier weight. If a full circuit with added load feels too brutal, load only rounds 1 and 3. Keep round 2 lighter.
Prioritize compound lifts for load jumps. Add weight to multi-joint movements (squat, row, press) before single-joint accessories (biceps curls, calf raises).
Monitor joint feedback. Sharp pain, pinching, or grinding in a joint means the load’s too high or your setup’s off. Drop back immediately.
Technique must stay clean when you add weight. If your knees cave, your lower back arches, or you have to jerk the weight to finish a rep, the load’s too heavy. Strip 5 to 10 lb off and work back up over two weeks. It’s not a race. Beginners who chase numbers before they’re ready end up nursing injuries and starting from scratch.
Slowing Tempo to Increase Time Under Tension

Tempo manipulation makes things harder without touching the weight rack. By controlling the speed of each phase (especially the lowering portion), you force your muscles to work longer and stabilize harder. A 3-second descent on a goblet squat is way harder than dropping straight down, even at the same load.
Start with simple tempo cues. Count “one-one-thousand, two-one-thousand, three-one-thousand” as you lower, pause briefly at the bottom, then drive up at normal speed. Use this pattern for 1 to 2 weeks before adding weight. Your muscles will fatigue faster, your heart rate will stay elevated, and your joints get more controlled practice under tension.
Three safe tempo strategies for beginners:
Slow eccentric. Lower the weight over 3 to 4 seconds, lift at normal pace (example tempo: 3-0-1).
Pause at the bottom. Hold the bottom position for 1 to 2 seconds before standing or pressing (example tempo: 2-1-1).
Controlled concentric. Slow both the lowering and lifting phases to 2 seconds each (example tempo: 2-0-2).
Reducing Rest Intervals to Increase Intensity

Shortening the time between exercises or rounds forces your cardiovascular system to work harder and keeps your muscles under near-continuous tension. Beginners often start with 60 seconds of rest between stations or 90 to 120 seconds between full rounds. As conditioning improves, you can trim that down.
Cut rest in 10 to 15 second steps. If you’re resting 60 seconds between exercises, try 50 seconds for a week. If your form holds and you’re not gasping by round two, drop to 45 seconds the following week. Stop reducing rest once movement quality starts breaking down or you can’t catch your breath between stations. There’s a floor (usually around 30 seconds for compound moves) where cutting rest further just creates sloppy, dangerous reps.
Monitor fatigue by checking your breathing and posture mid-circuit. If you can still brace your core, keep your spine neutral, and complete reps without compensating, the shorter rest is working. If your technique falls apart or you feel dizzy, add 10 to 15 seconds back and hold that rest interval for another week or two before trying again.
Introducing Slight Exercise Variations for Increased Challenge
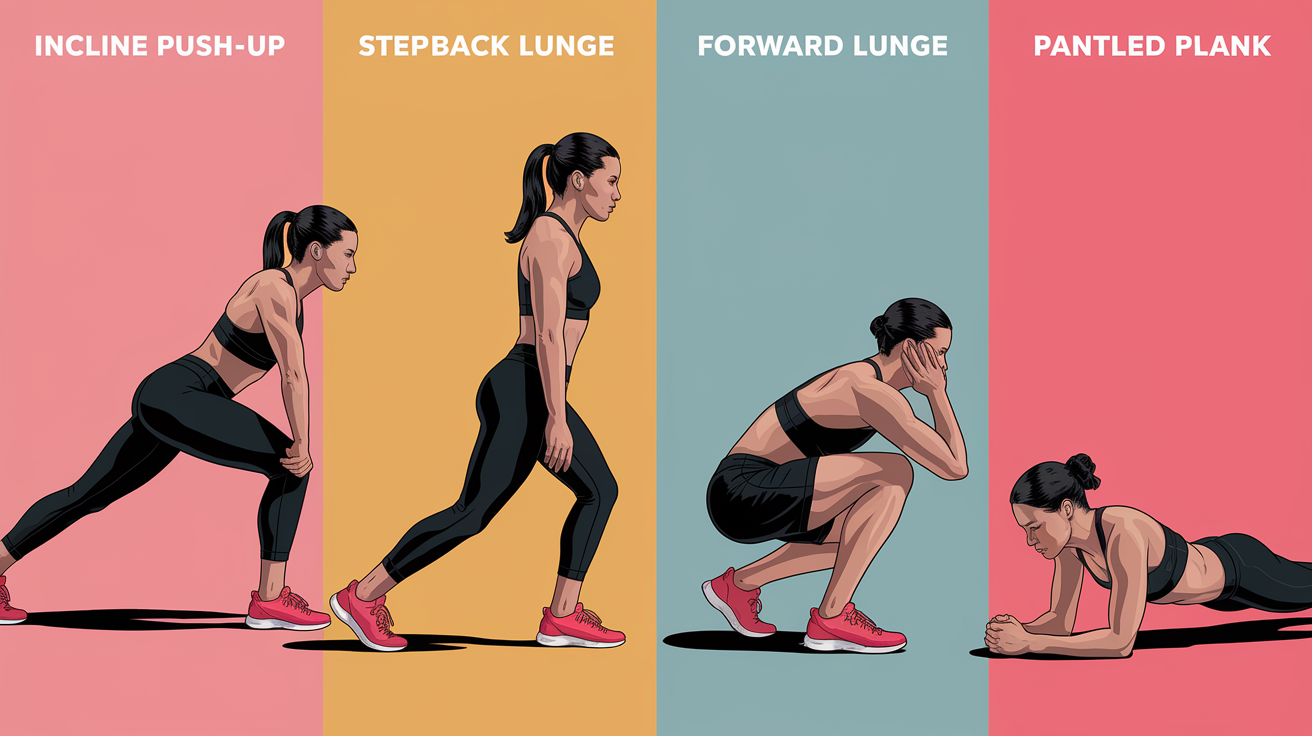
Small changes in body position, range of motion, or stability instantly make a familiar exercise harder without adding weight. Moving from an incline push-up to a standard push-up increases the percentage of your bodyweight you’re lifting. Shifting from a step-back lunge to a forward lunge adds a deceleration demand. These variations let you progress when load increases aren’t available or feel too aggressive.
| Variation | Added Challenge | Beginner Safety Notes |
|---|---|---|
| Incline push-up → Standard push-up | Increases load on chest/shoulders by ~10 to 15% | Master 3×10 incline reps before moving to floor. Keep elbows at 45° angle |
| Step-back lunge → Forward lunge | Adds eccentric deceleration and balance demand | Control the descent. Don’t let front knee shoot past toes |
| Partial squat depth → Full squat depth | Increases hip/knee flexion and quad/glute engagement | Only deepen if knees track over toes and heels stay down |
| Two-hand plank → Single-hand reach plank | Introduces anti-rotation core demand | Keep hips level. Start with 2 to 3 second reaches, not full extensions |
Use variations when you’ve mastered the current version for 2 to 3 weeks and want a new challenge without changing equipment. Swap one exercise per circuit at a time so you can track how the new movement feels and adjust if needed.
Using Unilateral Movements to Increase Stability Demands
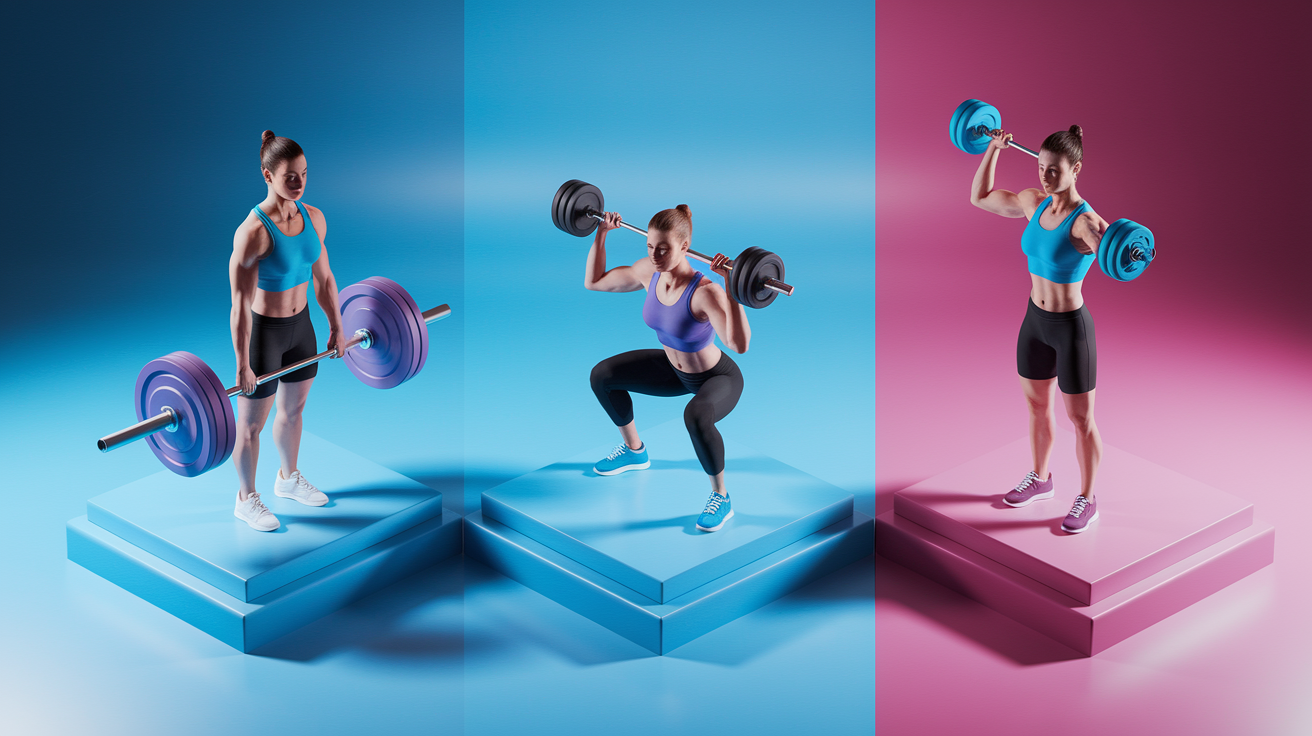
Single-leg and single-arm exercises force each limb to carry the full load and stabilize independently. A goblet squat might feel easy at 25 lb, but a 25 lb Bulgarian split squat per leg is a different story. Unilateral work also reveals and corrects left-right imbalances that bilateral movements can hide.
Start unilateral progressions with bodyweight or very light loads. Your nervous system needs time to learn balance and control before you add significant resistance. Once you can complete 8 to 10 reps per side with steady, controlled form, add small weight increments.
Common unilateral progressions for beginners:
Single-leg deadlift (kickstand variation). Keep the back toe lightly touching the floor for balance while hinging on the front leg.
Split squat to Bulgarian split squat. Elevate the rear foot 6 to 12 inches to increase front-leg demand and hip flexor stretch.
Single-arm dumbbell press. Press one dumbbell overhead while the other side stabilizes. Alternate arms each set.
Single-arm dumbbell row. Row with one arm while bracing the opposite hand on a bench. Keeps torso from rotating.
Stay within stable ranges of motion. If your hips twist, your knee wobbles inward, or you can’t keep your torso upright, regress to a bilateral version or reduce the load. Unilateral work is valuable, but only when it’s controlled.
Essential Safety Cues for Circuit Progression
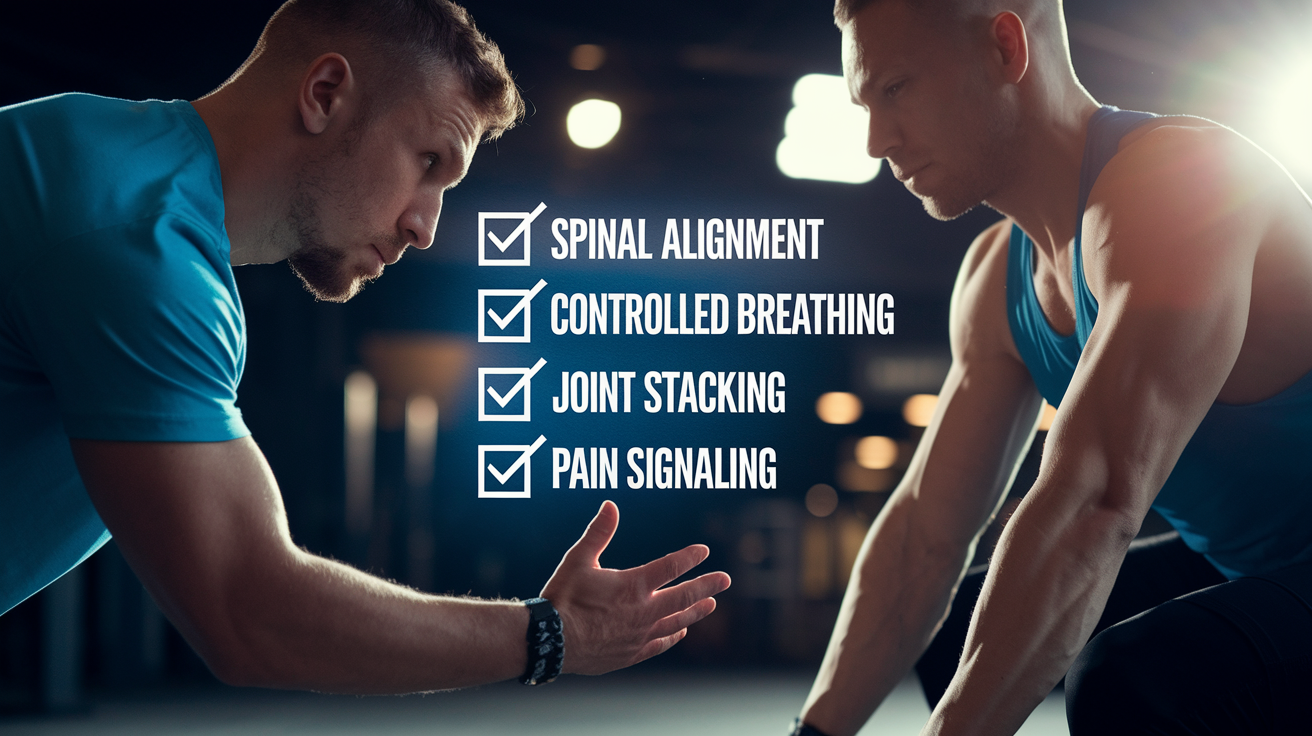
No matter which progression method you use, form and joint safety come first. Beginners often get excited by new PRs or faster circuits and let technique slip. That’s when injuries happen.
Before every circuit, run a quick body check. Are your joints stacked in strong, neutral positions? Can you breathe steadily through each rep? If something feels off, pause and reset. Better to finish one round with perfect form than three rounds with your lower back compensating.
Key safety cues to watch during every progression:
Spinal alignment. Maintain a neutral spine (natural curves intact, no excessive rounding or arching) during all loaded movements.
Controlled breathing. Exhale during exertion (lifting, pushing, standing), inhale during the easier phase. Holding your breath spikes blood pressure and reduces core stability.
Joint stacking. Keep knees over ankles, shoulders over wrists, hips over heels. Misalignment shifts load onto passive structures (ligaments, cartilage) instead of muscles.
Pain signaling. Sharp, pinching, or burning pain is a stop signal. Muscle fatigue and mild soreness are normal. Joint pain is not.
Stable foot and hand positioning. Press through your whole foot (tripod: big toe, little toe, heel), grip handles firmly. Wobbly contact points destabilize the entire movement.
Recommended Progression Timelines for Beginners
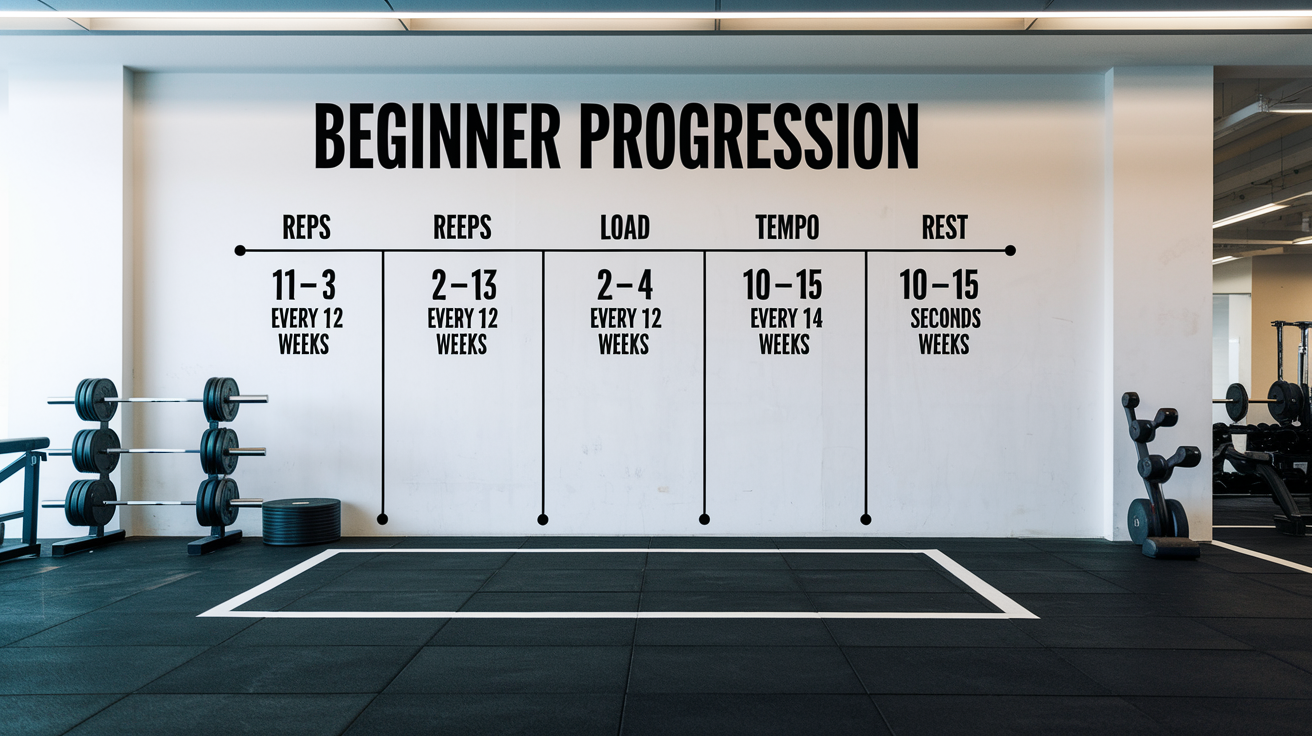
Beginners often ask, “How soon can I progress?” The honest answer depends on your recovery, sleep, nutrition, and stress outside the gym. That said, there are general timelines that work for most people who train consistently.
Safe progression cadences by variable:
Reps. Increase every 1 to 2 weeks if form is solid. Add 1 to 3 reps per exercise.
Load. Increase every 2 to 4 weeks. Wait until you can complete your target reps for two consecutive sessions before adding weight.
Tempo. Use a slower tempo for 1 to 3 weeks as a standalone progression, then return to normal tempo with added load.
Rest intervals. Reduce rest every 2 to 3 weeks by 10 to 15 seconds, monitoring form and breathing closely.
These are starting points, not rules. If life is chaotic (bad sleep, high work stress, fighting off a cold), your body won’t adapt as fast. It’s okay to hold steady for an extra week or two. Progress stalls when you ignore recovery signals and push anyway. If your performance plateaus or regresses for 2 to 3 sessions in a row, take a deload week (reduce volume and intensity by 30 to 50%) before resuming progression.
Sample Progressive Beginner Strength Circuits
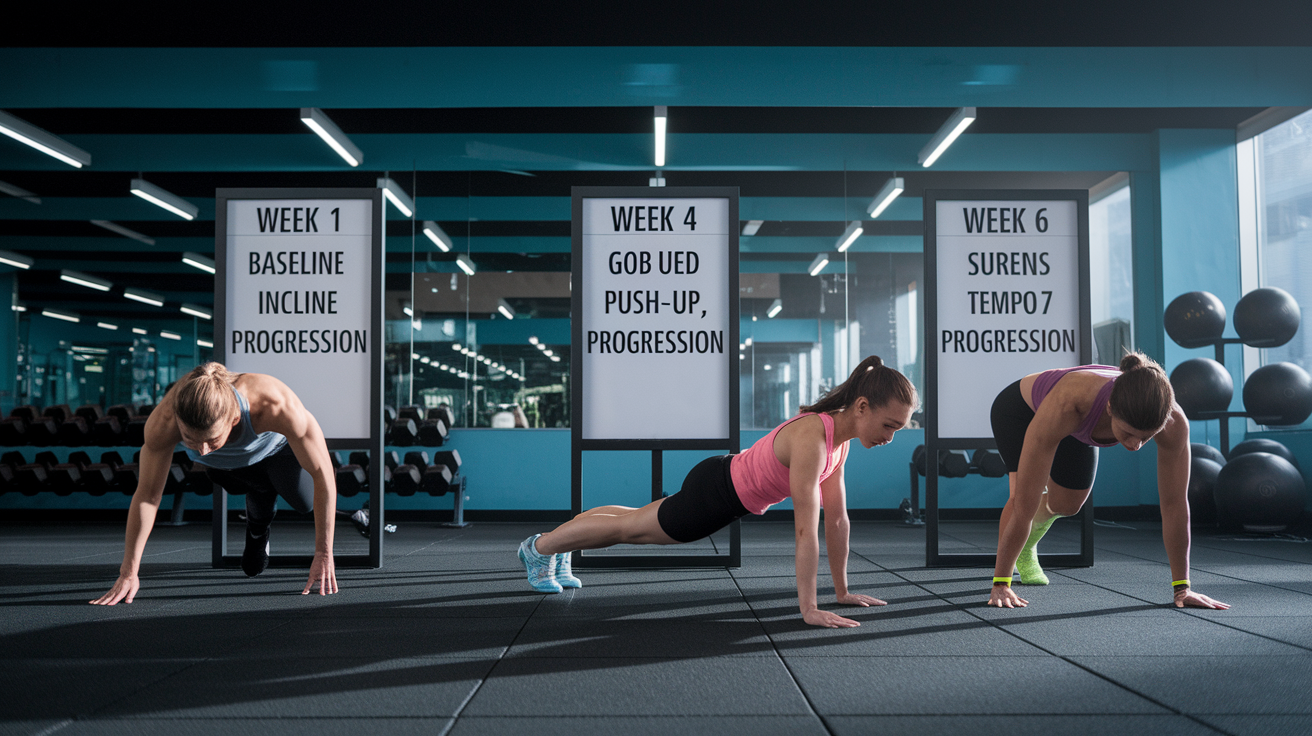
Seeing progression in action makes it easier to apply. Below are three rounds of the same circuit structure, each using a different progression method. All three examples assume the same exercise selections, so you can see how each lever changes the difficulty without rewriting the entire program.
| Round | Movement Adjustments | Progression Applied |
|---|---|---|
| Week 1 to 2 (Baseline) | Goblet squat 3×8, incline push-up 3×8, dumbbell row 3×8, plank 3×30s. Rest 60s between exercises, 90s between rounds. | Establish baseline form and work capacity. No progression yet. |
| Week 3 to 4 (Rep Progression) | Same exercises, now 3×10 reps. Rest stays 60s/90s. | Added 2 reps per exercise after hitting 8 clean reps for two sessions. Increases volume ~25% without changing load or rest. |
| Week 5 to 6 (Tempo Progression) | Return to 3×8 reps but use 3-second eccentric on squat, push-up, and row. Plank holds now 3×40s. Rest stays 60s/90s. | Slowed lowering phase increases time under tension. Harder than week 1 baseline despite same reps and load. Plank duration increased by 10s. |
You can also layer progressions. For example, after mastering the tempo phase in week 5 to 6, you might return to normal tempo in week 7 and add 5 lb to the goblet squat and dumbbell row. Then in week 9, reduce rest to 50 seconds between exercises. Each small change compounds over time, building strength and conditioning without sudden jumps that break your form or overload your joints.
Final Words
Use the six safe levers: reps, load, tempo, rest, exercise variations, and unilateral work to nudge beginner circuits harder while keeping form first. We covered adding reps slowly, microloading, tempo changes, and trimming rest in small steps.
Watch spinal alignment, breathing, joint feedback, and stable ranges of motion. Follow the timelines and change one thing at a time.
If you want progressions to make beginner strength circuits harder safely, pick one lever this week and repeat it. You’ll get stronger, steadily and confidently.
FAQ
Q: What is progressive overload and why should beginners use it?
A: Progressive overload means slowly making workouts harder so muscles adapt; beginners should use it to build steady strength, reduce injury risk, and avoid burnout with consistent, small increases.
Q: Which variables should beginners adjust first to progress circuits safely?
A: Beginners should adjust reps first, then tempo, rest, load, exercise variations, and finally unilateral work — these six levers raise challenge while keeping risk low.
Q: How many reps should I add per round and what shows I’m progressing too fast?
A: To increase volume, add 1–3 reps per round; signs it’s too fast include repeated form breakdown, heavy breath loss, excessive soreness, or joints feeling irritated.
Q: How should I add external weight gradually in a circuit?
A: To add weight safely, use microloading, alternate heavier rounds with lighter ones, prioritize compound lifts, and monitor joint feedback for pain or stiffness before increasing further.
Q: How does slowing tempo increase difficulty and what tempo cues should I use?
A: Slowing tempo increases time under tension through eccentric-focused reps, paused reps, and controlled contractions; use cues like 3–4 second lower, 1–2 second pause, and smooth controlled lift.
Q: How much should I reduce rest intervals and how do I monitor fatigue?
A: Reduce rest in 10–15 second steps to raise intensity safely; monitor fatigue by checking form, heart-rate recovery, perceived effort, and back off if technique slips or you feel lightheaded.
Q: What small exercise variations safely increase challenge?
A: Small variations like incline to standard push-ups, step-back to forward lunges, and modest hip-hinge depth changes increase challenge; keep movements controlled and start with easy regressions.
Q: Why use unilateral movements and which beginner examples work well?
A: Unilateral movements raise difficulty while improving balance and coordination; try single-leg deadlifts (regressions), split-squat progressions, single-arm presses, and single-arm rows within a stable range of motion.
Q: What safety cues should I follow when progressing circuits?
A: Key safety cues are maintain a neutral spine, breathe in a controlled way, stack joints (knees over toes, wrists under shoulders), stop for sharp pain, and keep steady foot and hand placement.
Q: How often should beginners progress reps, load, tempo, and rest?
A: Beginners can increase reps every 1–2 weeks, add load every 2–4 weeks, adjust tempo every 1–3 weeks, and reduce rest every 1–2 weeks, depending on recovery and life stress.
Q: What’s a simple week-by-week progression plan for a beginner circuit?
A: A simple plan: Week 1 baseline, Week 2 add 1–2 reps per set, Week 3 slow eccentric tempo, Week 4 add small weight or a unilateral variation, then reassess recovery and repeat.