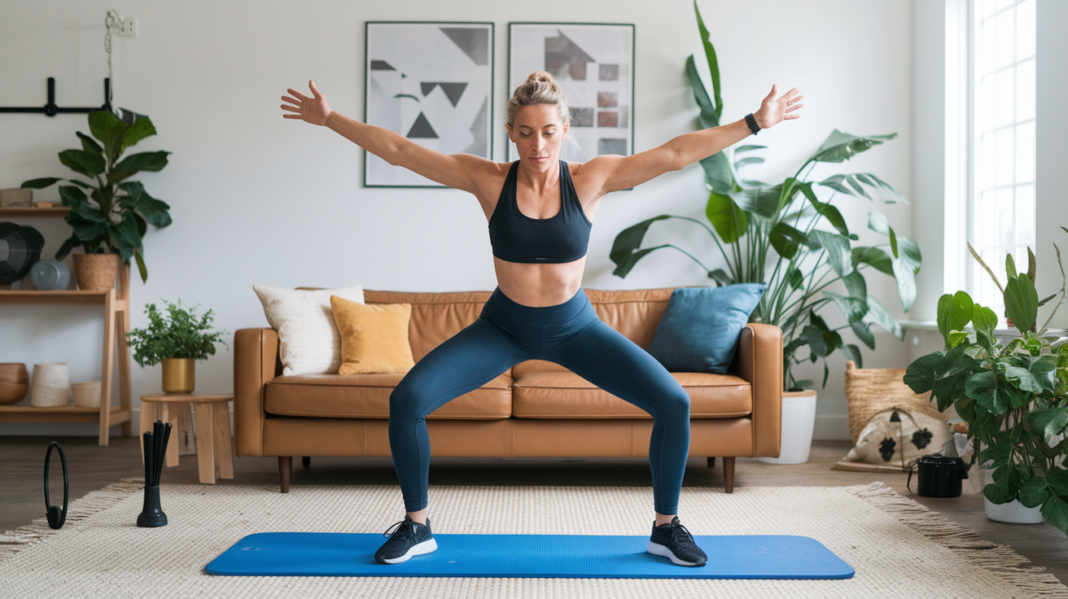
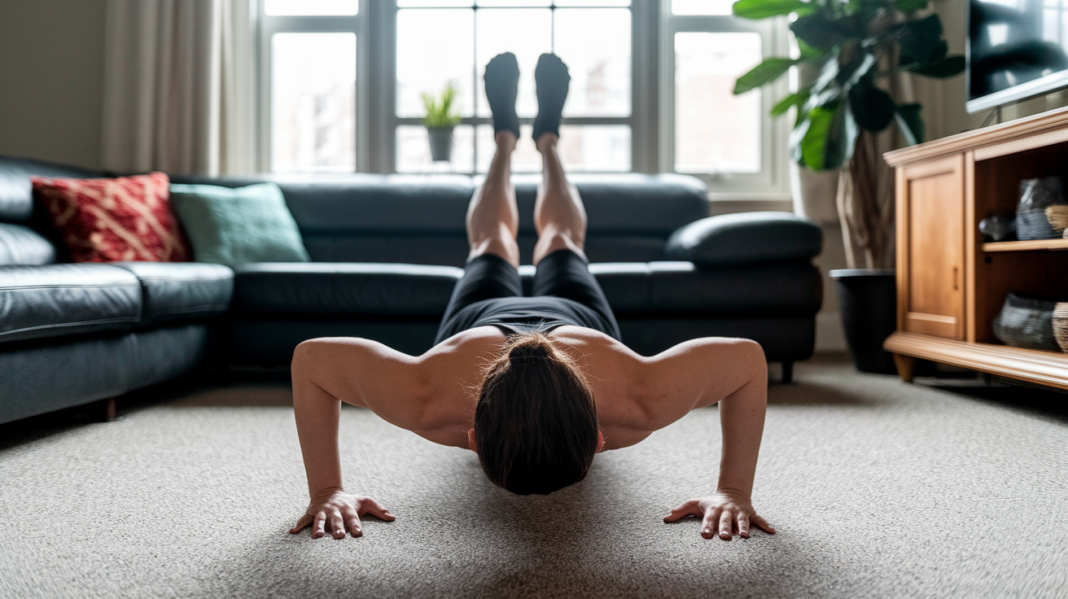
Think you need a gym to get stronger?
You don’t.
Bodyweight strength training builds muscle, improves stability, and makes everyday movement easier using only a patch of floor and about 20 minutes.
This post packs a beginner six-exercise circuit, simple form cues, easy progressions, and a short weekly plan so you can start at home and keep getting stronger.
Do it two to four times a week.
Consistency beats intensity when you’re starting.
Quick-Start Bodyweight Workout You Can Do Anywhere

Bodyweight strength training builds muscle, improves stability, and fires up dozens of muscles at once. No equipment needed. For beginners, that’s the best part. You can start seeing real improvements in strength and how your body moves with nothing more than a patch of floor and a few square feet of space.
The workout below hits every major muscle group in under 20 minutes. It’s set up as a circuit, so you’ll move through each exercise with minimal rest, then repeat the whole thing. Beginners should shoot for 2 to 3 rounds. If that feels easy after a few weeks, add a fourth round or slow down each rep to keep your muscles working longer.
Do this circuit 2 to 4 times per week. Leave at least one rest day between sessions so your muscles can recover and actually get stronger.
6-Exercise Bodyweight Circuit
- Squats – 30 seconds (aim for 10 to 15 reps)
- Push-ups – 10 reps (drop to your knees if you need to)
- Reverse lunges – 10 reps per leg
- Plank with shoulder taps – 10 total taps (5 per side)
- Glute bridges – 10 reps
- Burpees – 10 reps
Rest 15 seconds between exercises. After you finish all six, rest 60 to 90 seconds, then go again.
Consistency beats intensity when you’re just starting. If you can only do 2 rounds or need to pause mid-exercise, that’s still progress. Show up 2 to 3 times this week and your body will adapt faster than you think.
Essential Form Cues for Safe and Effective Movements
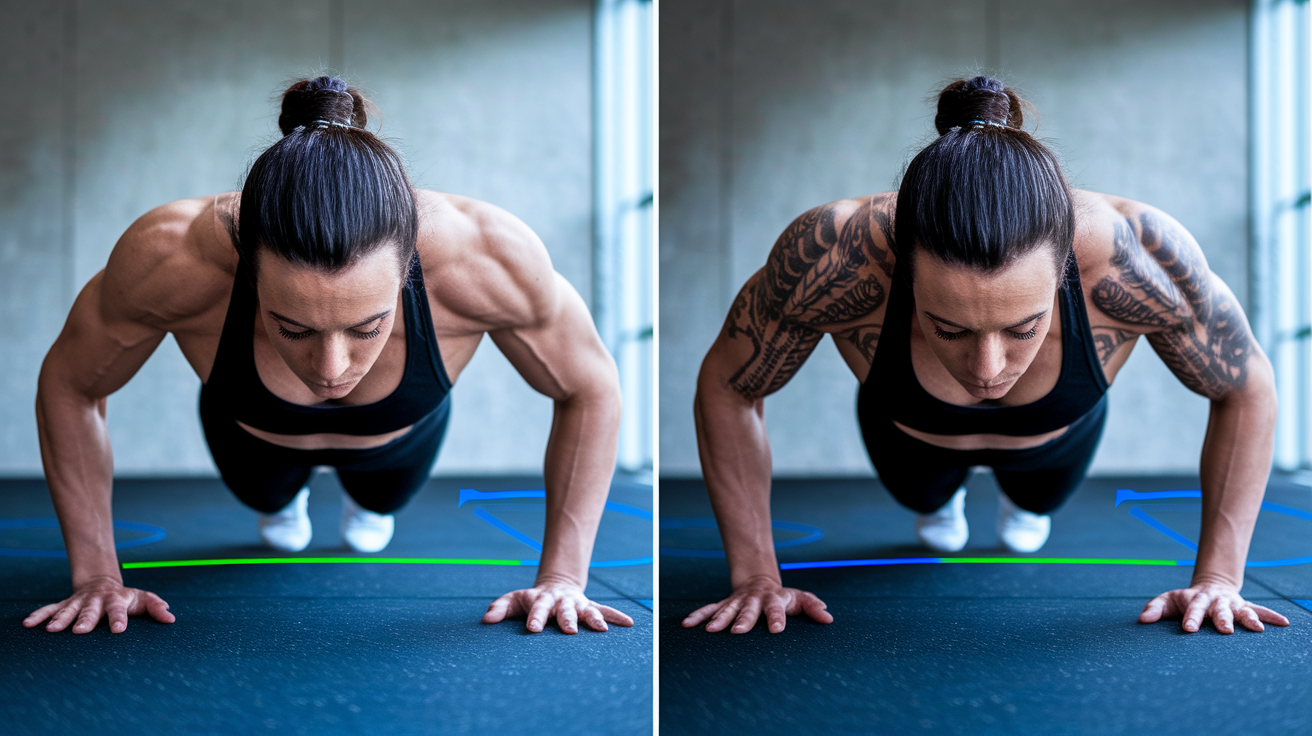
Good form protects your joints, recruits the right muscles, and makes every rep count. For bodyweight movements, that means keeping a neutral spine, stacking your joints in proper alignment, and bracing your core before you move. When you skip these basics, you shift load onto passive structures like ligaments instead of muscles. That raises injury risk and reduces the training effect.
Most beginners hold their breath during hard reps, which spikes blood pressure and reduces stability. Exhale during the hardest part of the movement and inhale as you return to the start. That pattern keeps your core engaged and oxygen flowing.
Small technique mistakes compound over reps and sessions. Catching them early keeps your training sustainable.
5 Common Form Mistakes and How to Fix Them
Rounded shoulders during push-ups – Pull your shoulder blades down and back before you lower. Imagine trying to tuck them into your back pockets.
Knees caving inward on squats or lunges – Push your knees outward in line with your toes throughout the movement. Think “knees tracking over second toe.”
Sagging hips in planks – Squeeze your glutes and brace your abs as if someone’s about to poke your stomach. Your body should form a straight line from head to heels.
Partial range of motion on squats – Lower until your thighs are parallel to the floor, or as close as mobility allows. Stopping high reduces muscle activation.
Holding your breath under load – Exhale on the hard part (pushing up, standing up, lifting). Inhale on the easy part (lowering, resetting).
How to Progress Your Home Strength Training Over Time
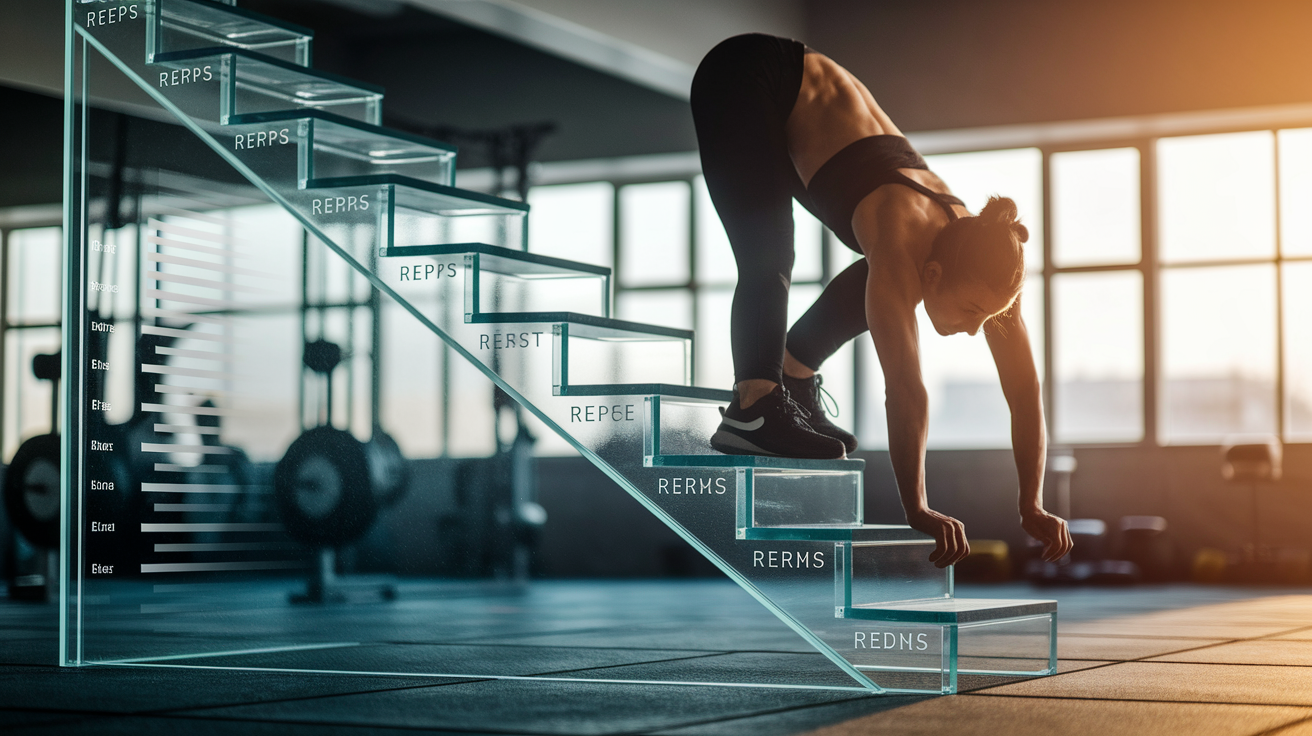
Progressive overload means making training slightly harder over time so your muscles keep adapting. Without weights, you can still apply the same principle by increasing reps, slowing down each rep, shortening rest periods, or switching to harder variations. Beginners typically see measurable progress every 1 to 2 weeks when they track their workouts and push a little further each session.
If you started with knee push-ups for 8 reps, aim for 10 reps the next week, then 12 the week after. Once you hit 15 reps comfortably, switch to full push-ups on your toes and drop back to 6 or 8 reps. That reset in difficulty keeps the stimulus strong enough to trigger new strength gains.
| Progression Method | How It Works | When to Use It |
|---|---|---|
| Add reps or sets | Increase total volume by doing more repetitions or adding another circuit round | When current reps feel manageable and form stays clean |
| Slow the tempo | Take 2 to 3 seconds to lower (eccentric phase) and 1 second to lift; increases time under tension | When you can complete target reps but want more challenge without changing exercise |
| Shorten rest periods | Reduce rest between exercises or circuits from 60 seconds to 45 or 30 seconds | When you want to increase workout density and cardiovascular demand |
| Use harder variations | Switch to single-leg, single-arm, or elevated versions (e.g., single-leg glute bridge, decline push-up) | When basic version becomes easy and you want a new strength stimulus |
The key is changing one variable at a time. If you add reps and slow the tempo in the same week, you won’t know which tweak drove your progress, and you risk overdoing it before your body adapts. Pick one method, apply it for 2 to 3 weeks, then reassess. That steady, measurable approach builds strength without burning you out.
Minimal Equipment Options to Expand Your Home Workouts
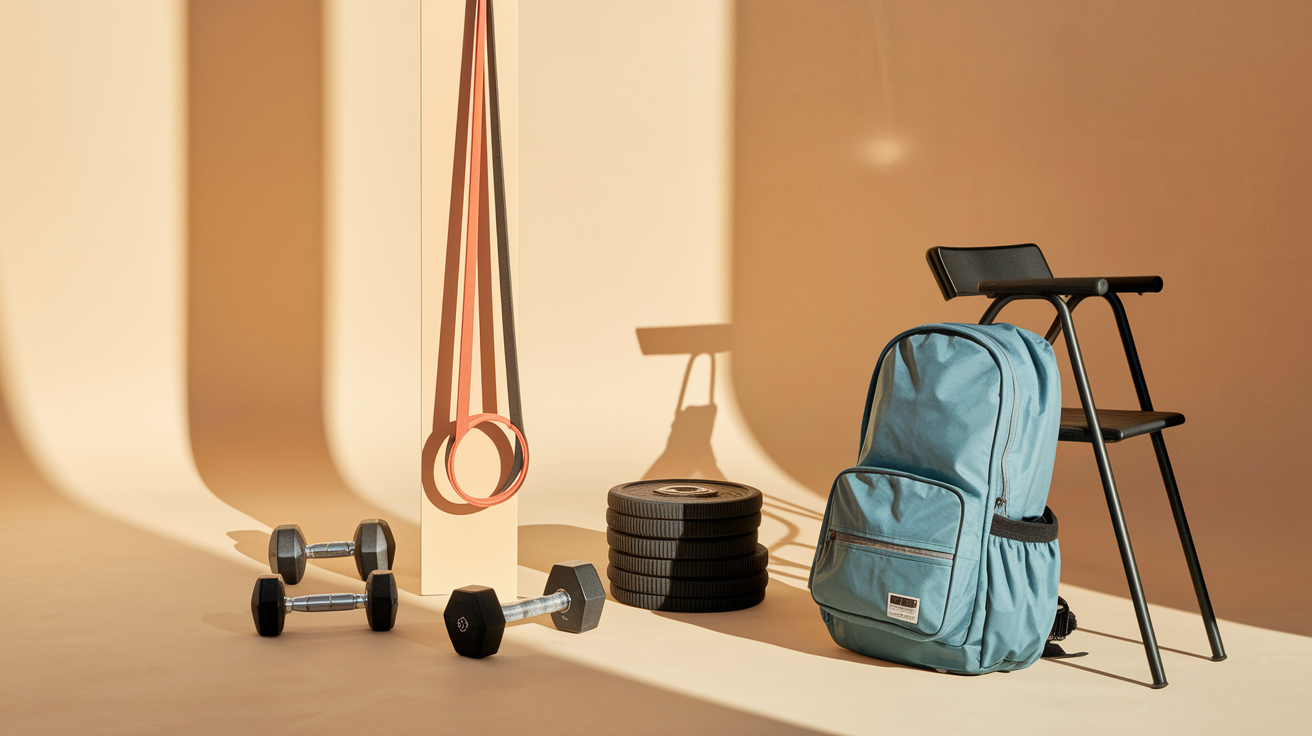
Bodyweight training takes you far, but a few inexpensive tools open up new exercises and make progression smoother. Resistance bands add external load without the bulk or cost of dumbbells, and they’re useful for pull and row variations that are hard to replicate with bodyweight alone. Loop a band around a sturdy post or door anchor, and you can train your back, biceps, and shoulders with adjustable resistance.
A single pair of adjustable dumbbells lets you load squats, lunges, and presses in small increments. If buying weights isn’t an option right now, household items work surprisingly well. Fill two sturdy water jugs, backpacks, or cloth shopping bags with books or canned goods, and you’ve got scalable resistance for curls, shoulder presses, and goblet squats.
The goal isn’t to replicate a full gym. It’s to add just enough variety and load to keep your muscles adapting as you get stronger.
4 Minimal Tools That Expand Your Options
Resistance bands – Portable, inexpensive, and ideal for rows, face pulls, and banded squats or glute bridges.
Adjustable dumbbells – Let you progress in small weight jumps. One pair covers dozens of exercises.
Filled backpack – Acts as a weighted vest for squats, lunges, and push-ups. Easy to adjust load by adding or removing items.
Sturdy chair or table edge – Enables tricep dips, incline or decline push-ups, and inverted rows for back and biceps.
Weekly Training Plans for Different Fitness Levels
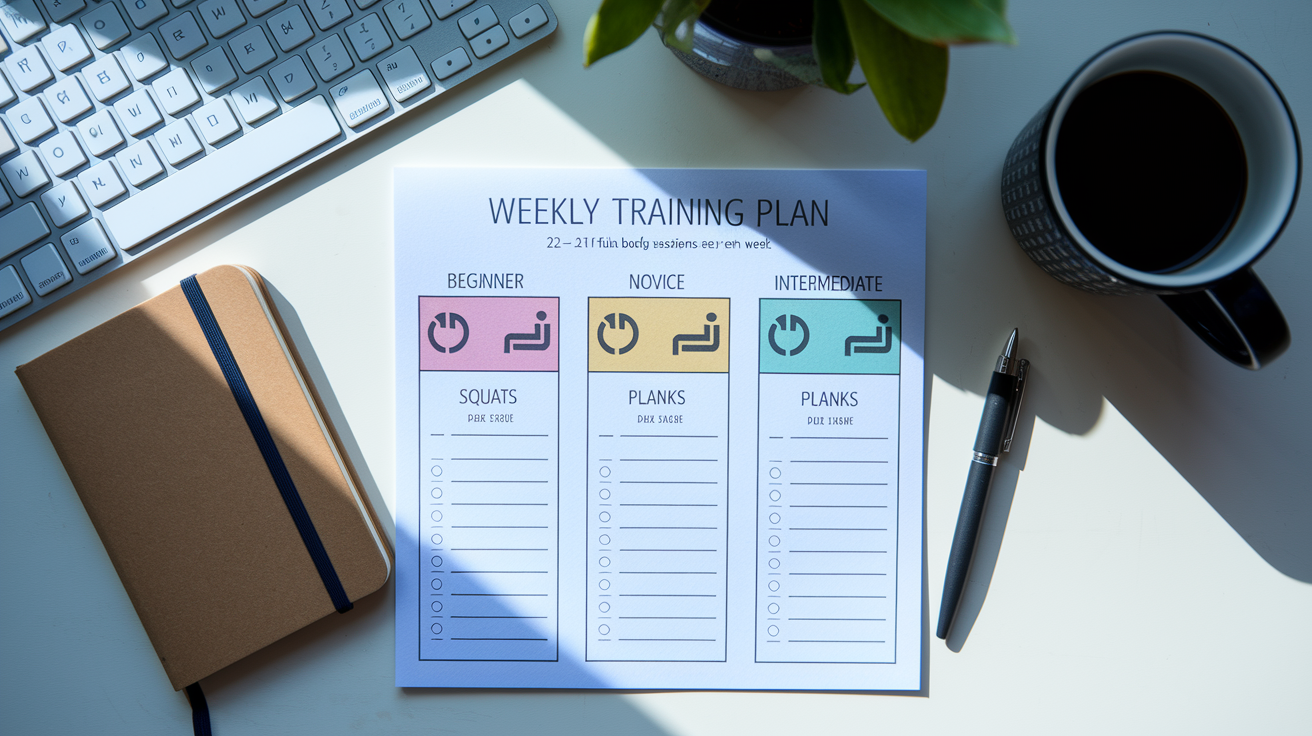
How often you train depends on your current fitness, recovery capacity, and schedule. Beginners benefit most from 2 to 3 full-body sessions per week, allowing 48 hours between workouts for muscles to repair and adapt. As you get stronger and your recovery improves, you can add a third or fourth session. But only if performance stays steady or improves. If your reps drop or form breaks down, pull back to 2 or 3 sessions until adaptation catches up.
Each session should include at least one lower-body push (squat or lunge), one upper-body push (push-up or dip), and one core or posterior-chain movement (plank, glute bridge, or Superman). That framework ensures balanced muscle development and functional strength across all major movement patterns.
| Fitness Level | Weekly Frequency | Session Breakdown |
|---|---|---|
| Beginner | 2 to 3 times per week | Full-body circuit (6 exercises, 2 to 3 rounds, 15-sec rest between moves, 60 to 90 sec between rounds) |
| Novice | 3 times per week | Full-body or alternating upper/lower focus (6 to 8 exercises, 3 rounds, 10 to 15 sec rest between moves) |
| Intermediate | 3 to 4 times per week | Upper/lower split or full-body with added unilateral work (8 to 10 exercises, 3 to 4 rounds, tempo variations) |
Listen to your body between sessions. If you’re still sore or your performance drops, add an extra rest day or reduce volume by one round. Strength builds during recovery, not during the workout itself. More sessions only help if you can recover from them.
Safety and Injury Prevention Basics for At‑Home Training
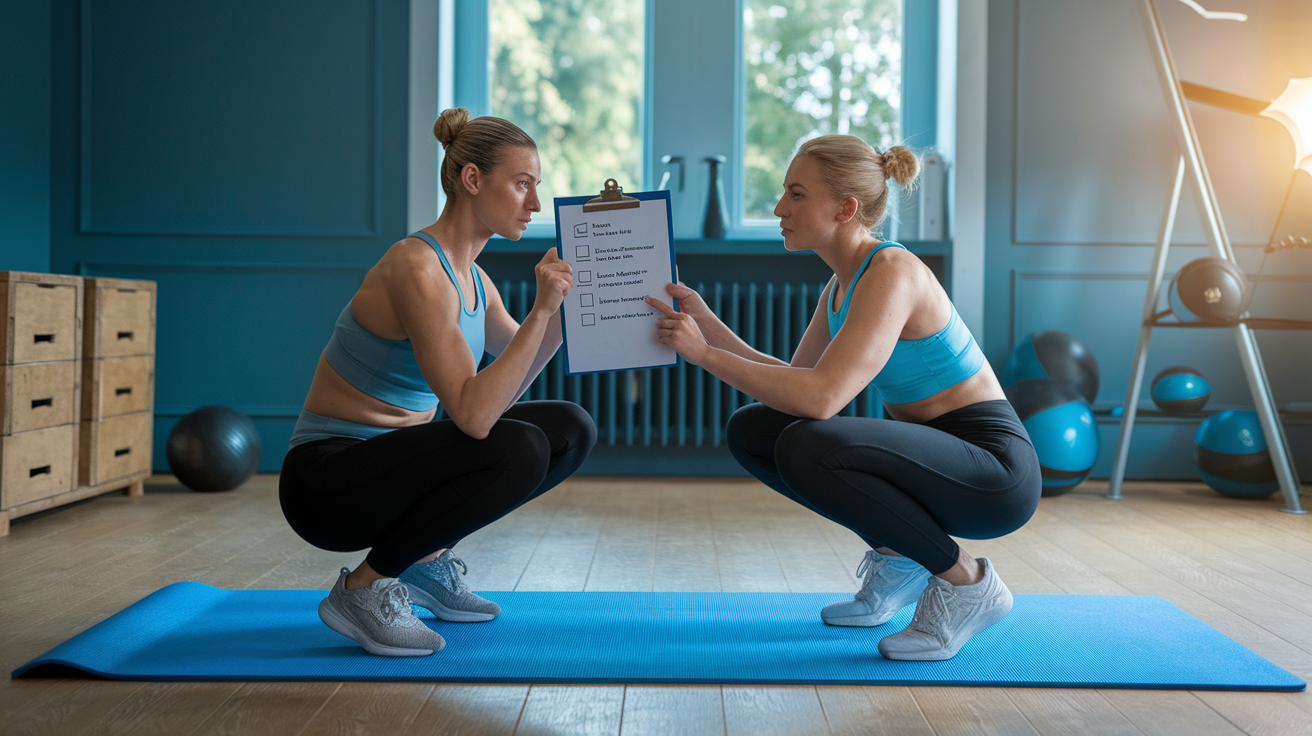
Warming up for 3 to 5 minutes before strength work raises tissue temperature, increases joint range of motion, and primes your nervous system for loaded movements. Simple dynamic stretches like leg swings, arm circles, and plank walk-outs prepare your body better than jumping straight into your first set. Many home workout routines include optional warm-ups. Use them.
Proper progression prevents overuse injuries. If you add too many reps, too much intensity, or a new exercise variation all at once, you risk straining tendons and ligaments that adapt more slowly than muscles. Increase one variable per session or per week, and give your body time to catch up.
Pain is different from soreness. Muscle soreness the day after a workout is normal and fades within 48 hours. Sharp, localized pain during or immediately after an exercise is a warning sign. Stop, reassess your form, and if the pain persists, consult a medical professional before continuing.
4 Early Warning Signs to Stop or Modify Training
Sharp or stabbing pain during a movement – Stop immediately and check your form. If pain returns, skip that exercise and try a regression.
Pain that persists beyond the workout – Lingering joint or tendon pain suggests overuse or strain. Rest that area and reduce volume.
Declining performance across multiple sessions – Consistently weaker reps or lower endurance indicates inadequate recovery or overtraining.
Loss of range of motion or stiffness that doesn’t improve with warm-up – May signal an underlying issue. Consider adding mobility work or seeking professional advice.
Final Words
Get moving with the quick-start bodyweight circuit, like squats, push-ups, planks, and lunges you can repeat 2–4 times weekly. Use the form cues and watch common mistakes so each rep counts.
Pick one progression method — more reps, slower tempo, or reduced rest — and try minimal equipment if it helps. Follow the weekly templates and prioritize warm-ups and basic safety.
This simple, steady approach to strength training at home will build strength and confidence. Keep at it, and you’ll see progress.
FAQ
Q: Can you effectively strength train at home?
A: You can effectively strength train at home by using bodyweight moves, short circuits, and progressive overload (add reps, slow tempo, or reduce rest), done 2–4 times per week for steady gains.
Q: What is the 3 3 3 rule for working out?
A: The 3 3 3 rule for working out is a simple beginner plan: pick three exercises, do three sets of each, and repeat the session three times per week to build habit and base strength.
Q: Can I lift weights while taking Zepbound?
A: You can lift weights while taking Zepbound, but check with your prescriber first; start slowly, watch for dizziness, low blood sugar, or energy changes, and adjust intensity if you feel off.
Q: What are the 5 basic strength trainings?
A: The five basic strength training moves are squats, push-ups, lunges, planks, and rows, which together cover lower body, upper body, and core with easy progressions for beginners.