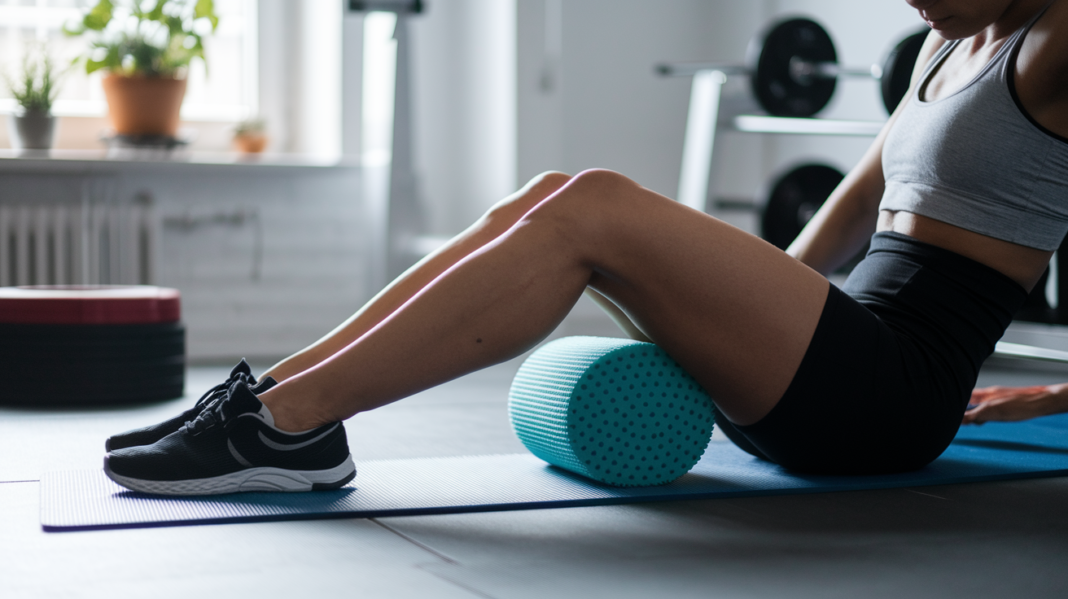
Think stretching alone fixes leg-day soreness?
Foam rolling does more.
It speeds recovery, eases tight spots, and helps you move better the next day.
This post gives a simple, step-by-step 8 to 12 minute routine you can do right after a workout.
You’ll roll six muscle groups in one order, spend 30 to 60 seconds on each area, and pause on knots while you breathe.
No guesswork.
Just clear cues and a short plan you can repeat after every leg session to cut stiffness and improve range of motion.
Quick Start: The Exact Post-Leg-Day Foam Rolling Routine
Here’s the complete foam rolling sequence you’ll use after every leg workout. The whole routine takes about 8 to 12 minutes. You’ll move through six muscle groups in a specific order, starting with the largest muscles and finishing with smaller support muscles. Each area gets 30 to 60 seconds of slow, controlled pressure. Breathe normally and pause on any tender spots until you feel the tension drop.
Follow this order every time:
-
Quads – Lie face down with the roller under your thighs, just above your knees. Roll slowly up toward your hips for 60 seconds. When you find a tight spot, hold for three to five breaths. Keep your core tight and don’t let your hips sag. If you want more pressure, lift one leg off the roller and roll one quad at a time.
-
Hamstrings – Sit on the floor with the roller under your hamstrings, hands behind you for support. Lift your hips slightly and roll from just above the back of your knees up to your glutes for 60 seconds. Cross one leg over the other to increase pressure on one hamstring. Pause and breathe when you hit a knot.
-
Calves – Sit with legs extended, roller under your calves near your heels. Lift your hips and cross one ankle over the other for extra weight. Roll from heel toward knee, pausing on tight spots. Spend 30 to 45 seconds per calf. Make small circles with your foot when you hold a tender point.
-
Glutes – Sit on the roller and cross your right ankle over your left knee. Lean slightly to the right so your weight shifts onto your right glute. Roll small circles and forward back motions for 45 to 60 seconds. Switch sides. When you find a knot, hold it and slowly straighten and bend your knee five to ten times.
-
IT band – Lie on your right side with the roller under the outside of your right thigh, between your knee and hip. Prop yourself on your right forearm and place your left foot flat on the floor in front of you for balance. Roll slowly up and down for 30 to 45 seconds, then switch sides. Don’t rush. If it’s too intense, push harder with your top foot to take some weight off.
-
Hip flexors – Get into a plank position with the roller under your left hip flexor, right leg bent out to the side. Roll side to side and slightly forward and back for 30 seconds. Switch to the right hip flexor. Hold on any tight spots and breathe through the discomfort.
This sequence targets the muscles that take the most load during squats, lunges, deadlifts, and leg presses. You’ll notice better range of motion and less stiffness within 24 hours if you stick to this order and don’t skip the hold and breathe pauses on tight areas.
How to Foam Roll Your Quads Correctly
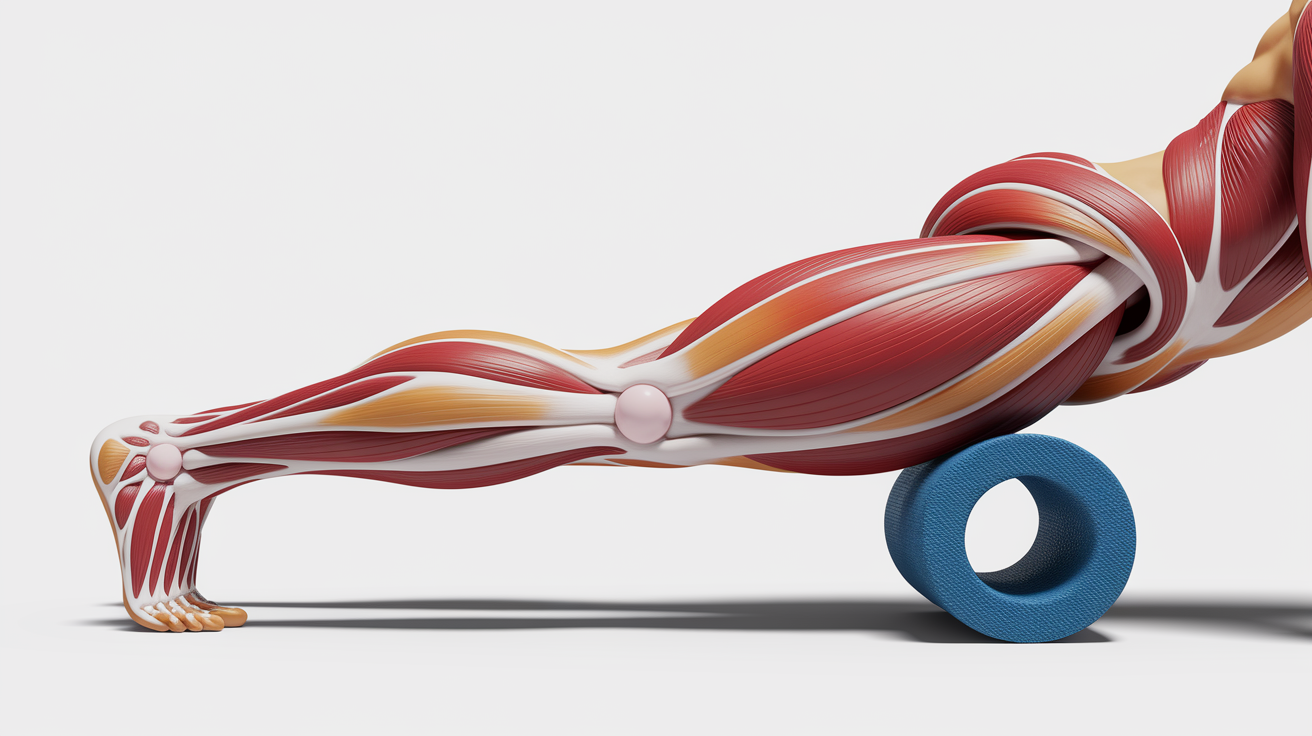
Your quads absorb heavy tension during any squat or lunge variation. They’re made up of four separate muscles on the front of your thigh, and all of them shorten and tighten under load. After a hard leg session, tight quads pull on your kneecap and hip. This can limit your squat depth and make walking downstairs painful the next day.
Slow, focused rolling breaks up that tightness. You’re not trying to iron out the muscle in one pass. You’re looking for knots and tender spots, then holding pressure on them until the pain drops from a 7 out of 10 to about a 3 or 4.
Here’s the step by step quad rolling technique:
-
Start position – Lie face down on the floor. Place the foam roller horizontally under your thighs, just above your knees. Your forearms should be on the floor in front of you, elbows bent at 90 degrees, like you’re holding a plank.
-
Engage your core – Pull your belly button toward your spine and keep your hips level. Don’t let your lower back sag. If your hips drop, you’ll lose tension on the quads and shift pressure to your hip flexors instead.
-
Roll slowly – Push through your forearms and roll your body forward so the roller moves up your thighs toward your hips. Move about two inches per second. When you hit a tight or painful spot, stop and hold for three to five full breaths. Then continue rolling.
-
Single leg option – If you want deeper pressure, bend one knee and lift that leg off the roller. Now all your weight is on one quad. Roll that side for 30 seconds, then switch.
Common mistakes to avoid:
Rolling too fast – You miss the knots if you’re moving quickly. Slow down.
Skipping the hold – The benefit comes from pausing on tight spots, not from continuous rolling.
Letting your hips sag – Keep your core tight. If you can’t hold a solid plank, drop to your knees and roll from there until you build strength.
Proper Hamstring Foam Rolling Technique
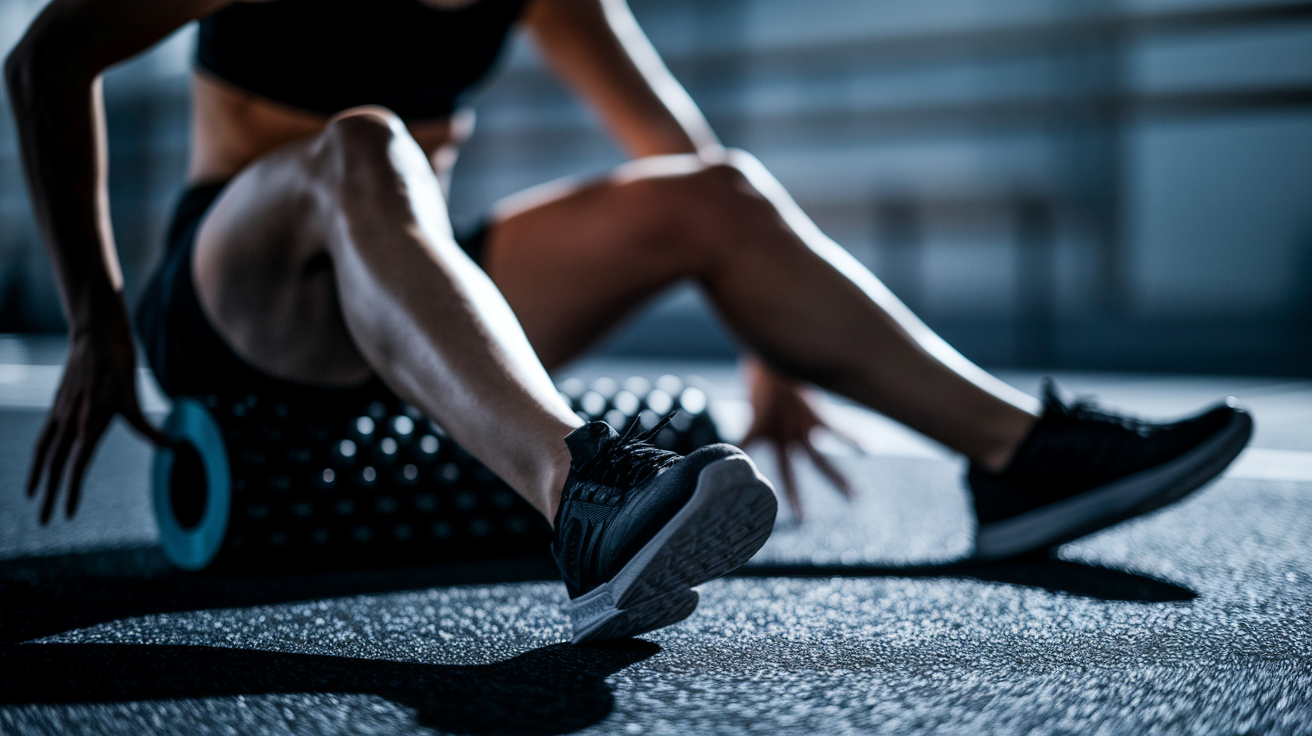
Your hamstrings run from your sit bones to the back of your knees. They fire hard during Romanian deadlifts, leg curls, and the bottom of a squat. After leg day, they tend to knot up near the insertion points, especially just above the knee and high near the glutes. Tight hamstrings pull your pelvis into a posterior tilt, which rounds your lower back and makes the next squat session feel stiff and awkward.
Hamstrings respond well to segmented rolling. That means you don’t roll the entire length in one sweep. You divide the muscle into three zones: lower third, middle, and upper third. Spend time in each zone and use small, controlled movements over the tightest areas.
Here’s how to roll your hamstrings properly:
-
Sit on the floor with your legs extended. Place the roller under your hamstrings, just above the back of your knees. Put your hands flat on the floor behind you, fingers pointing back or to the sides.
-
Lift your hips slightly off the floor so your body weight rests on the roller and your hands. Keep a slight bend in your elbows to support some of your weight.
-
Roll in sections – Move the roller two to three inches at a time, pausing every few inches. Start near your knees and work toward your glutes. When you find a tender spot, stop and hold for five to ten seconds. Make tiny back and forth oscillations (about one inch of movement) over that spot while you hold.
-
Increase pressure on one leg – Cross your left ankle over your right shin. Now your right hamstring carries more weight. Roll that side for 30 seconds, then switch.
Calf Release Method for Faster Recovery
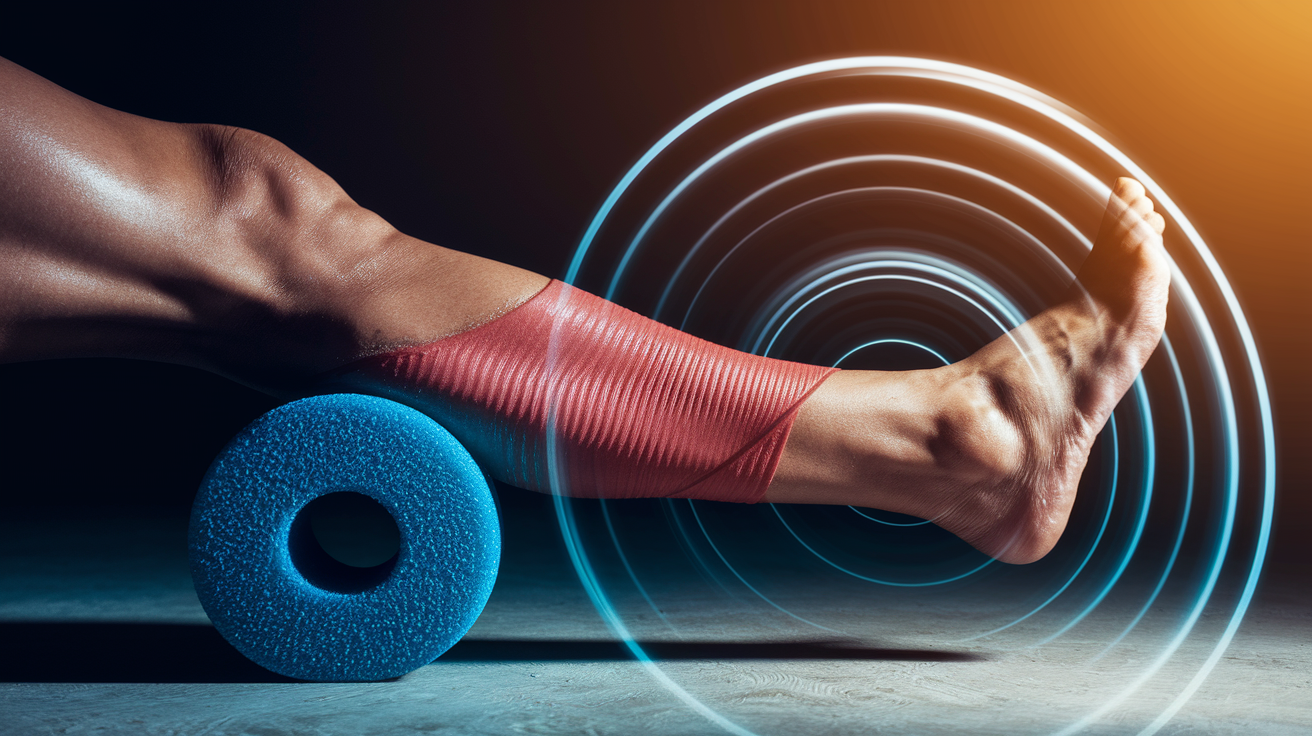
Your calves stabilize your ankles during lunges, split squats, and any single leg work. They also help control the descent in squats and step ups. Even though they’re smaller muscles, they accumulate tension quickly and stay tight for days if you don’t address them. Tight calves restrict ankle dorsiflexion, which limits squat depth and puts extra stress on your knees and Achilles tendons.
Rolling your calves improves ankle range of motion and helps blood flow return from your lower legs. You’ll feel the difference the next time you squat.
Here’s the step by step calf release method:
-
Sit on the floor with your legs extended. Place the roller under your right calf, close to your heel.
-
Cross your left ankle over your right shin to add pressure. Lift your hips off the floor so your weight rests on the roller.
-
Roll from heel to knee – Move slowly, about one inch per second. When you hit a tight spot, stop and hold. While holding, make ten small circles with your foot (rotate your ankle clockwise, then counterclockwise).
-
Tense and relax – Still holding on the tight spot, point your toes hard (plantarflex) for two seconds, then relax and pull your toes back toward your shin (dorsiflex). Repeat five times. This active movement helps the muscle release faster.
Pressure cues to follow:
Start with both calves on the roller to get used to the sensation.
Add the crossed leg position when you’re ready for more intensity.
If a spot feels sharper than a 7 out of 10, ease off slightly. You want discomfort, not pain that makes you hold your breath.
How to Foam Roll Your Glutes for Maximum Release
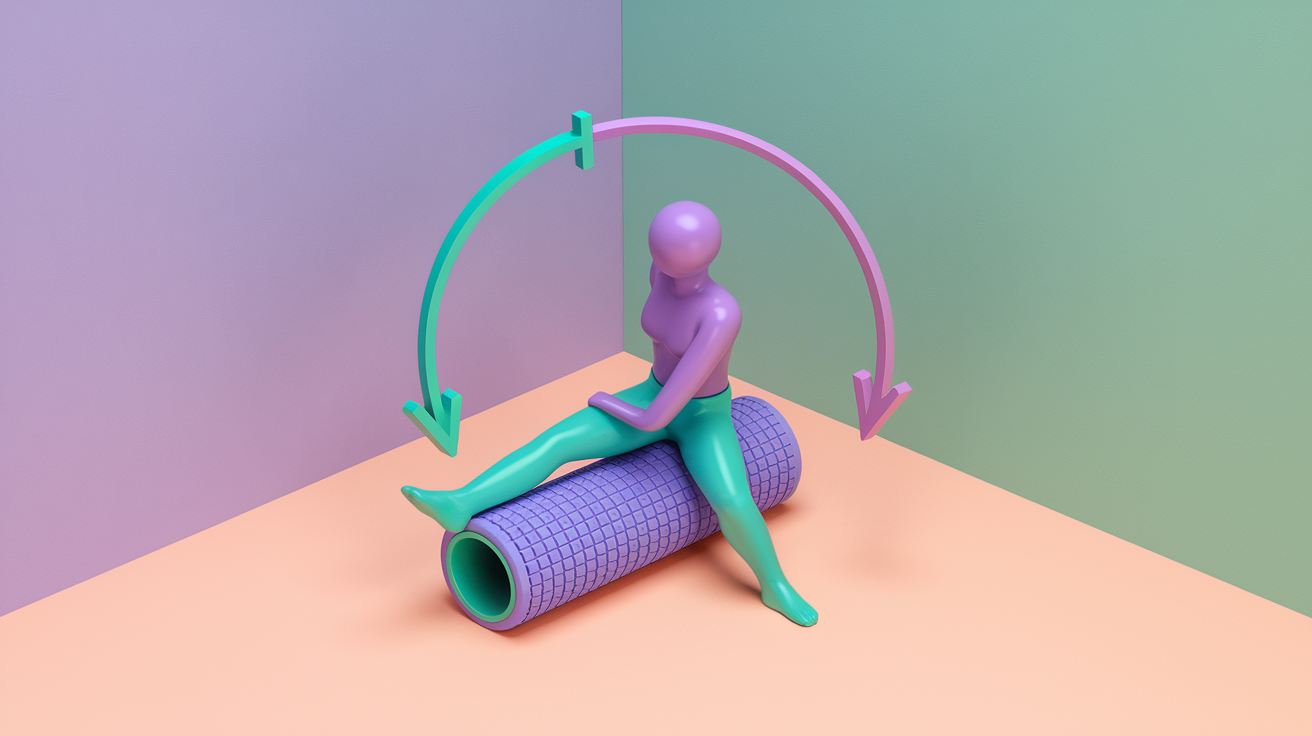
Your glutes stabilize your hips during squats, deadlifts, lunges, and step ups. After a heavy leg day, the glute medius and glute maximus tighten up, especially near the hip joint and sacrum. When your glutes are locked up, your hip flexors and lower back compensate, which creates stiffness through your entire posterior chain. Rolling your glutes reduces that hip tension and helps restore normal movement patterns.
Rolling your glutes is different from rolling long muscles like quads or hamstrings. Glutes respond better to targeted pressure and small, controlled movements rather than long sweeping rolls.
Here’s how to roll your glutes effectively:
-
Sit on the roller – Start with the roller under your glutes, knees bent, feet flat on the floor.
-
Cross one ankle over the opposite knee – For example, cross your right ankle over your left knee. Lean slightly to the right so your weight shifts onto your right glute.
-
Roll in small circles – Use your left foot and both hands to control your movement. Roll forward, back, and side to side in a small area (about four inches). When you find a tender spot, stop and hold.
-
Active release – While holding pressure on a tight spot, slowly straighten your right knee, then bend it again. Repeat this motion five to ten times. The movement helps the muscle fibers relax under pressure. Switch sides and repeat the entire sequence on your left glute for 45 to 60 seconds.
IT Band Foam Rolling: What to Do and What to Avoid
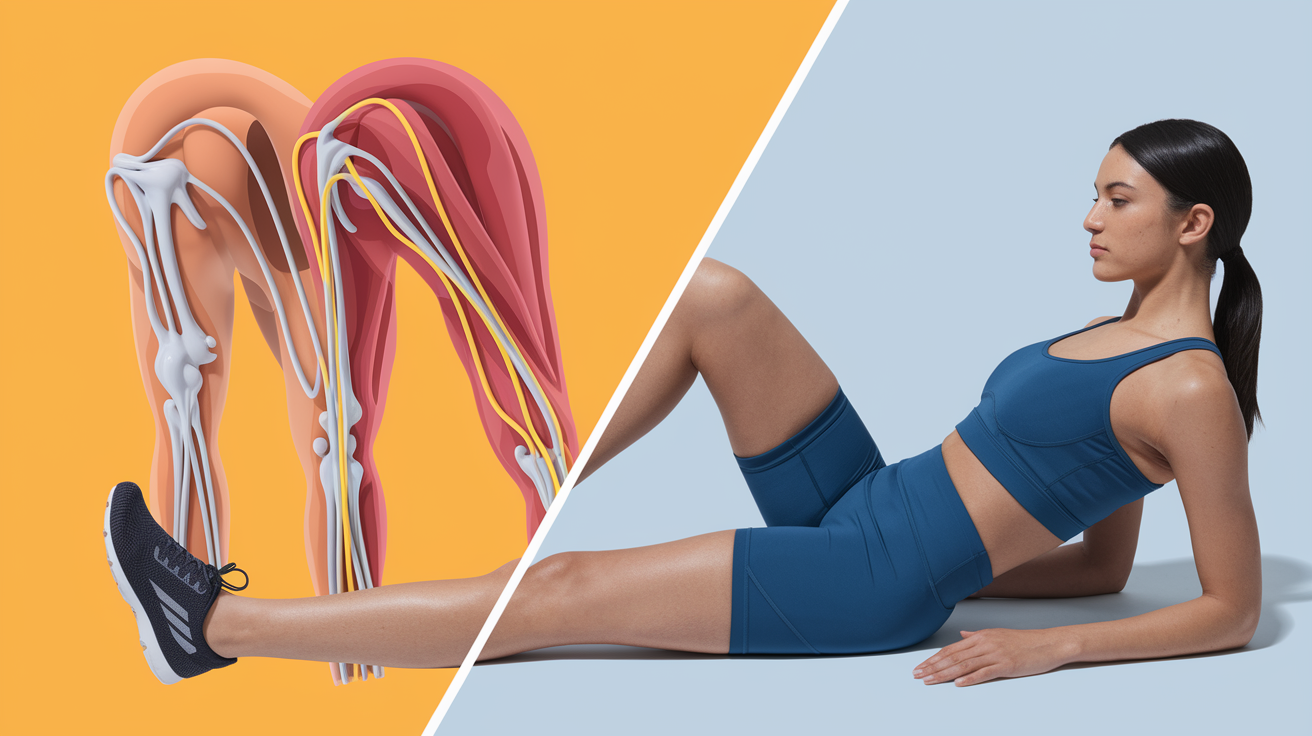
Your IT band is a thick strip of connective tissue that runs down the outside of your thigh from your hip to your knee. It’s not a muscle. It’s fascia. You can’t stretch it or lengthen it with a foam roller. What you can do is roll the muscles around it (your tensor fasciae latae near your hip and the outer part of your quadriceps) to reduce the tension pulling on the IT band.
A lot of people roll directly on the most painful part of their IT band and wonder why it doesn’t help. The pain you feel on the outside of your knee or mid thigh is usually referred tension from tight muscles above and below, not the IT band itself.
Here’s the correct IT band rolling technique:
-
Lie on your right side with the roller under the outside of your right thigh, about halfway between your knee and hip. Prop yourself up on your right forearm. Bend your left knee and place your left foot flat on the floor in front of your right leg for balance.
-
Control your weight – Use your left foot to push and control how much pressure you’re putting on the roller. If it’s too intense, push harder with your left foot to take weight off the roller.
-
Roll slowly – Move your body forward and back so the roller travels from just above your knee to just below your hip. Stop on any tender spots and hold for five to ten seconds. Don’t rush. The goal is to address the muscles around the IT band, not to flatten the band itself.
-
Focus on the TFL and outer quad – Spend extra time near your hip (TFL area) and the outer quad. These are the muscles creating the pull. The middle section of the IT band often feels the most painful, but holding pressure there won’t release the root cause.
Common mistakes to avoid:
Rolling only where it hurts most – Pain in the middle of the IT band usually comes from tightness above or below. Roll the whole outer thigh, not just the sorest spot.
Using too much pressure too fast – The IT band area is sensitive. Start light and add pressure gradually over several sessions.
Forgetting to balance with the opposite leg – Use your top foot to control pressure. If you dump all your weight onto the roller at once, you’ll tense up and the muscle won’t release.
When to Foam Roll After Your Leg Workout
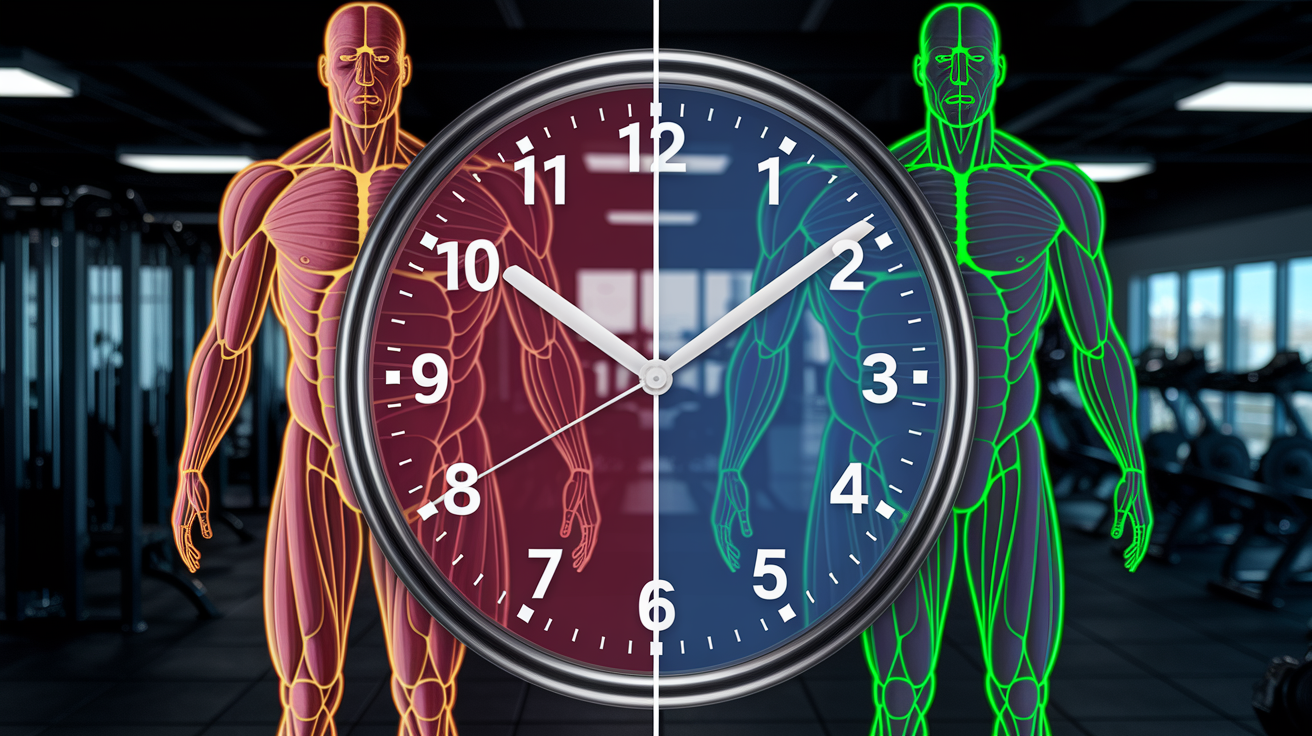
Foam rolling works best when your muscles are still warm and your nervous system hasn’t fully downregulated. The ideal window is within 5 to 20 minutes after your last working set. Your heart rate is still slightly elevated, blood flow is high, and your muscles are pliable. Rolling during this window helps clear metabolic waste, reduces the initial stiffness, and sets up better recovery over the next 24 to 48 hours.
If you wait too long (say, two or three hours) you’ll still get some benefit, but your muscles will have started to stiffen and cool down. Rolling cold muscles takes more pressure and more time to get the same release. If your schedule doesn’t allow immediate post workout rolling, aim to roll within the same day, ideally before bed.
Physiological effects of rolling right after your workout:
Increased circulation – Rolling pushes fluid through the tissue, which helps remove lactate and other byproducts faster than passive rest.
Nervous system calming – Slow, controlled pressure activates your parasympathetic nervous system, which helps your body shift from a high stress training state to a recovery state.
Reduced next day stiffness – Studies show that rolling within the first hour post exercise lowers perceived soreness 24 and 48 hours later compared to doing nothing.
Troubleshooting: Pain, Tight Spots, and When to Stop
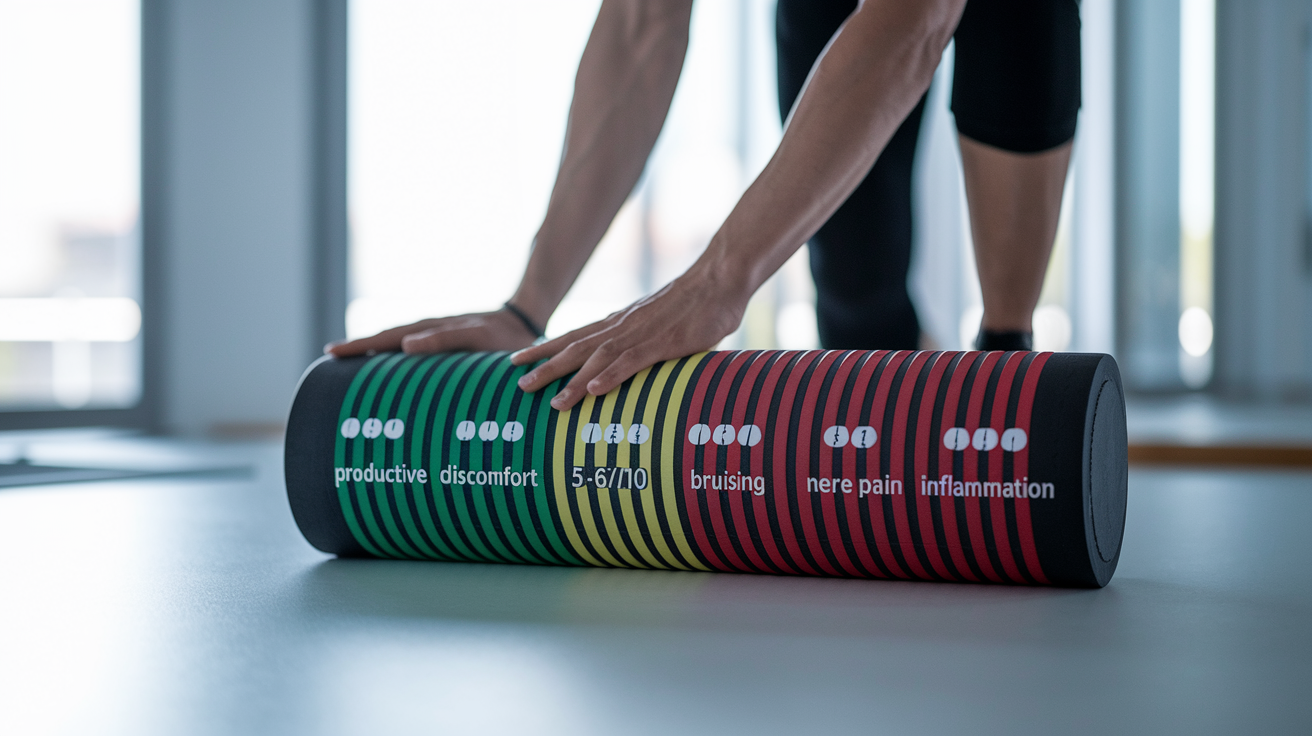
Foam rolling should feel uncomfortable, but not unbearable. You’re applying pressure to tight muscle tissue, so some discomfort is normal. The key is knowing the difference between productive discomfort and a signal that you need to stop or adjust.
Here’s how to troubleshoot the most common issues:
-
Sharp, stabbing pain – If you feel a sharp, localized pain that doesn’t ease up after a few seconds, stop rolling that spot. Sharp pain usually means you’re on a nerve, a bone, or an area with acute inflammation. Move the roller a few inches away and try again. If the sharp pain persists, skip that area entirely for the day.
-
Bruising or skin tenderness – If you notice bruising after rolling, you’re using too much pressure or spending too long on one spot. Dial back the intensity. Aim for a discomfort level around 5 or 6 out of 10, not 9 or 10. You can always add more pressure in future sessions once your tissue adapts.
-
No change in tightness after multiple sessions – If a spot stays rock hard after a week of daily rolling, the issue might not be muscle tension. It could be scar tissue, a trigger point that needs manual therapy, or compensation from weakness somewhere else. Consider seeing a physiotherapist or massage therapist for a deeper assessment.
-
Pain that gets worse during or after rolling – Foam rolling should reduce discomfort over the course of a session. If pain increases while you’re rolling or spikes afterward, stop. You might be rolling over an injury, inflamed tissue, or a strain you didn’t realize you had. Rest the area for a few days and consult a professional if the pain doesn’t improve.
Final Words
You now have the full post-leg-day routine: six moves in order—quads, hamstrings, calves, glutes, IT band, hip flexors—with timing and breathing cues.
The article also gives muscle-specific how-tos, best timing (5–20 minutes post-workout), and troubleshooting for pain. Use 30–60 seconds per area, steady pressure, and calm breaths.
Run the quick-start list after your workout. If you want a simple plan for how to foam roll after leg day step-by-step, use this sequence and you’ll feel recovery start faster.
FAQ
Q: How to foam roll legs after leg day?
A: Foam rolling legs after leg day reduces muscle tightness and speeds recovery. Roll quads, hamstrings, calves, glutes, IT band, hip flexors – 30-60 seconds each, slow pressure, breathe, stop if sharp pain.
Q: Do foam rollers help with scoliosis?
A: Foam rollers help with scoliosis by easing tight muscles and improving mobility, but they won’t correct spinal curvature. Use targeted, careful rolling, avoid rolling directly on the spine, and check with a clinician first.
Q: Can foam rolling help with sciatica?
A: Foam rolling can help sciatica by loosening tight muscles (piriformis, glutes) that irritate the sciatic nerve. Use gentle, focused work and stop if you get sharp, shooting pain—see a clinician for nerve symptoms.
Q: Can foam rolling help plantar fasciitis?
A: Foam rolling can help plantar fasciitis by easing calf and plantar tissue tightness and improving foot mobility. Use a ball or small roller gently for 30-60 seconds, avoid aggressive pressure during acute flares, and consult a podiatrist.