
What if five to seven minutes a day could help you stand steadier and move easier at home?
This short strength and balance circuit is made for seniors who are true beginners, no gym, no heavy gear, just a chair and a wall.
It targets legs, hips, calves, core, and upper body with five simple moves you can do back to back.
Start with one gentle round. The goal is steady gains, safer steps, and more confidence for everyday tasks.
Senior Beginner Strength Circuit to Improve Balance and Strength at Home
What This Circuit Does and Who It’s For
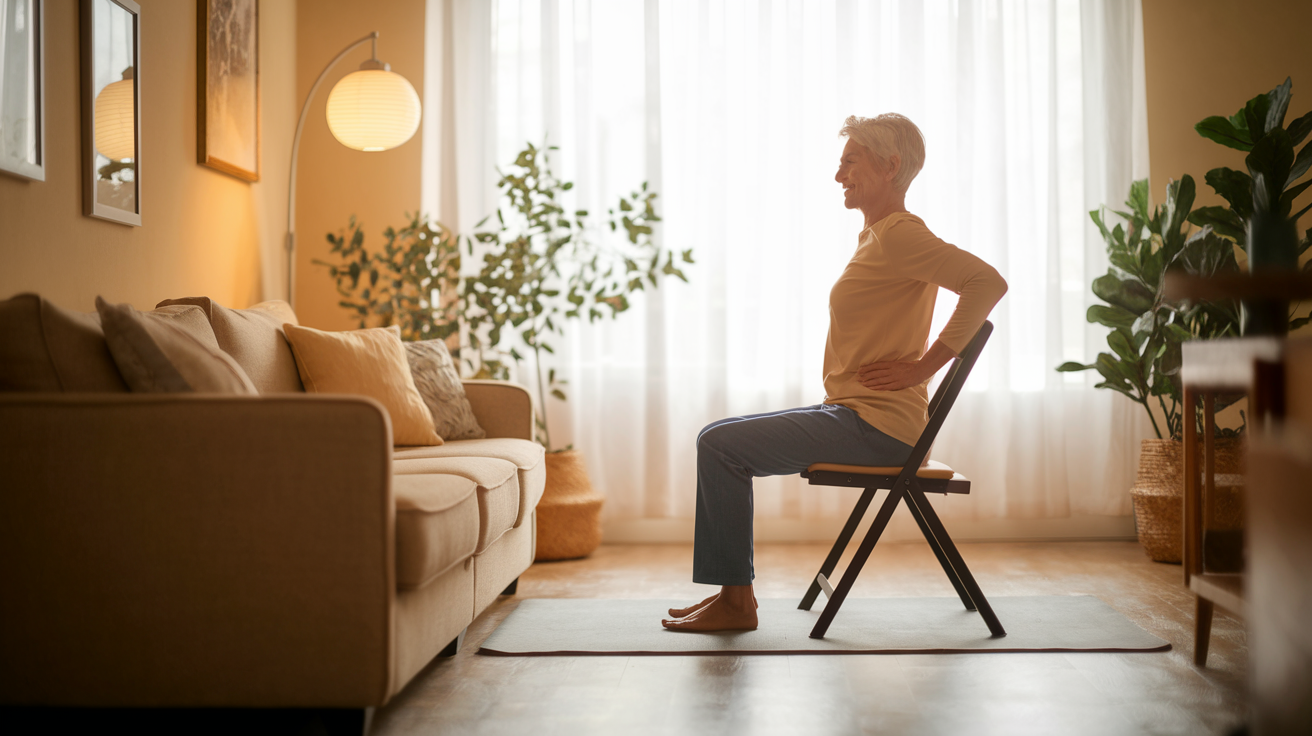
This short strength and balance circuit targets older adults and true beginners who want steadier feet and more strength for everyday tasks. No hour-long gym sessions. No wall of equipment.
The routine hits your legs, hips, calves, core, and upper body with five simple exercises you can do back to back. One round takes about five to seven minutes. If you’re just starting, that single round is plenty. When you’re ready, add a second round for a total of around ten to fourteen minutes.
You’ll need a stable chair, a wall or countertop for balance support, and that’s it to start. Later, you can grab light hand weights or a resistance band if you want more challenge.
Every exercise scales to match where you’re at right now. More support when you need it, less as you get stronger. The focus stays on safe movement, solid form, and building confidence.
If standing feels shaky or you’ve had a recent fall, injury, or balance issue, check with your doctor or physical therapist first. This is gentle work, but it’s still real strength training.
Why Strength and Balance Training Matter for Older Adults
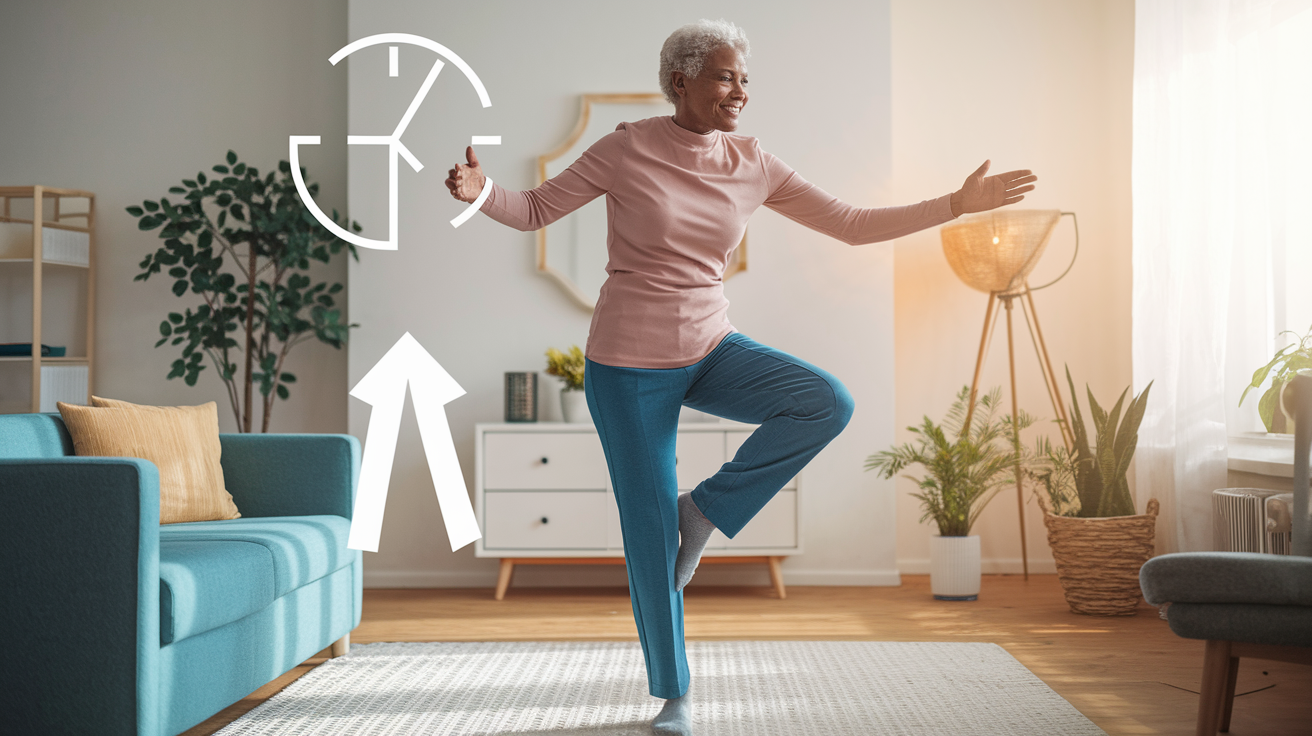
Strength and balance don’t decline just because of age. They decline mostly because of inactivity. When you stop challenging your muscles and balance systems, your body adapts by shedding what it doesn’t use.
Good news? That process works both ways. Regular strength and balance training can cut your fall risk, boost your ability to get up from a chair or climb stairs, protect your bones, and help manage blood pressure and arthritis symptoms.
Research backs this up. Older adults who stick with consistent strength and balance work see better independence, fewer chronic disease symptoms, and improved mood. You’re not trying to reverse time. You’re trying to stay functional, confident, and mobile for as long as possible.
This circuit gives you a practical starting point. Short enough to repeat daily, challenging enough to create real change, flexible enough to grow with you over weeks and months.
No extremes. Just steady progress.
Safety, Screening, and When to Get Help

Before you start, do a quick self check. Can you move through your normal range of motion without sharp pain? Can you stand and sit from a chair safely? Do you have a stable surface nearby to hold if you lose balance?
If any of those are a no, or if you’ve got a history of falls, dizziness, joint replacement, fracture, heart condition, or uncontrolled blood pressure, talk to your doctor or physical therapist first. They can help you tweak exercises or confirm it’s safe to begin.
Here’s what safe movement looks like:
You should feel your muscles working, but never sharp or shooting pain. Breathing stays steady. Exhale on the effort (like standing up or pushing away from the wall), inhale on the easier part. You use support when you need it. Holding a chair or wall isn’t cheating. It’s smart training. You rest as needed between exercises or rounds. There’s no timer pushing you.
Stop immediately if you feel:
Chest pain, pressure, or unusual shortness of breath. Dizziness or lightheadedness. Sharp joint pain or muscle strain. Sudden loss of balance or coordination.
If any of those happen, sit down, breathe calmly, and get medical help if symptoms don’t clear up quickly.
This routine is built to be gentle and progressive. But only you know how your body feels right now. Listen to it.
Warm-Up: Two to Three Minutes of Gentle Movement

A short warm-up gets blood flowing to your muscles and primes your joints for controlled movement. You don’t need anything fancy. Just two to three minutes of easy motion.
Gentle march in place: Stand next to a chair or counter for light support if needed. Lift one knee a few inches, lower it, then lift the other. No need to go high. Just a comfortable, rhythmic march. Keep your posture tall. Do this for about 45 seconds.
Ankle circles: Sit in a chair with your feet flat. Lift one foot slightly off the floor and rotate your ankle slowly. Five circles one direction, then five the other way. Switch feet. This wakes up the small stabilizer muscles around your ankle.
Shoulder rolls: Stand or sit tall. Roll your shoulders forward in slow, smooth circles for about ten rolls. Then reverse and roll them backward for another ten. Let your arms hang loose. This helps release tension and gets your upper body ready for wall push-ups.
That’s it. You’re warm.
The Core Five-Exercise Circuit
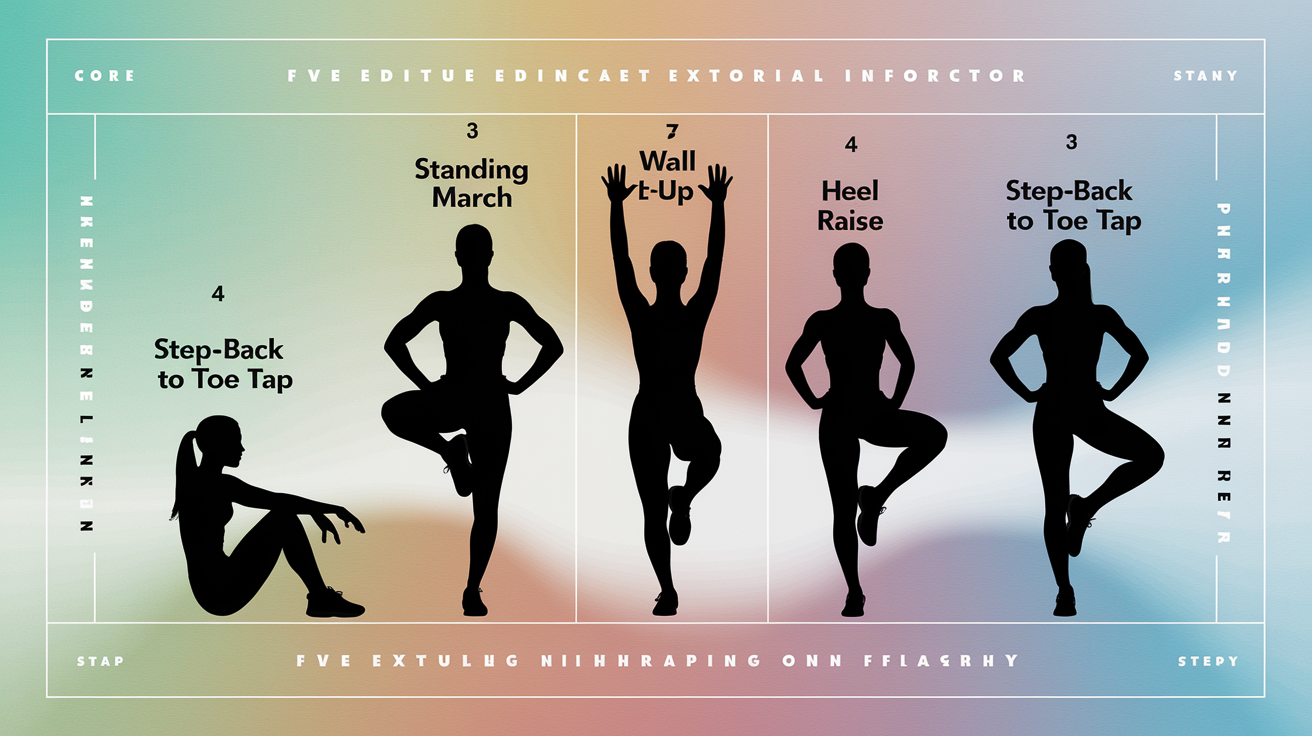
This is the main working block. You’ll do all five exercises back to back with rest as needed. Start with one full round. When that feels manageable, add a second.
Sit-to-Stand (8–10 Reps)
This builds leg and hip strength for real-life tasks. Getting out of a chair, off the toilet, or up from your car seat.
Setup: Sit near the front edge of a sturdy chair with your feet flat on the floor, about hip-width apart. Cross your arms over your chest. This keeps you from using your hands to push off, so your legs do the work.
Movement: Press through your feet and stand up fully. Keep your weight in your heels and midfoot, not your toes. Once you’re standing tall, slowly lower yourself back down until you lightly touch the seat. Control the descent. That slow lowering (the eccentric phase) is where a lot of strength gets built.
Common mistakes:
Leaning too far forward or rocking to build momentum. Keep your torso upright and move smoothly. Plopping down into the seat. Lower with control. Letting your knees cave inward. Keep them tracking over your toes.
Modifications:
If standing without hands is too hard, lightly rest your fingertips on the armrests or seat edge for balance. But try to use as little help as possible. If you can’t stand all the way up yet, go as high as you can and work up to full standing over time. To make it harder, pause for two seconds at the top of each rep, or use a lower chair.
Do 8 to 10 reps. Rest as needed.
Standing March (30–45 Seconds)
This move improves hip mobility, core control, and dynamic balance. The kind you use when walking or stepping over obstacles.
Setup: Stand beside a counter, chair back, or wall. Rest one hand lightly on the support if you need it. Stand tall with your feet about hip-width apart.
Movement: Lift one knee toward hip height (or as high as your mobility allows), then lower it with control. Alternate legs in a steady rhythm. Keep your torso upright. Don’t lean back or side to side.
Common mistakes:
Swinging the leg instead of lifting with control. Holding your breath. Breathe naturally throughout. Gripping the support too hard. Use just enough contact to feel steady.
Modifications:
If lifting to hip height feels unstable, lift your knee only a few inches off the floor. As you improve, try marching with less hand support, or no support at all. To increase challenge, slow down the tempo or lift your knee higher.
March for 30 to 45 seconds. Rest as needed.
Wall Push-Up (8–10 Reps)
This strengthens your chest, shoulders, and triceps, and teaches you to control your body through space. Important for catching yourself if you start to fall.
Setup: Stand facing a wall, about one to two feet away. (The closer you are, the easier it gets.) Place your palms flat on the wall at chest height, just outside shoulder-width. Step back slightly so your body forms a straight line from your shoulders through your hips to your ankles. Your heels will be off the floor.
Movement: Bend your elbows and lower your chest toward the wall. Keep your body straight. Don’t let your hips sag or stick out. Tap your chest lightly to the wall or get as close as you can, then press back to the starting position.
Common mistakes:
Letting your hips drift back or forward. Imagine a broomstick running from your head to your heels. Flaring your elbows out wide. Keep them at roughly a 45-degree angle from your torso. Moving too fast. Slow and controlled beats bouncy reps every time.
Modifications:
If the full range feels too hard, don’t go as deep. Work within a pain-free range. To make it easier, step closer to the wall. To make it harder, step further back to increase the angle. The steeper the angle, the more you load your upper body.
Do 8 to 10 reps. Rest as needed.
Heel Raise (15–20 Reps)
Heel raises (also called calf raises) strengthen your calves and the small stabilizers around your ankles. Strong calves help with walking, climbing stairs, and catching your balance when you step on uneven ground.
Setup: Stand facing a wall or counter with your hands resting lightly on the surface for balance. Place your feet together or hip-width apart, whichever feels more stable.
Movement: Press up onto the balls of your feet, lifting your heels as high as you can. Hold the top position for a brief pause, then lower your heels slowly back to the floor.
Common mistakes:
Bouncing at the top or bottom. Move smoothly through the full range. Leaning forward onto your hands. Use your hands for balance, not to hold your weight. Rushing the reps. The slow lowering phase is where the real work happens.
Modifications:
If balancing on both feet feels wobbly, keep your feet together and hold the support with both hands. To make it easier, don’t rise as high. Work within your current range. To make it harder, pause for two seconds at the top of each rep, or try lifting one foot slightly off the floor (single-leg calf raise) once you’re ready.
Do 15 to 20 reps. Rest as needed.
Step-Back to Toe Tap (30–45 Seconds)
This is a beginner-friendly version of a reverse lunge. It trains single-leg balance, hip stability, and coordination without the deep knee bend that can feel intimidating or uncomfortable for many older beginners.
Setup: Stand tall with your feet about hip-width apart. Keep a chair or counter nearby if you want light fingertip support for balance.
Movement: Step one foot straight back and lightly tap your toes on the floor behind you. The front knee bends slightly as you hinge forward just a bit at the hips. Then bring your back foot forward to the starting position and repeat on the other side. Alternate legs in a steady rhythm.
Common mistakes:
Stepping back too far or too deep, which can throw off balance. Keep the tap light and controlled. Letting your front knee drift inward. Keep it tracking over your toes. Holding your breath. Exhale as you step back, inhale as you return.
Modifications:
If balance is shaky, lightly rest your fingertips on a chair or counter throughout the movement. To make it easier, reduce the step distance and keep the front knee almost straight. To make it harder, step back farther, or pause for one second on each toe tap before returning.
Continue alternating legs for 30 to 45 seconds. Rest as needed.
That’s one round. Take a full rest (one to two minutes if needed), then decide: do you have energy for a second round, or is one enough for today?
Optional Add-Ons to Reach Six to Ten Exercises
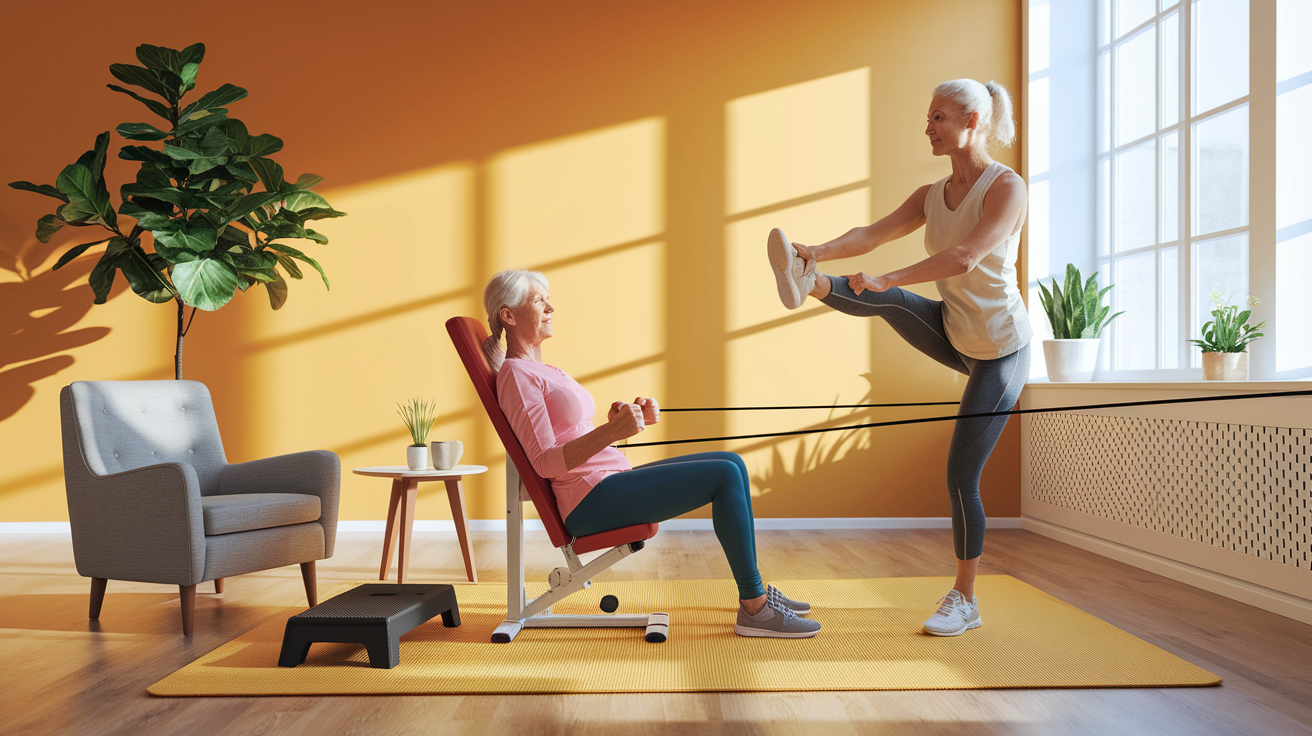
Once the core five-exercise circuit feels comfortable, you can layer in a few more movements to hit different muscle groups or add variety. These are safe progressions that still fit the beginner-friendly, low-impact framework.
Seated Row with Resistance Band (10 Reps)
Sit on the floor or in a chair with your legs extended (or bent if sitting in a chair). Loop a resistance band around your feet or a sturdy anchor point at about mid-shin height. Hold the ends of the band in each hand. Pull the band toward your midsection, squeezing your shoulder blades together as your elbows travel back. Hold for one second, then return slowly. This strengthens your upper back and helps counteract forward-rounded posture.
Single-Leg Stand with Support (Hold 10–30 Seconds Per Side)
Stand next to a chair or counter with one hand resting lightly on the surface. Shift your weight onto one leg and lift the other foot a few inches off the floor, either by bending the knee slightly or lifting the heel toward your glutes. Hold the position for 10 seconds to start, working up to 30 seconds as your balance improves. This directly trains the stabilizer muscles around your hip and ankle. Repeat on the other side.
Mini Step-Ups (8–10 Reps Per Leg)
Use a low, stable platform. A sturdy step stool, a wooden box, or the bottom stair of a staircase with a railing. Place one foot fully on the step, press through that heel, and step up until both feet are on the platform. Step back down one foot at a time with control. This builds single-leg strength and stair-climbing confidence. If balance is a concern, keep one hand on a railing or countertop throughout.
You don’t need to add all three at once. Pick one or two that feel useful, slot them into your circuit, and rotate them week to week to keep things fresh.
Session Structure, Timing, and Frequency
Here’s how to think about structuring your sessions in a realistic, sustainable way.
One round = 5 to 7 minutes. That includes all five exercises done back to back with short rests as needed between moves.
Two rounds = roughly 10 to 14 minutes. Add a one to two minute rest between rounds.
If you’re brand new to strength training or haven’t exercised in months, start with one round. Do that three to five times per week (or even daily if it feels good). The goal is to build the habit and let your body adapt to the new stimulus.
Once one round feels easy (meaning you can complete it without excessive fatigue or soreness), add the second round. You can also bump up reps within the given ranges. For example, move from 8 sit-to-stands to 10, or from 15 heel raises to 20.
Suggested weekly frequency:
Beginners: 3 to 5 sessions per week. After two to four weeks: progress to 5 to 7 sessions per week if desired. Rest days are optional but fine. Listen to your body.
Rest periods:
Between exercises: rest as needed, typically 15 to 30 seconds, or longer if you’re breathing hard. Between rounds: one to two minutes. If you feel fine, you can move straight into the next exercise. If you need a breather, take it. No rush.
This routine is short enough to become a daily habit, like brushing your teeth. Consistency over weeks beats intensity over days.
How to Progress Safely Over Time
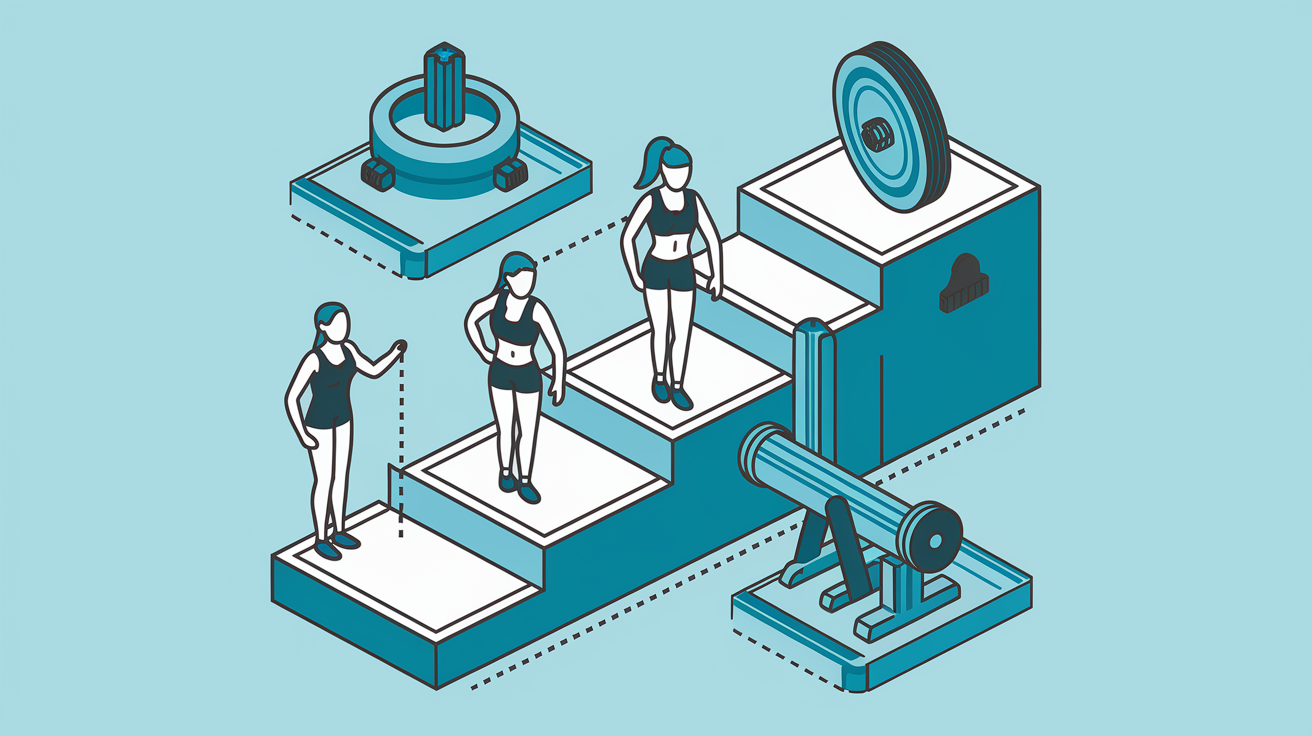
Progression doesn’t mean doing wildly different exercises every week. It means making small, controlled increases in difficulty so your muscles and balance systems keep adapting.
Here are the main levers you can pull:
Increase reps or time within the given ranges. For example, sit-to-stand: start at 8 reps, work up to 10, then 12. Standing march: start at 30 seconds, extend to 45 seconds, then 60 seconds. Heel raises: start at 15 reps, work up to 20, then 25.
Reduce support. For exercises like the standing march, wall push-up, or step-back toe tap, try using less hand contact over time. Start with a firm hand on the chair, then move to fingertip support, then try it free-standing.
Increase the angle or range of motion. For wall push-ups, step further back from the wall to increase the load on your upper body. For sit-to-stand, use a lower chair (with caution and support nearby).
Add light resistance. Once your form is rock-solid, you can hold light hand weights (1 to 3 pounds to start) during the sit-to-stand, or loop a resistance band around your thighs for extra glute activation during the standing march. Don’t rush this. Master bodyweight first.
Sample four-week progression:
| Week | Rounds | Sit-to-Stand Reps | March Time | Wall Push-Up Reps | Heel Raise Reps | Toe Tap Time | Notes |
|---|---|---|---|---|---|---|---|
| 1 | 1 | 8 | 30 sec | 8 | 15 | 30 sec | Learn the movements; rest as needed |
| 2 | 1 | 10 | 35 sec | 10 | 18 | 35 sec | Increase reps/time slightly |
| 3 | 2 | 8 | 30 sec | 8 | 15 | 30 sec | Add second round; reps return to baseline |
| 4 | 2 | 10 | 40 sec | 10 | 20 | 40 sec | Increase reps/time within two rounds |
This is just an example. Your timeline might be faster or slower depending on your starting fitness, recovery, and consistency. Progress when it feels right, not when a chart says you should.
Quick Troubleshooting and Fall-Prevention Tips
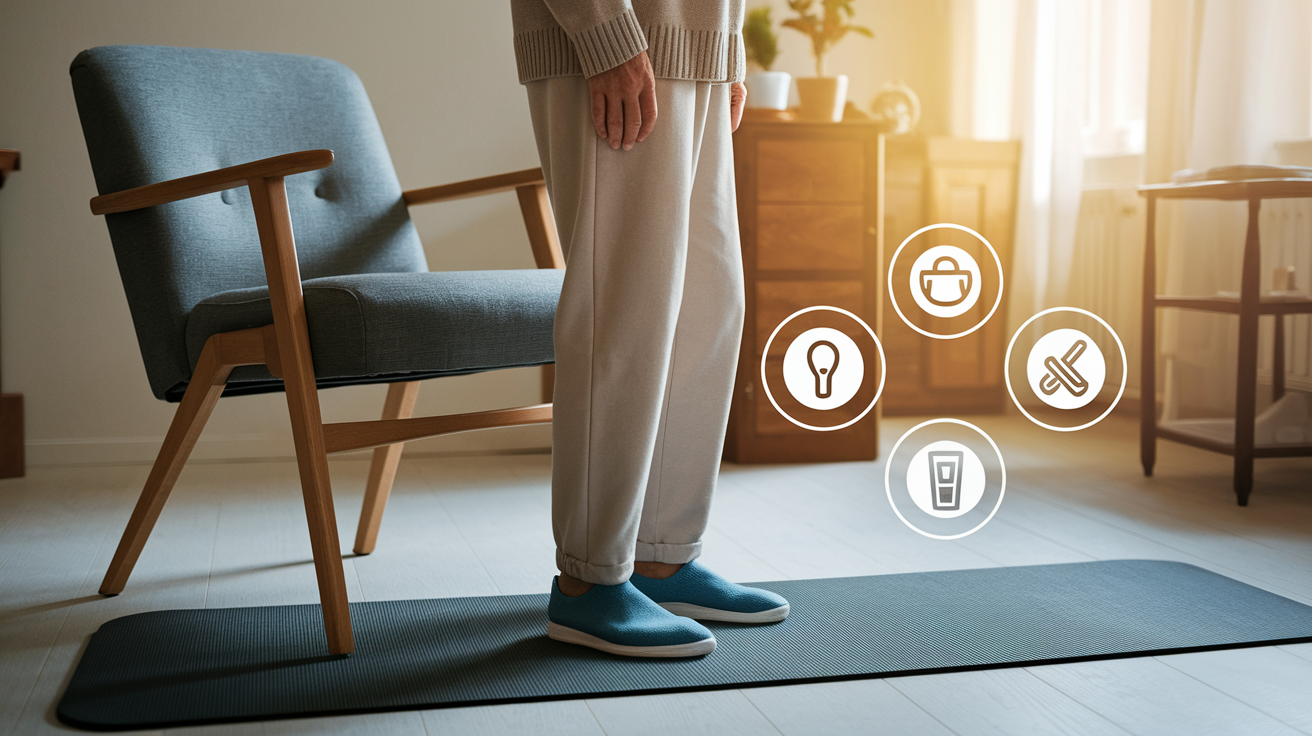
Even with a well-designed routine, small issues can pop up. Here’s how to handle the most common ones.
“I feel unsteady during the standing march or toe taps.”
Use more hand support. Stand closer to the chair or counter. Reduce your knee lift or step distance. Balance improves with practice, but only if you train at a level where you feel challenged but safe.
“My knees hurt during sit-to-stand.”
Check your foot position. Your knees should track over your toes, not cave inward. Don’t let your knees shoot forward past your toes at the bottom. If pain persists, use a higher chair or reduce your range of motion. If it still hurts, see a physical therapist.
“I can’t do 8 reps of wall push-ups without my shoulders burning.”
That’s okay. Start with 5 reps. Build up over weeks. Or step closer to the wall to reduce the load. Muscle endurance takes time to develop.
“I feel dizzy when I stand up after sitting exercises.”
Stand up slowly. Pause for a moment before you start moving. This can be a sign of orthostatic hypotension (a temporary drop in blood pressure when changing positions). If it happens often, mention it to your doctor.
Fall-prevention reminders:
Always keep a sturdy chair, counter, or wall within arm’s reach during balance exercises. Wear non-slip shoes or go barefoot on a non-slip surface (like a yoga mat or carpet). Clear the area of tripping hazards. Loose rugs, cords, clutter. If you’ve had a fall in the past six months, work with a physical therapist to assess your specific risk factors and get a tailored plan.
This circuit is designed to reduce fall risk over time by building strength and balance. But it works only if you do it consistently and safely.
Final Words
Get moving, we covered a simple, safe strength circuit you can do at home or at the gym, with exercises, reps, sets, and form cues to help balance and strength.
We also showed progress options, how often to train, and quick ways to add challenge without extra time. If your week’s busy, try the short version and build up.
Use the senior beginner strength circuit to improve balance and strength as a weekly habit. Small steps add up. Keep going, you’ve got this.
FAQ
I don’t see any People Also Ask or outline. What topic should the FAQ cover? Tell me the subject, the audience (beginners, filmmakers, clients), and how many questions you want.
If you want me to pick, I can create a ready-to-use 8-question FAQ about one of these:
- Indie short film production
- Starting a YouTube channel
- Basics of video editing
- Low-budget gear for filmmakers
Pick one or reply with your own topic and I’ll write the FAQ.