
What if the key to staying independent as you get older isn’t a gadget or a pill, but simple strength work you can do at home?
Strength training, using simple moves like sit to stand, bands, and light dumbbells, protects muscle and bone, lowers fall risk, and makes daily tasks like stairs or grocery bags easier.
This post gives a safe, practical plan you can do two to three times a week so you build strength, confidence, and the freedom to stay independent.
Essential Overview of Safe Strength Training for Older Adults

Strength training for seniors is about using resistance to keep muscle on your frame, protect your bones, and make daily tasks easier. We’re talking bodyweight, dumbbells, bands, machines—whatever challenges your muscles enough to tell them “don’t go anywhere.” For adults 65 and up, this kind of work fights back against the muscle loss that comes with age, cuts fracture risk, and helps you stay independent. Getting up from a chair, climbing stairs, carrying groceries—these don’t need to be struggles.
You’re looking at 2–3 sessions a week, somewhere between 20 and 45 minutes. Most exercises hit 8–12 reps across 1–3 sets, at an intensity that feels moderate to somewhat hard. Think 5–7 out of 10 if you’re rating how tough it feels. Start each session with 5–10 minutes of light cardio and mobility work (marching, arm circles), finish with 5 minutes of gentle stretching to help your body recover.
This adapts to just about anyone. Start with bodyweight moves like sitting down and standing up from a chair. Move to light dumbbells when you’re ready (1–5 pounds for a lot of beginners), or grab a set of resistance bands for $10–30. You can use a chair for support, shorten your range of motion, slow things down—whatever you need if you’re managing arthritis, osteoporosis, or balance issues.
Benefits of Strength Training for Seniors: Muscle, Bone & Balance Improvements
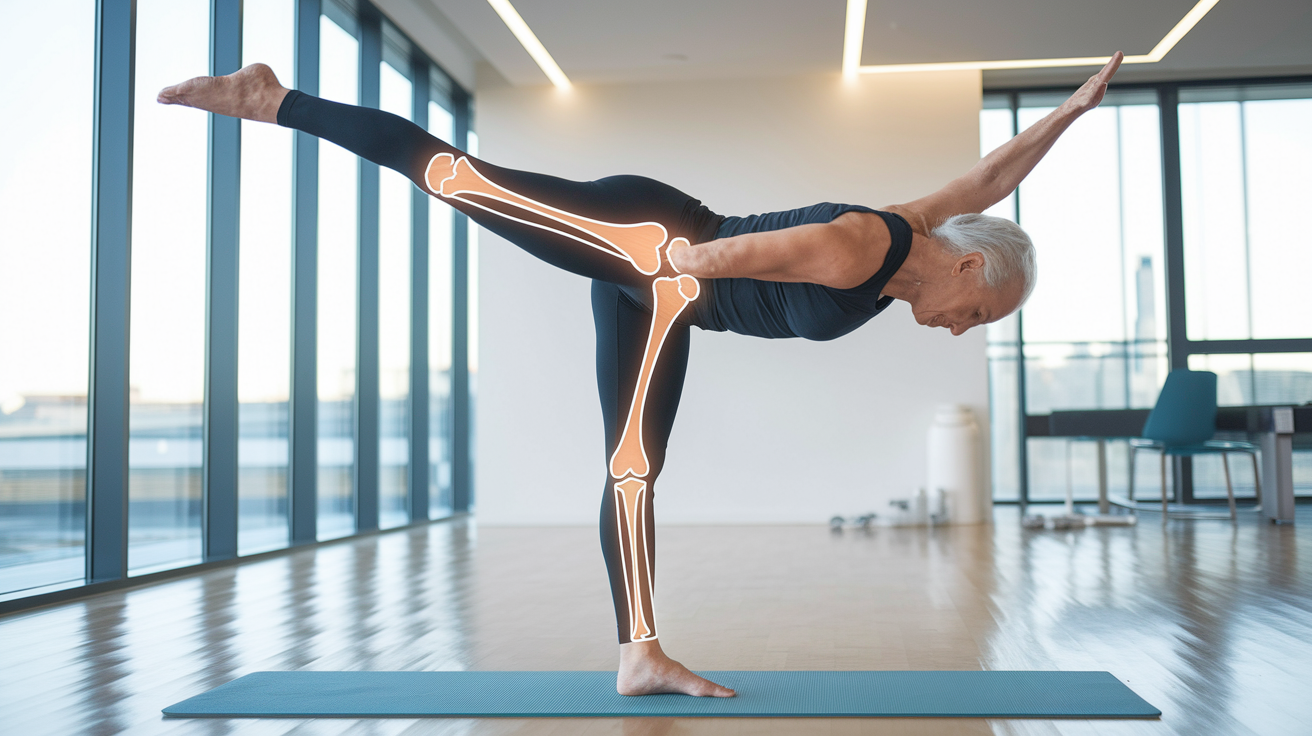
Strength training helps you hold onto muscle that’s trying to disappear as you get older. Working your muscles through controlled reps, slowly adding resistance over weeks and months, tells your body to keep those fibers around. That supports your metabolism, stabilizes your joints, and makes everyday stuff less exhausting.
Beyond muscle, consistent resistance work gives you:
Better bone density and reduced fracture risk. Loading exercises tell your bones to stay strong, which matters if you’re dealing with or trying to avoid osteoporosis.
Improved joint stability. Stronger muscles around your hips, knees, and ankles protect the joints themselves and cut down on wear-related pain.
Reduced fall risk. Balance drills and lower-body strength improve coordination and reaction time. About 1 in 4 adults 65+ falls each year. Training can lower that.
Easier mobility in daily tasks. More strength means stairs don’t wind you, low seats don’t trap you, and reaching overhead doesn’t feel risky.
Longer independence. Keeping your physical capability delays or prevents needing help with basic activities.
These improvements show up when you can stand from a dining chair without using your arms, walk upstairs without pausing to catch your breath, or carry grocery bags from the car to the kitchen in one trip. That functional strength keeps you active, confident, and living on your terms.
Safety Guidelines, Medical Clearance & Red Flags Before Starting Senior Strength Training

If you’re over 65 and have a history of cardiovascular disease, uncontrolled high blood pressure (at or above 180/110 mmHg), a recent heart attack (usually within 4–6 weeks), recent surgery or joint replacement (typically 6–12 weeks), osteoporosis with fracture risk, or diabetes with neuropathy, get medical clearance before you start. This isn’t bureaucracy. It’s about making sure the program helps instead of complicates things.
Stop immediately and get help if you feel chest pain, sudden severe shortness of breath, fainting or near-fainting, new numbness or weakness (especially on one side), sudden severe joint pain, or anything else that feels alarming. Resting blood pressure above 180/110 is a red flag. Skip training until it’s managed. Same if you’ve had a heart attack—most guidelines say wait at least 4–6 weeks and get clearance before resuming unsupervised strength work.
Common conditions that need adjustments:
Osteoarthritis. Stay within a pain-free range. Use slower tempos and lighter loads when joints are inflamed.
Osteoporosis. Avoid loaded forward bending, twisting, or sudden movements that stress your spine. Focus on upright lower-body exercises.
Hypertension. Use moderate loads, breathe continuously (don’t hold your breath), and check blood pressure before and after sessions.
Diabetes. Check blood glucose before and after training. Keep a carb source nearby. Inspect your feet for skin issues.
Recent joint replacement. Follow your surgeon’s timeline (often 6–12 weeks) and your PT’s guidance before adding resistance.
Balance disorders or vertigo. Do exercises seated or with wall/chair support. Progress single-leg work cautiously.
General safety for everyone: use a controlled tempo (2 seconds lifting, 3 seconds lowering), don’t hold your breath during exertion, train on stable surfaces, and start light before adding weight or sets.
Equipment Options for Senior Strength Training at Home
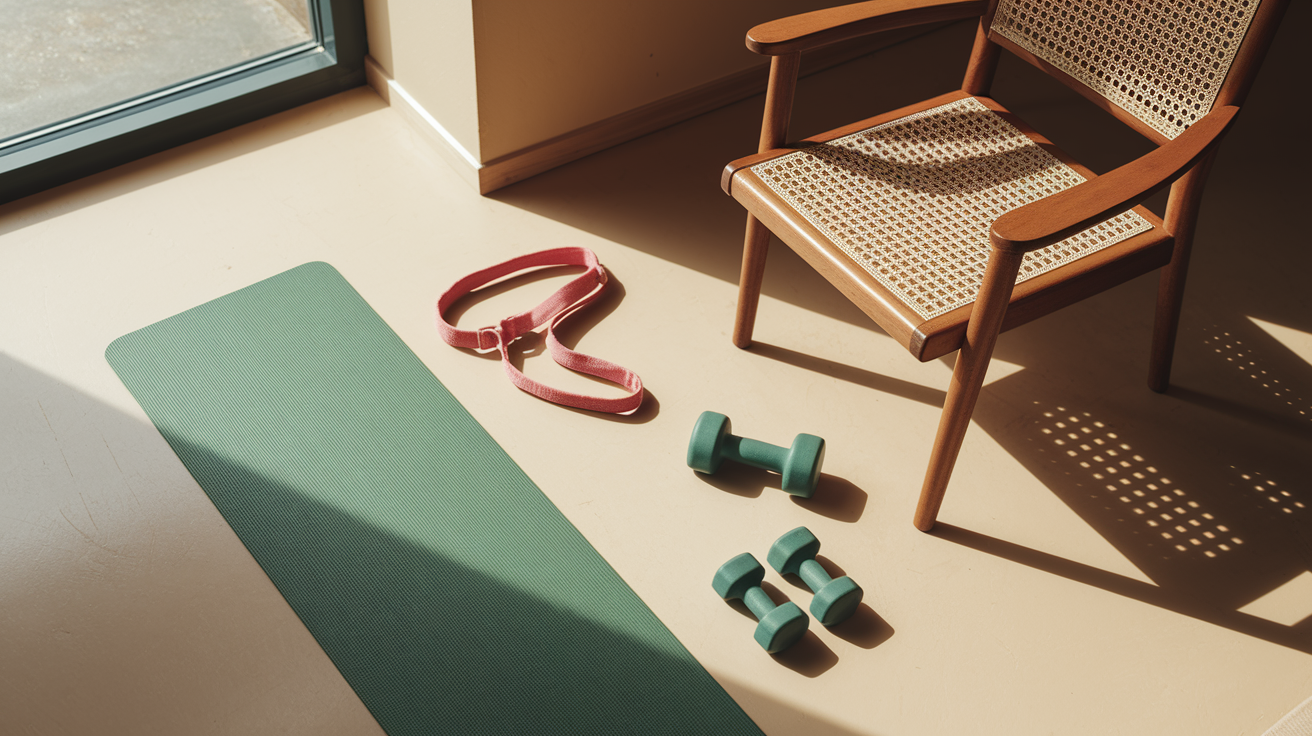
You don’t need much to start. A sturdy chair without wheels, a set of resistance bands, one or two pairs of light dumbbells, and a non-slip mat will get you through a complete program. Resistance bands run $10–30 for a set with light, medium, and heavy tensions. They’re one of the cheapest and most versatile tools you can use.
Bands work well if you want adjustable resistance without the bulk of dumbbells, and they’re easier on your joints during rows, chest presses, and leg lifts. Dumbbells feel different—more stable and easier to control for moves like biceps curls or shoulder presses—and they’re a good choice once you’re comfortable with basic patterns. Beginners often start with 1–5 pound dumbbells for upper body and 5–10 pounds for lower body, depending on baseline strength.
| Item | Benefit | Cost Range |
|---|---|---|
| Resistance band set (light/medium/heavy) | Adjustable tension, portable, joint-friendly | $10–30 |
| Dumbbells (1–10 lb pairs or adjustable set) | Stable load, easy to progress, versatile | $20–100 |
| Ankle weights (1–5 lb each) | Adds resistance to leg lifts, seated extensions | $10–40 |
| Sturdy chair, non-slip mat, step (4–8 in) | Supports balance, safe surfaces, step-ups | $20–50 |
Foundational Senior Strength Training Exercises with Modifications
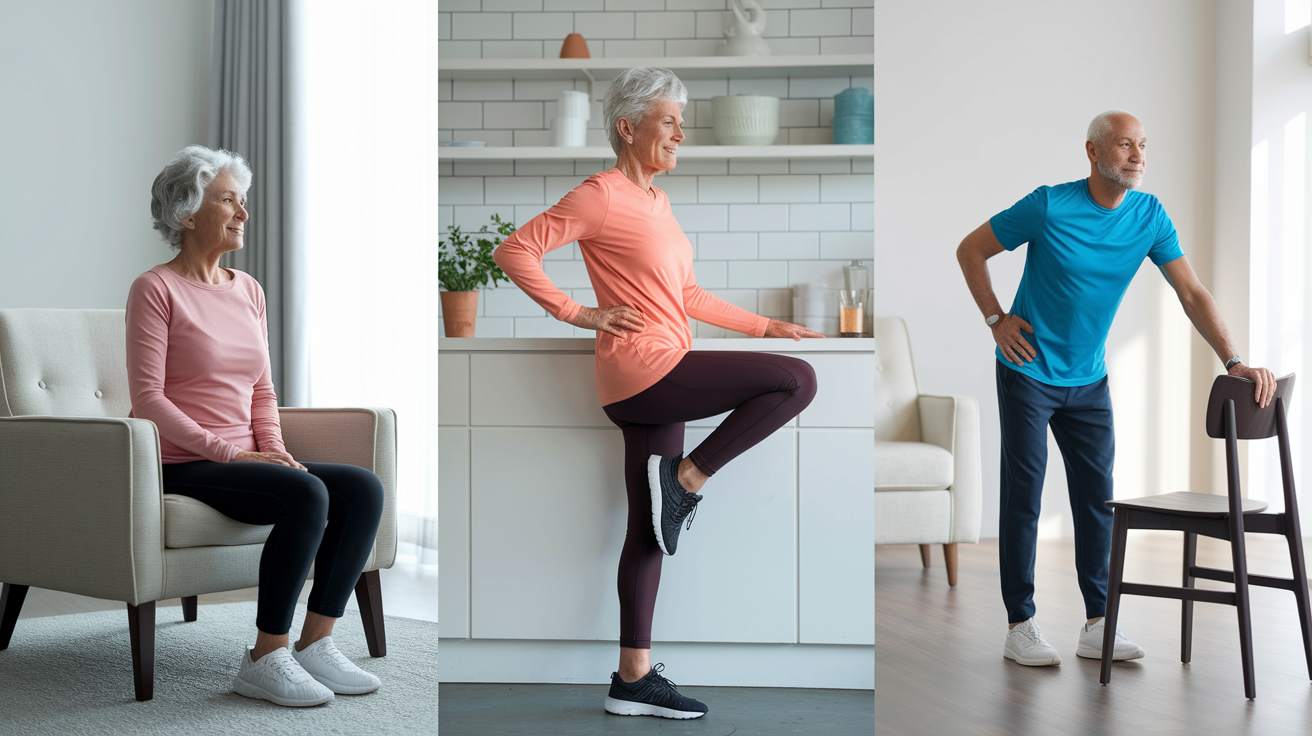
These exercises form the core of a senior-friendly resistance program. They cover lower body, upper body, core, and balance. Each one can be modified to match where you’re at right now, and all of them emphasize control over speed or heavy weight.
Lower-Body Strength Essentials
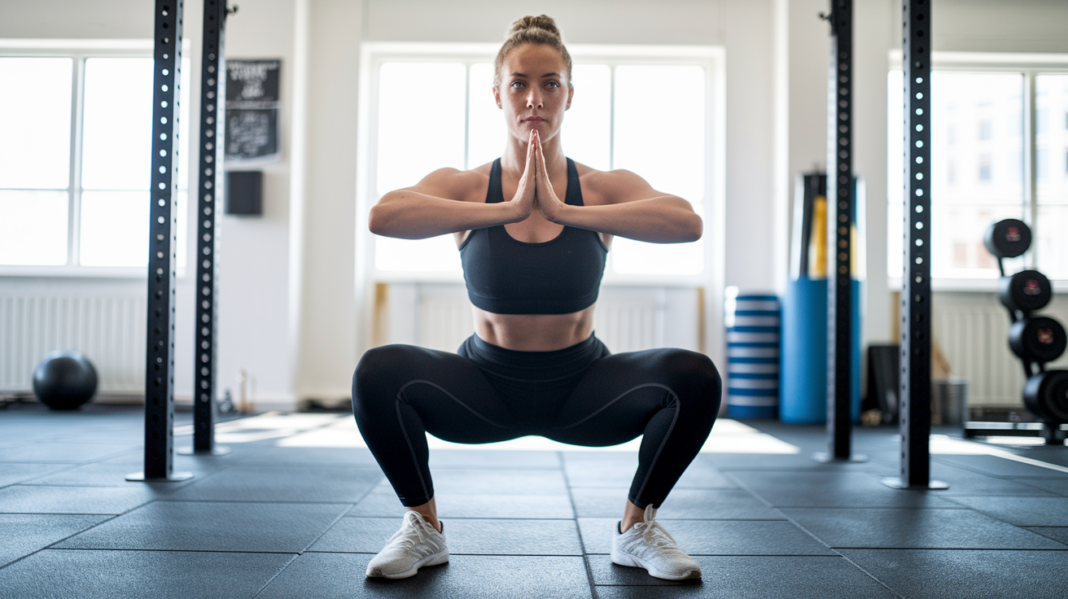
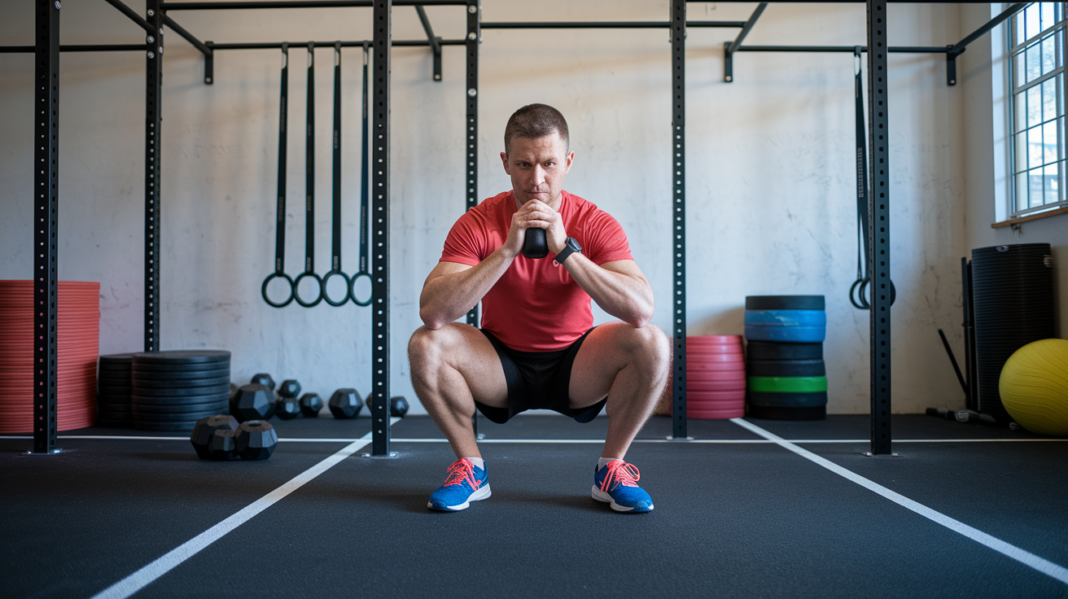
Sit-to-stand is the foundation. Stand in front of a sturdy chair, lower yourself until your hips touch the seat (or just above), then press through your heels to stand back up. That’s one rep. Aim for 8–12 per set, using your arms on the chair for light help if you need it. As you get stronger, touch the chair less or hold a light dumbbell at your chest.
Heel raises build calf strength and ankle stability, which support balance and walking. Stand next to a chair or counter, rise up onto the balls of your feet, hold for a second, then lower slowly over 2–3 seconds. Do 10–15 reps for 1–2 sets. If balance is shaky, keep both hands on the support. If you’re confident, use fingertips only.
Standing hip abduction strengthens the muscles on the outside of your hips that keep your pelvis stable and prevent side-to-side sway when you walk. Stand tall, hold a chair with one hand, and lift the opposite leg out to the side about 12 inches, keeping your toe pointing forward. Lower with control. Do 8–12 reps per leg, and add an ankle weight or band around your thighs once bodyweight feels easy.
Upper-Body Movements for Joint-Friendly Strength
Wall push-ups build chest, shoulder, and triceps strength without the strain of a floor push-up. Stand an arm’s length from a wall, place your palms flat at shoulder height, bend your elbows to bring your chest toward the wall, then push back. Keep your body in a straight line and breathe out as you press away. Aim for 8–12 reps, using a 2-second push and 3-second lower. If wall push-ups feel too easy, move to a countertop or sturdy table for a steeper angle.
Band rows target your upper back and improve posture. Sit or stand, loop a band around a stable post or door anchor at chest height, hold both ends, and pull your elbows back like you’re squeezing a pencil between your shoulder blades. Release slowly. Do 8–12 reps for 2 sets, using a band tension that makes the last two reps challenging but doable with good form.
Biceps curls and triceps extensions round things out. For curls, hold a light dumbbell or band, keep your elbow at your side, and bend your arm to bring your hand toward your shoulder, then lower. For triceps, hold a weight overhead or press a band down from shoulder height, straightening your arm fully. Use 8–12 reps and the same 2-second-up, 3-second-down tempo.
Core & Balance Builders for Fall Prevention
Seated marching activates your hip flexors and core while you’re supported. Sit tall in a chair, lift one knee as high as comfortable, lower it, then lift the other. Alternate for 30–60 seconds. You can also do this standing with hand support on a chair back.
Modified side plank builds core stability without the full-body demand of a traditional plank. Lie on your side, prop yourself up on your forearm and bottom knee (top leg extended or bent), and lift your hips off the floor. Hold for 10–30 seconds, rest, and repeat. This strengthens the muscles that protect your spine during twisting and bending.
Tandem stance and single-leg stance are crucial for balance. Tandem means standing with one foot directly in front of the other (heel to toe) and holding that position for 10–30 seconds. Single-leg stance is standing on one foot with the other lifted slightly, using a chair or wall for fingertip support if needed. Work up to 20–30 seconds per leg, and repeat 2–3 times per side. Practice these 3–5 days per week and you can measurably reduce fall risk over weeks and months.
Sample Strength Training Workouts for Seniors (Beginner to Intermediate)
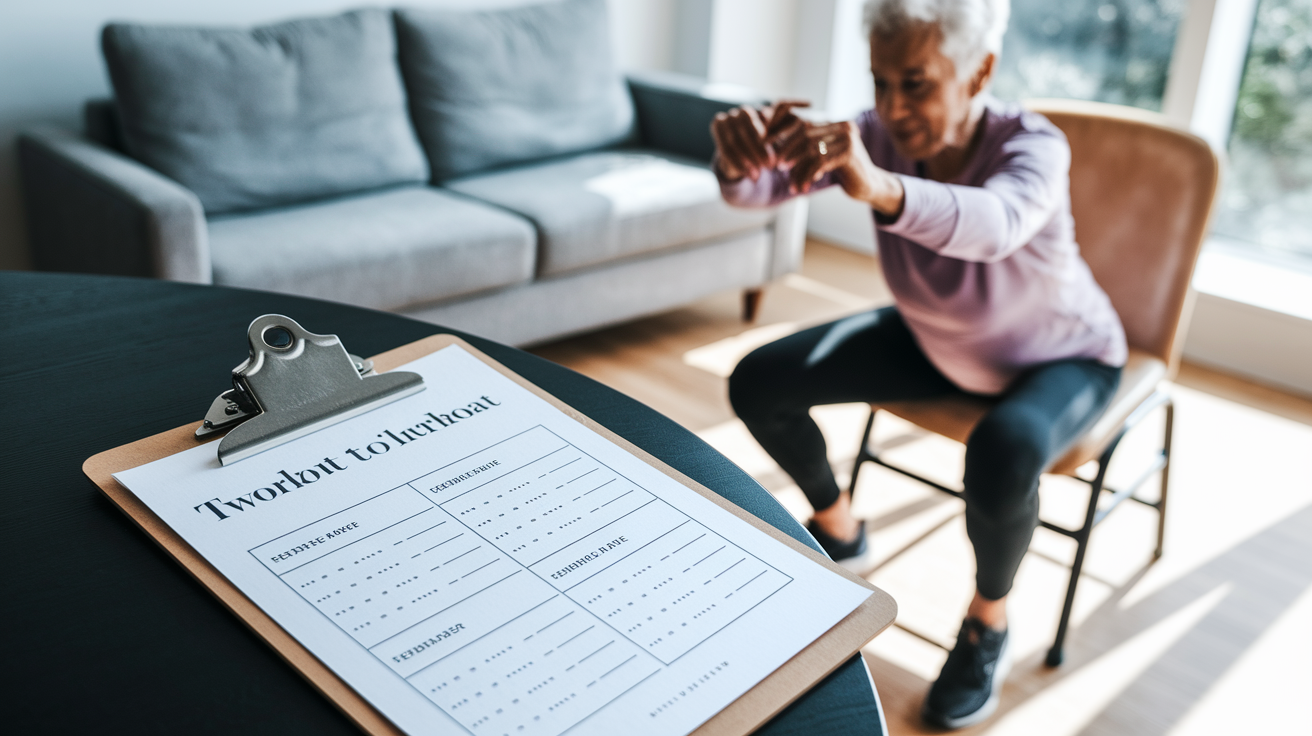
A complete session includes a warm-up to prep your joints and heart rate, a main block of resistance exercises, and a cool-down to support recovery. For beginners, this might total 20–30 minutes. As you progress, sessions can stretch to 40–45 minutes with more sets or exercises.
A basic routine for someone new to strength training might include:
Sit-to-stand (chair squats)
Seated or standing band rows
Wall push-ups
Seated leg extensions with a band or ankle weight
Standing calf raises (holding chair)
Single-leg or tandem balance hold
On a 2-day-per-week schedule, you’d do this full-body circuit on Monday and Thursday, giving yourself 48 hours of recovery between sessions. Warm up for 5 minutes with marching in place and arm circles, do 1–2 sets of 8–12 reps for each exercise with 30–60 seconds rest between sets, then cool down with 2–3 minutes of light stretching (hamstrings, calves, shoulders).
Once you’re comfortable with 2 weekly sessions and can complete 12 reps with good form, consider moving to 3 days (Monday/Wednesday/Friday) and bumping up to 2–3 sets per exercise. At the intermediate level, you can add compound moves like step-ups onto a 6–8 inch platform, mini deadlifts with light dumbbells, and farmer’s carries (walking 20–40 meters while holding a dumbbell in each hand). You’ll also use heavier bands or slightly heavier dumbbells, progressing by about 5–10% when the current load feels manageable for two workouts in a row.
How Seniors Should Progress Strength Training Safely
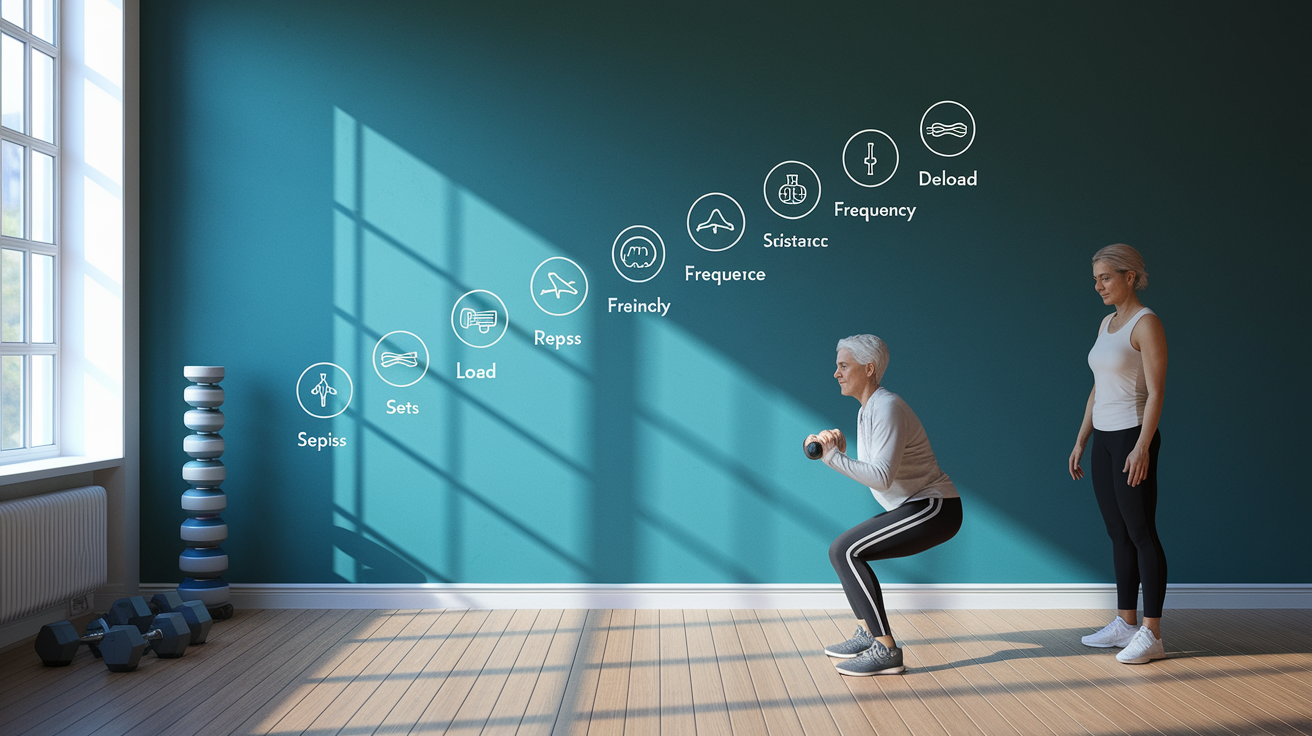
Slow, steady progression protects your joints, connective tissues, and nervous system from overload while still challenging your muscles enough to trigger adaptation. Jumping too quickly to heavier weights or more volume increases injury risk, especially when your tendons and ligaments need longer to adapt than muscle.
Five progression rules:
1. Reps first. When you can complete 12 reps with good form for two sessions in a row, either add 1–2 reps per set (up to 15) or increase the load.
2. Load second. Once you’re at the top of your rep range (12–15), bump weight or band resistance by roughly 5–10%. For dumbbells, that often means going from 5 pounds to 8, or from 8 to 10.
3. Frequency third. After 4–8 weeks of consistent 2-day training, think about adding a third weekly session if your body’s recovering well and you have no joint pain.
4. Sets fourth. Once 2 sets feel comfortable, add a third set to one or two exercises every few weeks.
5. Deload when needed. If you feel unusually sore, fatigued, or notice joint discomfort, reduce weight by 10–20% or drop to 1 set for a week to allow recovery.
Track your workouts in a notebook, app, or simple spreadsheet. Record the exercise, weight or band color, reps, sets, and how it felt (rate of perceived exertion 1–10). Every 2–4 weeks, reassess your progress using functional tests like the 30-second sit-to-stand (count how many you can do), timed up-and-go (stand from a chair, walk 10 feet, turn around, walk back, sit down and record the time), or single-leg stance duration. Improvements in these real-world measures confirm your training’s working.
Condition-Specific Modifications for Senior Strength Training

Osteoporosis changes how you load your spine. Skip exercises that involve loaded forward bending (like a heavy deadlift with a rounded back) or rapid twisting under load, because these can increase compression fracture risk in weakened vertebrae. Instead, focus on upright, weight-bearing movements like standing squats to a chair, step-ups, heel raises, and hip-strengthening work. Upper-body exercises like rows and wall push-ups are generally safe, and bands let you build strength without axial spinal loading. If you’ve had a vertebral compression fracture in the past year, work with a physical therapist to design a safe progression.
Osteoarthritis requires staying within a pain-free range and adjusting intensity based on daily joint symptoms. On days when a knee or hip is inflamed, reduce the depth of your squat, use lighter resistance, and slow the tempo even more (3 seconds down, 3 seconds up). Isometric holds (like holding a partial squat position for 10–20 seconds) can build strength without aggravating irritated joints. Swimming-pool resistance exercises are another option if land-based training is too uncomfortable.
For seniors managing diabetes, neuropathy, or hypertension, a few extra precautions keep training safe. Check your blood glucose before and after each session if you’re on insulin or certain medications, and keep a fast-acting carb (juice, glucose tabs) nearby in case of a low reading. Inspect your feet regularly for cuts, blisters, or pressure points, especially if you have reduced sensation. If you have high blood pressure, avoid holding your breath during lifts. Exhale steadily as you push or pull, and use moderate loads rather than maximal effort. Blood pressure should be checked before each session. If it’s above 180/110, skip the workout and talk to your doctor.
After hip or knee replacement surgery, most surgeons and physical therapists recommend waiting 6–12 weeks before beginning formal resistance training, and you’ll need to follow specific movement restrictions (like avoiding deep hip flexion or internal rotation after hip replacement) for several months. Always get clearance and a tailored exercise list from your surgical team or PT before adding load or progressing volume.
Senior-Friendly Warm-Up and Cool-Down Methods for Safer Strength Sessions

A proper warm-up raises your heart rate gradually, increases blood flow to your muscles, and rehearses the movement patterns you’re about to load. Spend 5–10 minutes on activities that feel easy to moderate (roughly 2–3 out of 10 on perceived exertion). This might include marching in place, stepping side to side, gentle arm circles forward and backward, and ankle rolls. The goal is to feel warm and loose, not tired.
A good cool-down helps your heart rate return to baseline and supports flexibility. After your last set, spend 5 minutes on light static stretches or mobility work:
Hamstring stretch. Sit in a chair, extend one leg, and gently reach toward your toes for 20–30 seconds per side.
Calf stretch. Stand facing a wall, step one foot back, press the heel down, and lean gently into the wall.
Shoulder stretch. Bring one arm across your chest and use the other arm to gently pull it closer. Hold 20–30 seconds per side.
Hip flexor stretch. Stand in a split stance, shift your weight forward onto your front leg, and feel a gentle stretch in the front of your back hip.
These routines take less than 15 minutes combined and make a noticeable difference in how your body feels the next day.
Tracking Strength Improvements & When to Seek Professional Support

Functional assessments give you objective feedback on whether your training is improving the tasks that matter most. Every 6–12 weeks, repeat the same simple tests and compare your results to baseline.
| Test | Purpose | Target Timeline |
|---|---|---|
| 30-second sit-to-stand | Measures lower-body strength and endurance | Reassess every 6–8 weeks |
| Timed up-and-go (TUG) | Assesses mobility, balance, and functional speed | Reassess every 8–12 weeks |
| Single-leg stance time | Evaluates static balance and fall risk | Reassess every 4–6 weeks |
If you see steady improvement (more reps in 30 seconds, faster TUG time, longer balance holds), your program’s working. If progress stalls after 8–12 weeks, you’re experiencing persistent joint pain, or new symptoms appear (unexplained fatigue, dizziness, shortness of breath), talk to your doctor or a certified trainer who works with older adults. Group strength classes designed for seniors can also improve consistency and give you professional supervision, accountability, and social support that makes training stick.
Final Words
Start with 2–3 weekly sessions of 20–45 minutes. Warm up 5–10 minutes, pick 6 core moves, do 8–12 reps and finish with a short cool-down. Keep intensity around RPE 5–7.
Check for medical clearance if you have major health issues and stop for chest pain, fainting, or sudden severe pain. Progress slowly—add reps, then small weight increases.
Use bands, light dumbbells, or a chair for support. Track simple tests like sit-to-stand every 4–8 weeks.
Strength training for seniors is practical and safe. Small, steady steps add up — you can do this.
FAQ
Q: What is the best strength training for seniors? Should a 70 year old do strength training? Is strength training good for bone density?
A: The best strength training for seniors, including a 70-year-old, is 2–3 weekly resistance sessions (20–45 minutes), 8–12 reps and 1–3 sets; it boosts muscle, balance, and bone density and is safe with sensible progress and medical clearance if needed.
Q: What is the 3 3 3 rule for exercise?
A: The 3 3 3 rule for exercise is a simple beginner plan: pick three exercises, do three sets of each, and train them three times per week—easy to follow and fits busy senior schedules.