You don’t need a gym to build real strength.
Sounds controversial, but it’s true.
This eight-move, no-equipment circuit is made for beginners.
It fits in 20 to 30 minutes, needs only floor space and a chair, and one full round is a solid start.
Do the reps, rest 20 seconds between exercises, then add rounds as your form holds up.
Follow this simple progression for a few weeks and you’ll get steady, balanced strength—no gear required.
Complete At-Home Strength Circuit Structure for Beginners
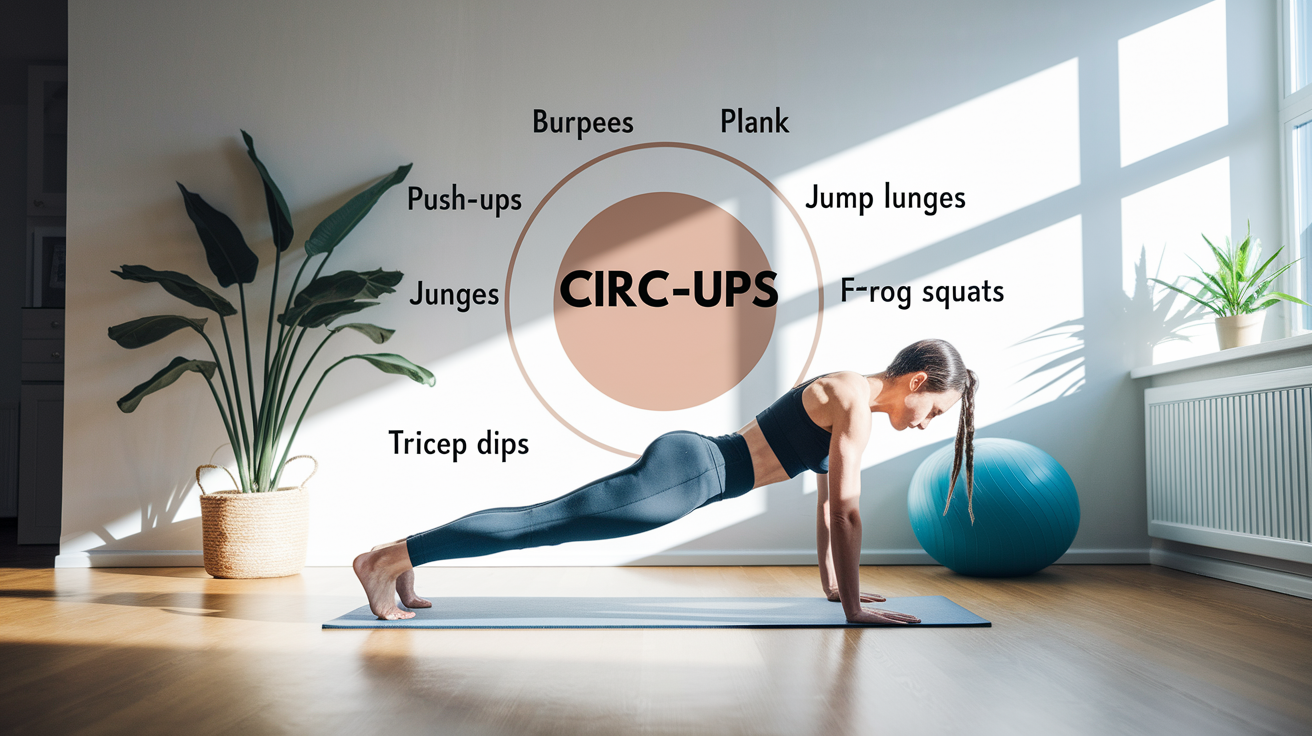
This circuit uses eight bodyweight exercises with specific rep counts or timed holds. You’ll do each one, rest 20 seconds, then move to the next. After finishing all eight exercises once, rest a full minute before starting your second round. Beginners should complete one full round to start. Intermediate folks can aim for three rounds. The entire session takes roughly 20 to 30 minutes depending on how many rounds you finish and your rest periods.
The beauty here? You need almost nothing. Floor space, a sturdy chair for dips, and maybe a yoga mat if your knees or elbows don’t like hard surfaces. That’s it. No dumbbells, no bands, no excuses. The exercises hit your whole body (legs, core, chest, shoulders, arms) so you’re building balanced strength without having to buy equipment or leave your living room.
One round through all eight exercises is a solid starting point. If you feel good and your form holds up, go for a second. As you get stronger over a few weeks, work toward that three-round mark. Total workout time including warm-up and cool-down lands in the 20 to 30 minute range, which fits busy schedules and keeps things efficient.
The 8-Exercise Circuit:
- Push-Ups (15 reps)
- Burpees (15 reps)
- Plank (1 minute hold)
- Jump Lunges (20 reps total, 10 per leg)
- Dolphin Push-Ups (15 reps)
- Frog Squats (20 reps)
- Tricep Dips (15 reps, use a chair)
- Wall Sit (1 minute hold)
Warm-Up Guidance for a Beginner Home Strength Circuit

Spend three to five minutes moving your joints through their full ranges before you start the circuit. Dynamic movements wake up your muscles, increase blood flow, and lower the odds of pulling something tight or cold. This isn’t a hard cardio session. Just enough movement to feel warm and loose.
Pick four or five simple moves and cycle through them for 30 to 60 seconds each. Keep it gentle and controlled. Your goal is to prepare your body, not exhaust it before the real work starts.
Sample Warm-Up Moves:
- Arm circles (forward and backward, 30 seconds each direction)
- Leg swings (front to back and side to side, 30 seconds per leg)
- Hip hinges (bend at the hips like you’re bowing, 30 seconds)
- Walking in place with high knees (60 seconds)
Exercise Technique and Form Cues for a No-Equipment Strength Circuit

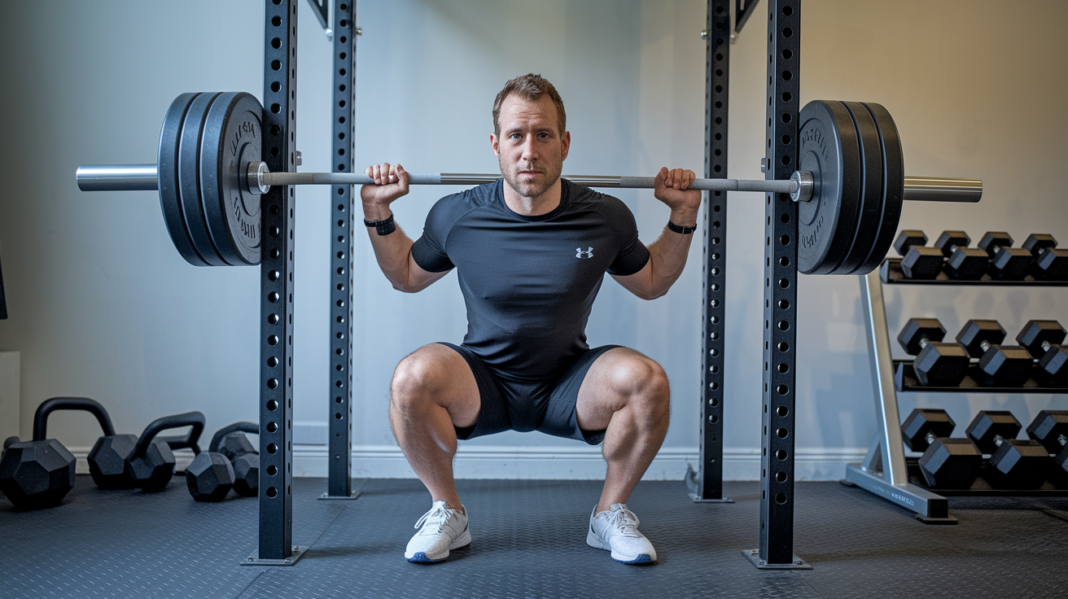
Proper squat form starts with your feet about shoulder-width apart, toes pointing slightly out. As you lower, push your hips back like you’re sitting into a chair. Keep your chest up and your weight centered over mid-foot. Your knees should track in the same direction as your toes, not caving inward. Go as deep as you can while keeping your heels flat and your lower back neutral. Stand by driving through your heels and squeezing your glutes at the top.
For push-ups, hands go directly under your shoulders or slightly wider. Your body should form one straight line from head to heels. As you lower, keep your elbows at roughly a 45-degree angle to your body, not flaring straight out to the sides. Lower until your chest is an inch or two off the floor, then press back up. Engage your core the whole time so your hips don’t sag or pike up.
Lunges require balance and control. Whether you’re stepping forward, reverse, or jumping, your front knee should stay stacked over your ankle, not shooting past your toes. Your back knee drops toward the floor, aiming for a 90-degree bend in both legs. Keep your torso upright and your core tight. Land softly on jumps and absorb the impact with your hips and knees, not just your ankles.
Planks are about total-body tension. Whether you’re on your forearms or in a high-plank position, your shoulders stack over your elbows or wrists. Pull your belly button toward your spine, squeeze your glutes, and keep your neck neutral. Don’t let your head drop or crane up. Breathe steadily. If your hips start sagging or hiking up, drop to your knees or take a quick break.
Frequent Beginner Form Errors
New folks often lose neutral spine when fatigue hits. Your lower back arches too much in planks or sags during push-ups, putting extra strain on your spine.
Common mistakes to watch for:
- Letting knees collapse inward during squats and lunges
- Rushing through reps without control or full range of motion
- Holding your breath instead of breathing steadily through each movement
- Flaring elbows too wide on push-ups, stressing your shoulders
- Lifting your hips too high or letting them drop too low in planks
Beginner Modifications and Low-Impact Alternatives for At-Home Circuits
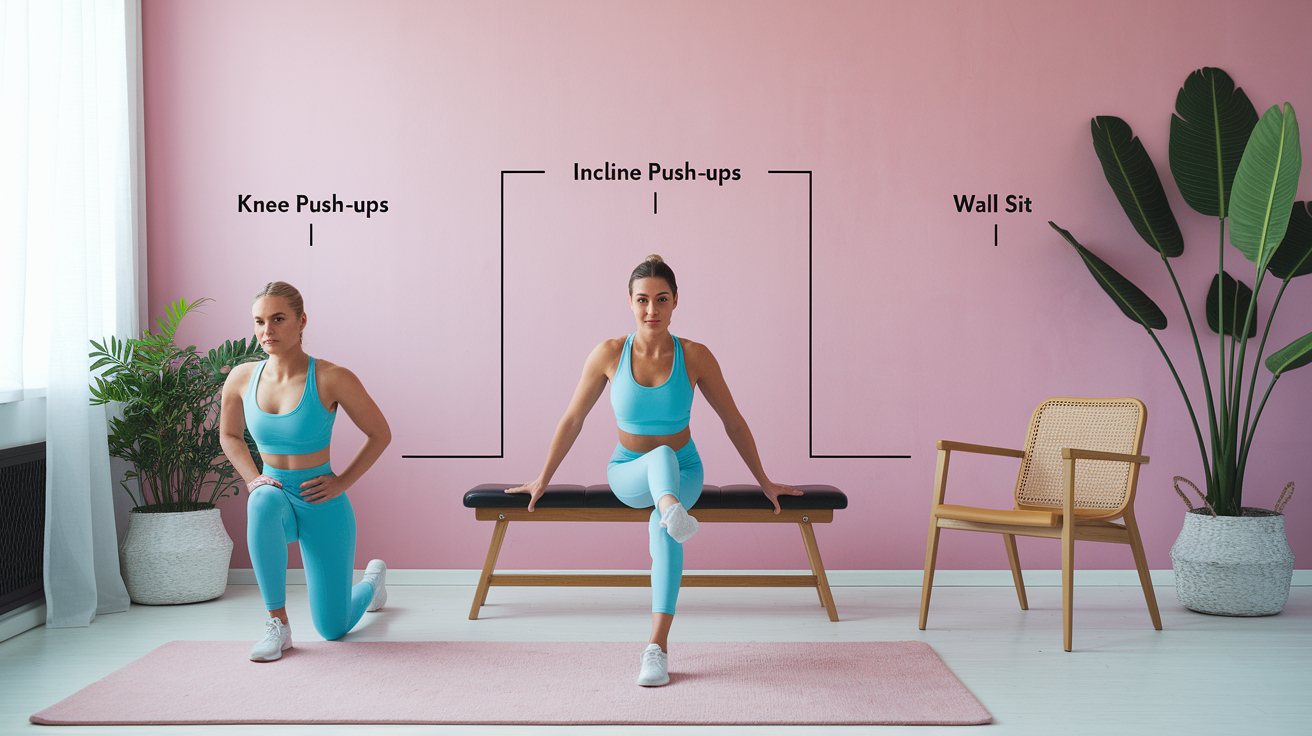
Modifications aren’t shortcuts. They’re smart tools that let you build strength without wrecking your form or risking injury. If the standard version of an exercise breaks down your technique, use the easier variation until you’re ready to progress. You’ll build strength faster with clean reps at a manageable level than with sloppy reps at a harder one.
Most of the exercises in this circuit have a jump, hold, or full-bodyweight challenge that might be too much on day one. Swap in these alternatives anytime you need them. As you get stronger, phase them out gradually.
Modification options for each exercise:
- Push-Ups: Drop to your knees to keep a straight line from knees to shoulders, or do incline push-ups with hands on a countertop or sturdy chair.
- Burpees: Remove the jump at the end, step back into plank instead of jumping back, or do knee push-ups during the plank portion.
- Plank: Hold a high plank instead of forearm plank, drop to your knees, or switch to side planks for 30 seconds per side.
- Jump Lunges: Swap for alternating reverse lunges or stationary split squats with no jump.
- Dolphin Push-Ups: Substitute regular push-ups if the downward-dog movement is too intense or your shoulders fatigue quickly.
- Frog Squats: Use bodyweight squats with no jump, or swap for squat pulses if balance is an issue.
- Tricep Dips: Keep your knees bent at 90 degrees and feet flat on the floor for less load, or reduce your range of motion.
- Wall Sit: Replace with 15 controlled bodyweight squats if holding the static position causes knee discomfort.
Progression Strategies to Improve Strength with a Home Bodyweight Circuit
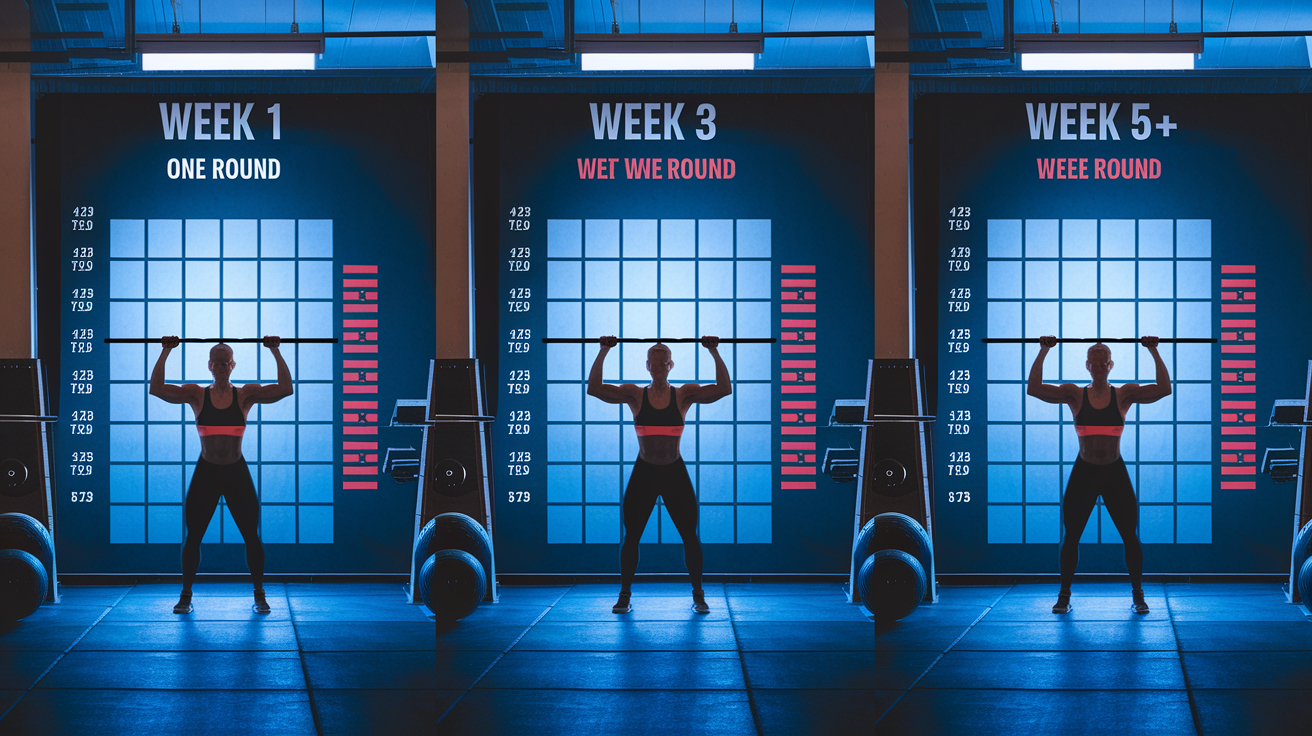
Start with one round and focus on learning the movement patterns. Once you can complete one full round with solid form and recover without gasping for ten minutes afterward, add a second round the following week. When two rounds feel manageable, bump it to three. That’s your first layer of progression: adding training volume by increasing total rounds.
After you’re comfortable with three rounds, play with work and rest intervals. Shift from 40 seconds of work and 20 seconds of rest to 45 seconds of work and 15 seconds of rest. Another option is to add tempo. Lower yourself for two full seconds during squats or push-ups, then explode up. Tempo work builds control and time under tension without needing weights.
Single-leg or single-arm variations come next. Try single-leg glute bridges, single-leg squats to a chair, or one-arm planks. These options increase the challenge and iron out left-right strength imbalances. Noticeable gains in strength and endurance show up in four to eight weeks if you’re training two to four times per week and giving your body enough rest between sessions.
Week-by-Week Progression Sample
| Week | Rounds | Work/Rest Timing | Notes |
|---|---|---|---|
| 1–2 | 1 | 40s work / 20s rest | Focus on learning proper form and breathing |
| 3–4 | 2 | 40s work / 20s rest | Add a second round when recovery feels manageable |
| 5–6 | 3 | 40s work / 20s rest | Build endurance with three full rounds |
| 7+ | 3 | 45s work / 15s rest or add tempo | Increase intensity or try single-leg variations |
Safety Tips and Injury-Prevention Essentials for Home Strength Circuits
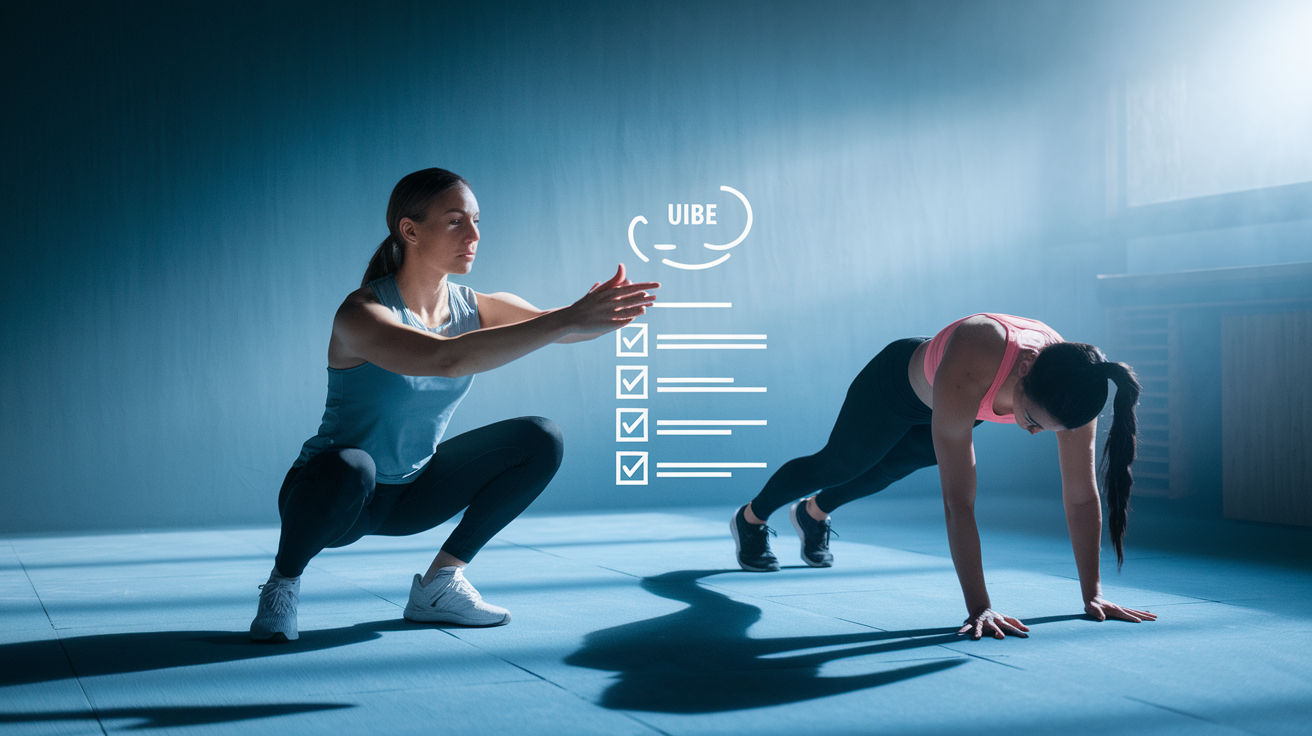
Keep your spine neutral during every exercise. That means no excessive arching in your lower back during planks or push-ups, and no rounding your upper back during squats. Check that your knees track over your toes during lunges and squats. If they collapse inward, lighten the load or use a modification until you build the strength to control them.
Use a slower tempo when you’re learning new movements or when fatigue starts messing with your form. Controlled reps are safer and more effective than fast, sloppy ones. Rest when you need it, even if that means taking an extra 10 seconds between exercises. Stop immediately if you feel sharp pain. Dull muscle burn is normal, but joint pain or sudden sharp sensations are red flags.
Critical safety reminders:
- Breathe steadily throughout each movement. Exhale on the hard part, inhale on the easier part.
- Use a yoga mat or towel under your knees and elbows if you’re working on a hard floor.
- Warm up for three to five minutes before starting the circuit.
- Allow 48 hours of recovery between strength sessions if you’re new to training.
Cool-Down and Stretching Routine After a No-Equipment Strength Circuit
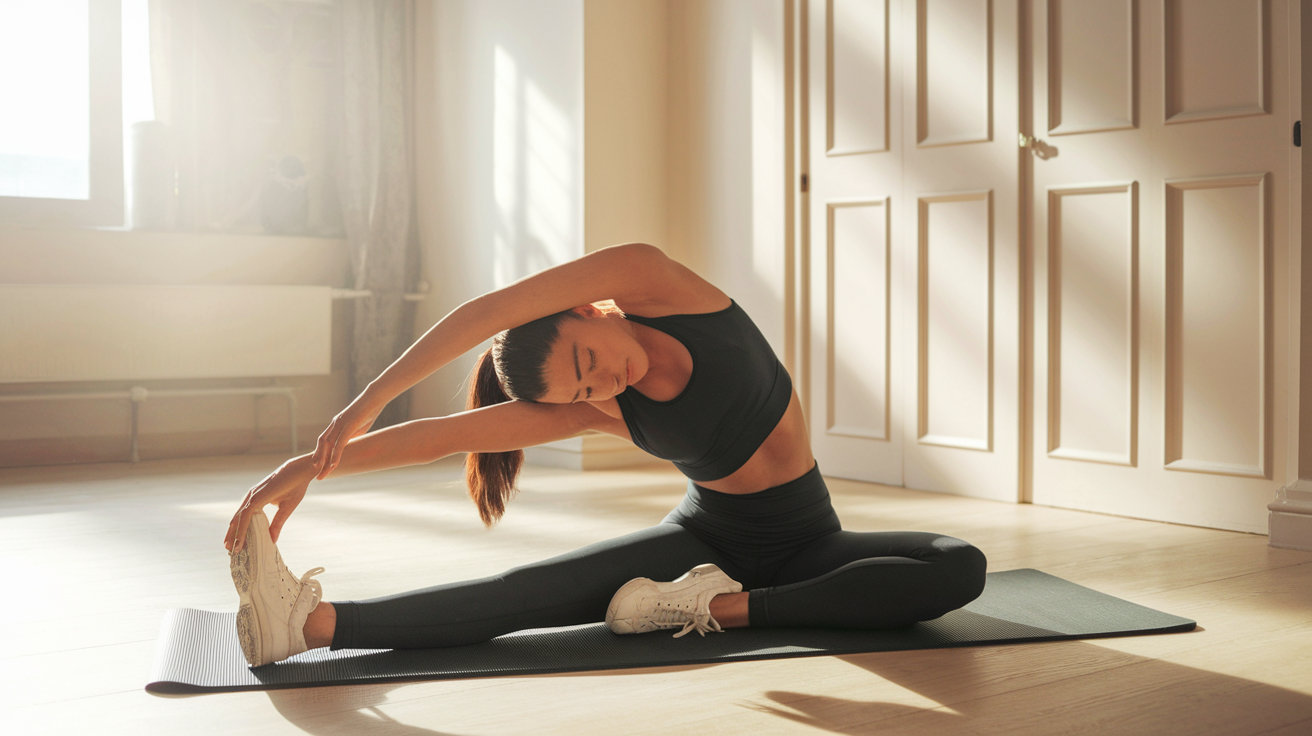
Spend three to five minutes stretching the muscles you just worked. Static stretching after a workout helps reduce soreness and keeps your muscles from tightening up too much as they recover. Hold each stretch for 30 to 60 seconds and breathe slowly. Don’t bounce or force the stretch. Just settle into a comfortable pull and let your muscles release.
Target the big muscle groups that did the most work during the circuit. Your quads, hamstrings, glutes, chest, and shoulders all need attention. This isn’t optional. Skipping the cool-down won’t wreck your progress, but doing it consistently makes your next session feel better and supports long-term mobility.
Simple cool-down stretch sequence:
- Standing quad stretch (grab your ankle behind you and pull gently toward your glutes, 30 to 60 seconds per leg)
- Seated hamstring stretch (sit with one leg extended, hinge at the hips and reach toward your toes, 30 to 60 seconds per leg)
- Glute stretch (lie on your back, cross one ankle over the opposite knee, pull the bottom leg toward your chest, 30 to 60 seconds per side)
- Doorway chest stretch (place your forearm on a door frame and gently rotate your torso away, 30 to 60 seconds per side)
- Shoulder stretch (pull one arm across your chest with the opposite hand, 30 to 60 seconds per side)
Final Words
Start the circuit: eight bodyweight moves with set reps/times and 20-second rests. Warm up for 3–5 minutes, focus on form cues, and use the listed beginner modifications when needed.
Aim for 1 round to begin (about 20–30 minutes), move up to 3 rounds as you get stronger. Cool down and stretch after. Follow safety tips—neutral spine, aligned knees, stop for sharp pain.
This beginner no-equipment strength circuit for home is a simple, repeatable plan you can do 2–4 times a week. Small progress adds up. You’ve got this.
FAQ
Q: What is the complete at-home strength circuit structure for beginners?
A: The circuit is eight bodyweight moves, push-ups 15, burpees 15, plank 1 min, jump lunges 20, dolphin push-ups 15, frog squats 20, tricep dips 15, wall sit 1 min, with 20s rest between exercises and 1 min between sets.
Q: Why is this circuit ideal for beginners with minimal equipment?
A: This circuit is ideal for beginners because it uses only bodyweight, hits full-body movements, keeps short rest for conditioning, and offers simple regressions so you can progress without special equipment.
Q: How many rounds should beginners do and how long will the workout take?
A: Beginners should start with one round and progress to three rounds as you get stronger; the full session, including warm-up and cool-down, takes about 20 to 30 minutes.
Q: What warm-up should I do before this circuit?
A: The warm-up should be 3–5 minutes of dynamic moves like arm circles, leg swings, hip hinges, and light marching or jogging to raise circulation, loosen joints, and reduce soreness risk.
Q: What are the main form cues for squats, push-ups, lunges, and planks?
A: Key form cues are: squat with chest up and weight on heels, push-ups in a straight line head-to-heel, lunges with knees tracking toes, and planks with a neutral spine and braced core.
Q: What common beginner form errors should I avoid?
A: Common beginner form errors to avoid are arching the back, knees collapsing inward, rushing reps, using too short a range of motion, and holding your breath instead of steady breathing.
Q: How can I modify exercises for low impact or regressions?
A: You can modify by doing knee push-ups, removing the burpee jump, swapping jump lunges for static lunges, using a high- or knee-plank, regular squats for frog squats, and chair-assisted tricep dips.
Q: How should I progress safely over weeks?
A: Progress safely by adding rounds (up to three), shifting work/rest (for example 45s work/15s rest), adding slow tempo or single-leg variations, training 2–4 times weekly, and expecting strength gains in 4–8 weeks.
Q: What safety tips and injury-prevention essentials should I follow?
A: Key safety tips are keep a neutral spine, make sure knees track toes, use a slower tempo for control, rest when needed, stop for sharp pain, breathe steadily, and use a mat for cushioning.
Q: What cool-down and stretches should I do after the circuit?
A: The cool-down should be 3–5 minutes of static stretches, holding each 30–60 seconds, focusing on quads, hamstrings, glutes, chest, and shoulders to reduce soreness and support recovery.