

Think warm-ups and cooldowns are optional?
Most beginners skip them and then wonder why they tweak a knee or can’t lift as well.
A quick warm-up wakes your muscles and nervous system so you move with better form.
A short cooldown brings your heart rate down, stops blood from pooling, and helps muscles relax.
This post gives simple 5–20 minute, step-by-step routines for beginner strength circuits that lower injury risk and make your workouts more productive.
Even 5 minutes each protects you and improves your lifts.
Why Warming Up and Cooling Down Matter for Strength Circuits

Most people new to training skip warm-ups and cooldowns. They think those parts are extras you can cut when you’re short on time. Wrong. When you jump straight into a strength circuit without warming up, you’re asking cold muscles and stiff joints to handle weight they’re not ready for. That raises injury risk. It also means you won’t recruit the right muscles during your sets, which tanks your performance.
Skip the cooldown and your heart rate drops too fast, blood pools in your legs, and your muscles lock up. Neither one helps you get stronger.
A warm-up raises your heart rate gradually, pushes more blood into the muscles you’re about to work, and gets synovial fluid moving in your joints. It also wakes up your nervous system so muscles fire in the right order when you lift. Think of it like flipping all the switches before you start working. Everything runs smoother. The cooldown does the reverse. It brings your heart rate back down safely, cuts the risk of feeling dizzy, and gives you a window to stretch warm muscles, which is when flexibility work actually sticks.
Both phases take anywhere from 5 to 20 minutes depending on what you’re doing. That time pays back in fewer tweaks, better lifts, and faster recovery between sessions.
If you’ve only got 30 minutes total, a 5-minute warm-up and 5-minute cooldown still protect you and improve the quality of your 20 working minutes. If you’ve got more time, use it. A longer warm-up before heavy work or a longer cooldown after hard effort gives your body what it needs to adapt without falling apart.
Timing Guidelines for Warm-Ups and Cooldowns

Here’s a simple rule. Lighter sessions need 5 to 10 minutes of warm-up. Heavier sessions, complex movements, or days when you’re lifting close to your max need closer to 20 minutes. If you’re doing bodyweight circuits or using light dumbbells and the movements are familiar, 5 to 10 minutes is fine. If you’re squatting, deadlifting, or pressing overhead with serious weight, take the full 20.
For cooldowns, plan 5 to 10 minutes after most sessions. If you pushed hard, if your heart rate is still elevated, or if you’ve got a condition like high blood pressure or diabetes, aim for 10 minutes. That extra time lets your cardiovascular system settle without stress.
Beginners often think they need to copy what advanced lifters do. You don’t. What matters is that you do something. A 5-minute warm-up with some light cardio, joint mobility, and a few bodyweight versions of your planned movements beats skipping it. Same with the cooldown. A 5-minute walk and three static stretches will help more than sitting down the second you finish your last set.
When you’re planning your session, budget 10 to 20 percent of your total time for warm-up and cooldown combined. If you’ve got 40 minutes, spend 5 warming up, 30 working, and 5 cooling down. If you’ve got an hour, spend 10 warming up, 40 working, and 10 cooling down. Sticking to these time blocks builds the habit, and the habit protects you long term.
Physiological Benefits of Warming Up and Cooling Down

Warming up does more than make you feel ready. It increases blood flow to your working muscles, which delivers oxygen and nutrients faster. It raises your core temperature slightly, which makes muscle fibers contract more efficiently. It also triggers the release of synovial fluid in your joints, which acts like oil in a hinge. Without that lubrication, joints move stiffly and wear down faster under load.
Your nervous system needs a ramp-up too. Cold muscles don’t fire in the right order. A proper warm-up activates the neural pathways you’ll use during your circuit, so when you squat or press, the right muscles engage at the right time. That improves performance and reduces the chance of compensation injuries, where a dominant muscle takes over for a weaker one and gets overloaded.
Dynamic stretching during the warm-up improves range of motion temporarily, which helps you hit proper depth in squats or full extension in presses. Research shows that dynamic stretching before athletic work can improve performance (Opplert & Babault, Sports Medicine, 2018). Static stretching before you lift, on the other hand, can reduce force output if you hold stretches too long. Save those for the cooldown.
The cooldown helps your heart rate return to baseline gradually. If you stop moving suddenly after intense work, blood can pool in your legs, which sometimes causes dizziness or fainting. A slow taper, like 5 to 10 minutes of easy walking or light cycling, keeps blood circulating and prevents that drop. Cooling down also clears metabolic byproducts like lactate more efficiently than stopping cold.
Post-workout static stretching, when muscles are warm, increases flexibility and can reduce the severity of delayed onset muscle soreness. The evidence on DOMS reduction is mixed, but plenty of people report feeling less stiff the next day when they stretch after training. At minimum, it helps with mental decompression and signals to your body that the work is done.
Step-by-Step Beginner Warm-Up for Strength Circuits
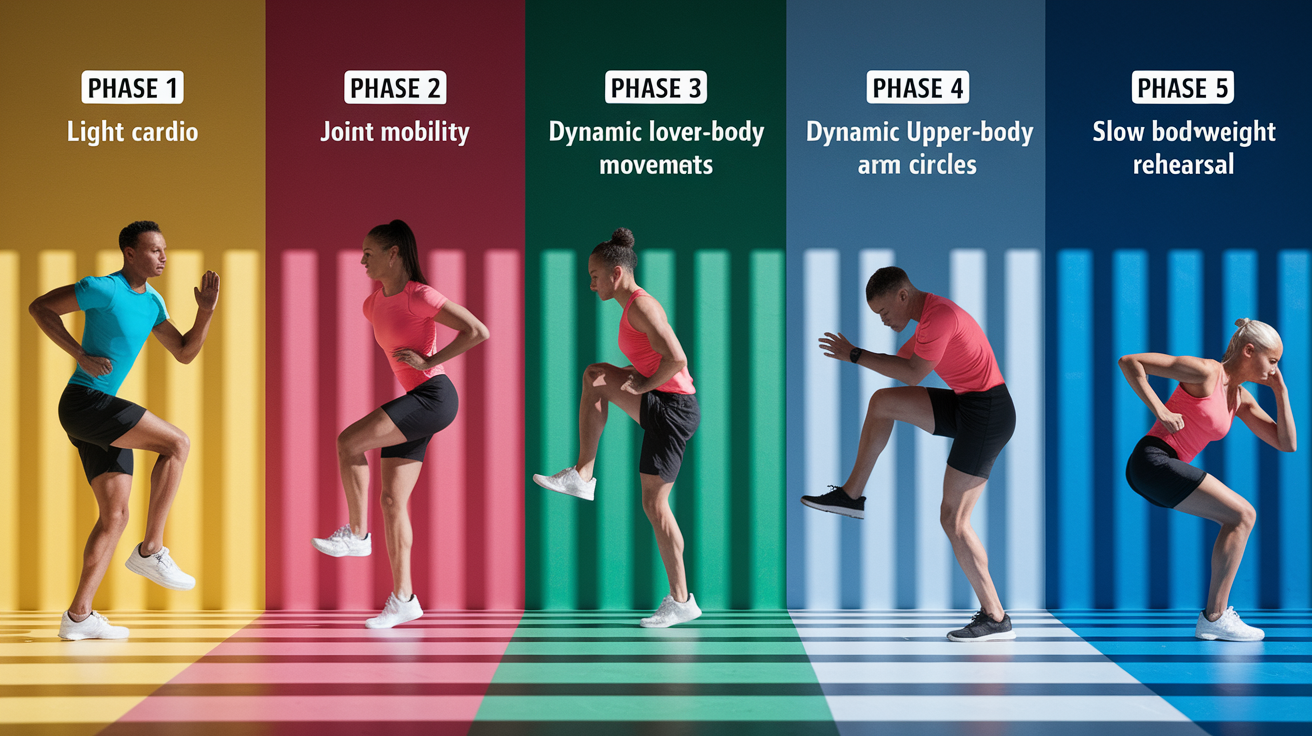
A beginner warm-up for strength circuits should take 5 to 10 minutes and follow a simple sequence. Start with light cardio, move into joint mobility, add dynamic stretches, and finish with movement rehearsal. Here’s how to structure it.
Phase 1: Light Cardio (60 to 90 seconds)
Jog in place, march with high knees, or walk briskly on a treadmill with a slight incline. The goal is to raise your heart rate and get blood moving. You should feel warm but not tired.
Phase 2: Joint Mobility (2 to 3 minutes)
Move each major joint through its range. Do 10 ankle circles in each direction per foot. Roll your wrists 10 times each way. Do 10 shoulder circles forward and 10 backward. These small movements prep the joints you’ll load during the circuit.
Phase 3: Dynamic Lower-Body Movements (2 to 3 minutes)
Perform walking high knees for 30 to 45 seconds. Follow with butt kicks for another 30 to 45 seconds. Then do 8 to 12 leg swings per leg, front to back and side to side. Add 8 to 10 hip circles in each direction. These movements open up your hips and warm up your legs.
Phase 4: Dynamic Upper-Body Movements (1 to 2 minutes)
Do 15 arm circles forward and 15 backward. Add 6 to 8 spinal twists on each side, rotating gently from your torso. If your circuit includes overhead work, hold your arms overhead for 10 to 20 seconds to rehearse that position.
Phase 5: Movement Rehearsal (1 to 2 minutes)
Perform 5 to 10 slow bodyweight squats, focusing on depth and control. Do 5 to 10 incline push-ups or slow press-ups if you’re doing upper-body work. If you’re planning single-leg movements, do a few balance holds or slow lunges. The point is to rehearse the exact pattern you’ll load later.
This sequence takes 7 to 10 minutes total. If you only have 5 minutes, cut the dynamic movements to one round and spend most of your time on movement rehearsal. The rehearsal is the part that translates most directly to injury prevention and performance.
Strength-Specific Warm-Up Tips and Progressions

Once you’ve done your general warm-up, add a strength-specific warm-up before your first working set. This means performing the exact movement pattern with no weight, then adding light load, and finally moving to your working sets. For example, if your first exercise is a goblet squat, do 5 to 10 bodyweight squats, then 5 to 8 squats holding a light dumbbell, then start your working sets.
This progression teaches your nervous system the movement before you add challenge. It also gives you a chance to check your form when the stakes are low. If your bodyweight squat feels uneven or your knees collapse inward, fix it before you add weight. Most beginners skip this step and go straight to working sets. That’s when form breaks down and injuries happen.
If your circuit includes complex movements like overhead squats or single-leg exercises, spend extra time on activation and rehearsal. For overhead squats, hold the overhead position for 10 to 20 seconds, check your shoulder mobility, and do a few slow reps with a PVC pipe or broomstick. For single-leg work, do a few single-leg balance holds to wake up your stabilizers.
Unilateral and balance variations are useful in the warm-up because they activate smaller stabilizer muscles that don’t fire during bilateral movements. Single-leg Romanian deadlifts or single-leg squats with a light touch for balance prep your glutes and core in ways that regular squats don’t. You don’t need to do heavy reps. Just a few bodyweight or lightly loaded reps per side is enough.
Use resistance bands for activation if you have them. A few sets of banded side steps or banded clamshells wake up the glutes and help correct imbalances. Three sets of 8 to 10 reps or 40 to 60 seconds of continuous work is plenty. Do these after your general warm-up and before you start your circuit.
Step-by-Step Beginner Cooldown for Strength Circuits

A cooldown after a strength circuit should take 5 to 10 minutes and include two parts: gentle movement to lower your heart rate and static stretches to improve flexibility and reduce tightness. Here’s a simple template.
Phase 1: Gradual Cardio Taper (5 to 7 minutes)
Walk at an easy pace for 5 minutes, or cycle slowly, or do light marching in place. The goal is to bring your heart rate down gradually. You should feel your breathing slow and your body start to relax. Don’t sit down immediately after your last set.
Phase 2: Static Stretching (3 to 5 minutes)
Hold each stretch for 20 to 30 seconds. Focus on the muscle groups you used during the circuit. Here’s a basic sequence:
- Hamstring stretch: Sit on the floor with one leg extended, reach toward your toes. Hold 30 to 60 seconds per leg.
- Quad stretch: Stand on one leg, pull the opposite heel toward your glutes. Hold 30 to 60 seconds per leg.
- Calf stretch: Step one foot back, press the heel down, lean forward slightly. Hold 30 seconds per side.
- Chest stretch: Stand in a doorway or use a wall, place your forearm against it, and rotate your torso away. Hold 30 to 60 seconds per side.
- Shoulder and triceps stretch: Bring one arm across your body or overhead and gently pull with the opposite hand. Hold 30 seconds each.
- Hip flexor stretch: Kneel on one knee, push your hips forward gently. Hold 30 to 60 seconds per side.
- Glute stretch: Sit and cross one ankle over the opposite knee, lean forward gently. Hold 30 to 60 seconds per side.
- Forward fold or child’s pose: Let your spine relax and breathe. Hold 30 to 60 seconds.
You don’t need to do every stretch every session. Pick 4 to 6 that target the muscles you worked most. If your circuit was lower-body heavy, focus on hamstrings, quads, calves, and hip flexors. If it was upper-body heavy, focus on chest, shoulders, and triceps.
Using Foam Rollers and Mobility Tools in Your Cooldown
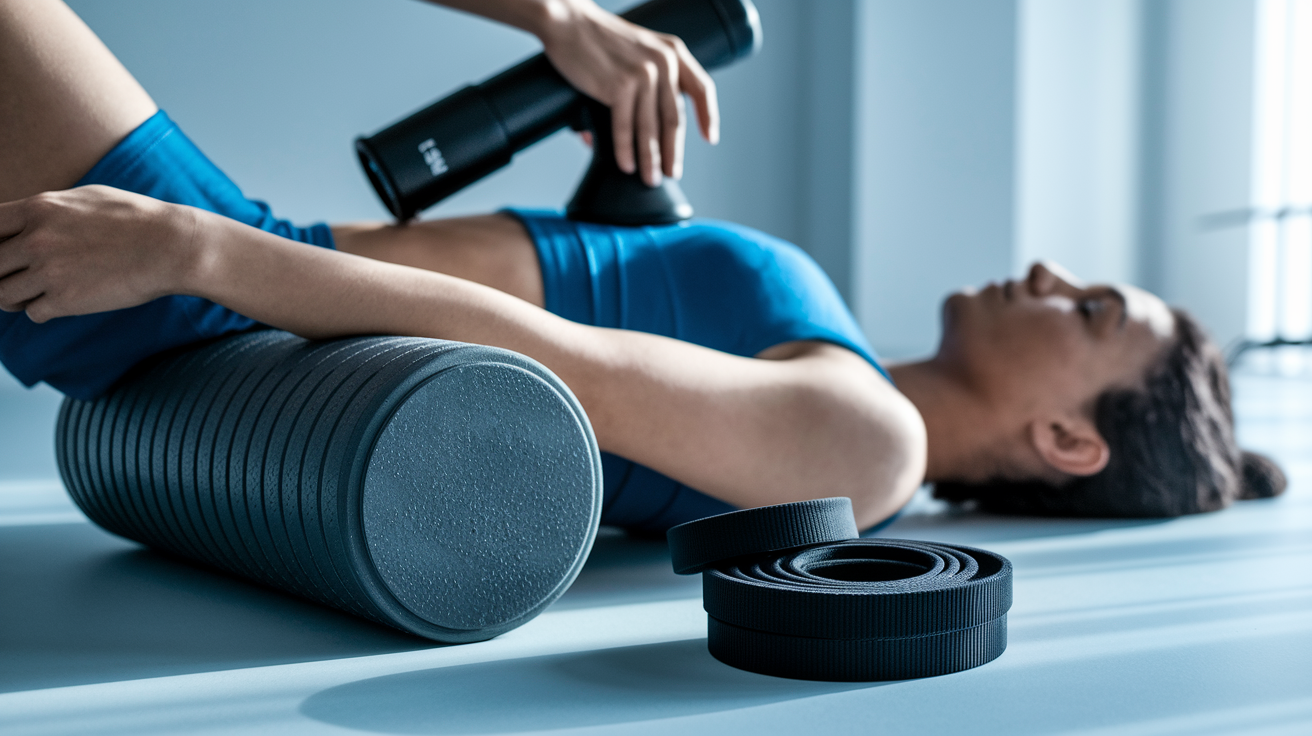
Foam rollers, massage guns, and resistance bands can improve your cooldown if you use them correctly. Foam rolling works best on tight areas where you feel knots or soreness. Spend 30 to 90 seconds per muscle group, moving slowly and pausing on tender spots. Don’t roll directly on bones or joints.
Common areas to roll after strength circuits include the IT band (side of your thigh), quads, glutes, calves, and upper back. If you only have a few minutes, pick the two tightest areas and focus there. Rolling for 60 to 120 seconds per spot is enough to improve blood flow and reduce tightness.
Massage guns do similar work faster. Use them on the same muscle groups you’d foam roll, but keep the pressure moderate. High settings can cause bruising if you’re not used to them. Thirty to 60 seconds per area is plenty.
Resistance bands can assist deeper stretches. Loop a long band around your foot and gently pull to deepen a hamstring stretch. Or use a band to assist a shoulder stretch by holding it behind your back and gently pulling. Bands let you add controlled tension without forcing a stretch, which is safer for beginners.
You don’t need any of this equipment to cool down effectively. Bodyweight static stretches and a few minutes of walking are enough. Tools just give you more options when you want to target specific tightness or soreness.
Safety and Modification Tips for Warm-Ups and Cooldowns
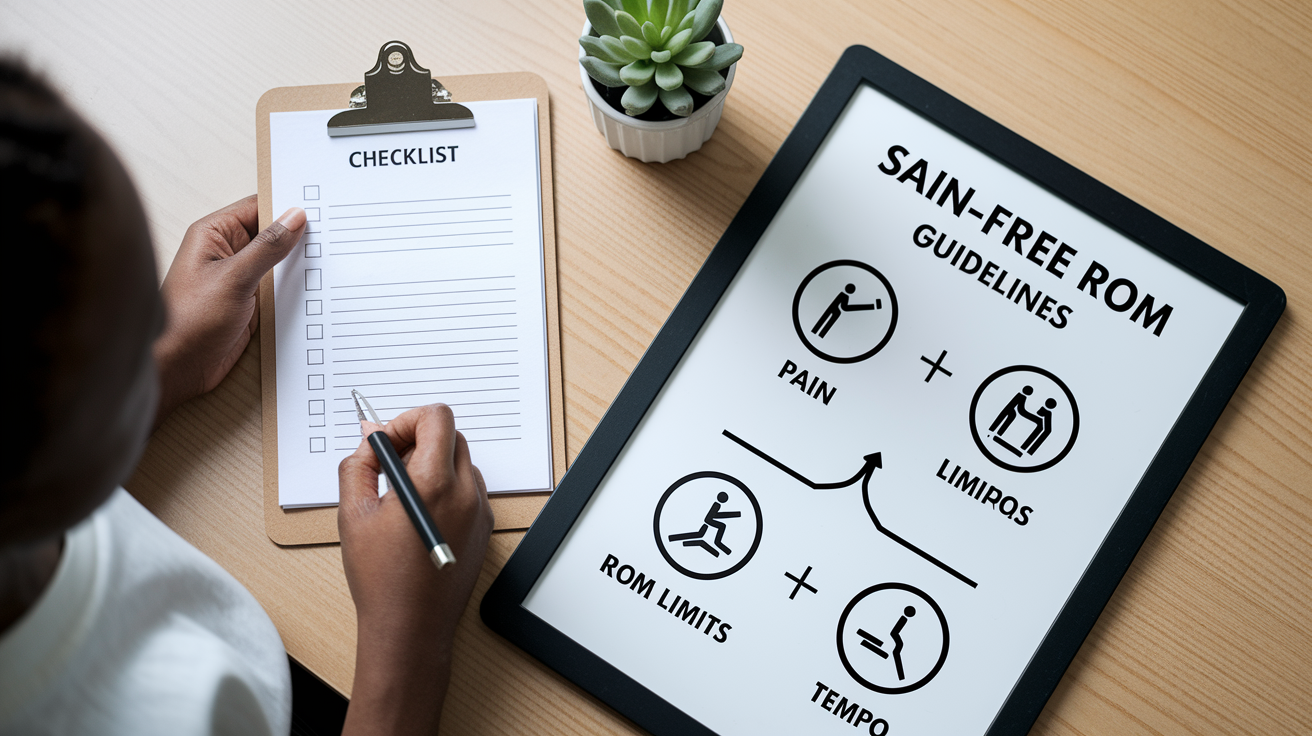
Stretching and mobility work should feel like good tension, not pain. If a stretch or movement causes sharp pain, stop immediately. Pushing through sharp pain can worsen injuries and slow recovery. A mild stretch sensation is normal. A pulling or tearing feeling is not.
Avoid sudden or bouncing movements during your warm-up. Dynamic stretches should be controlled and smooth. Jerky motions increase injury risk, especially when your muscles are still cold. Move through your full range gradually and breathe steadily.
If you have a medical condition like high blood pressure, diabetes, or heart disease, spend extra time on your cooldown. A longer, gentler taper helps your cardiovascular system return to baseline safely. Ten minutes of easy movement is better than five when your body needs more time to regulate.
If you’re recovering from an injury or dealing with chronic pain, modify movements to stay within pain-free ranges. If deep squats hurt your knees, do partial-range squats or box squats during your warm-up rehearsal. If overhead positions bother your shoulders, rehearse at a lower angle until your mobility improves.
Beginners often rush through warm-ups and cooldowns because they want to get to the “real” work. That mindset backfires. Treat these phases as integral parts of your session, not optional add-ons. Allocate 10 to 20 percent of your total training time to them and track them the same way you track working sets.
Adapting Warm-Ups and Cooldowns for Cardio and Strength Combinations

If your session includes both cardio and strength work, adjust your warm-up and cooldown to match. For cardio-first sessions, start with 2 to 3 minutes of very light cardio (slow walk or easy bike), then do dynamic mobility for the lower body (leg swings, hip circles, ankle rolls). Follow with 1 to 2 minutes of movement-specific drills like high knees or short accelerations. Total time: 5 to 7 minutes.
After cardio, transition to strength work with a quick activation phase. Do 1 to 2 sets of bodyweight or lightly loaded versions of your planned movements. If you’re doing a lower-body strength circuit after a run, do 8 to 12 bodyweight squats and 8 to 12 glute bridges before you start working sets. This primes the muscles you’ll load.
For strength-first sessions followed by cardio, warm up for strength as described earlier, then transition to cardio with a 1- to 2-minute ramp-up. Start your cardio interval at an easy pace and build into your working intensity over the first few minutes.
Your cooldown should match the final phase of your session. If you finish with cardio, taper your cardio intensity for 5 to 10 minutes (run to jog to walk) before you stretch. If you finish with strength, do your gentle walking or cycling taper, then stretch the muscles you loaded most.
When time is tight, focus the warm-up on whichever phase comes first and the cooldown on whichever phase ends the session. A 5-minute warm-up before strength and a 5-minute cooldown after cardio will protect you better than skipping both.
Practical Warm-Up and Cooldown Templates for Busy Beginners
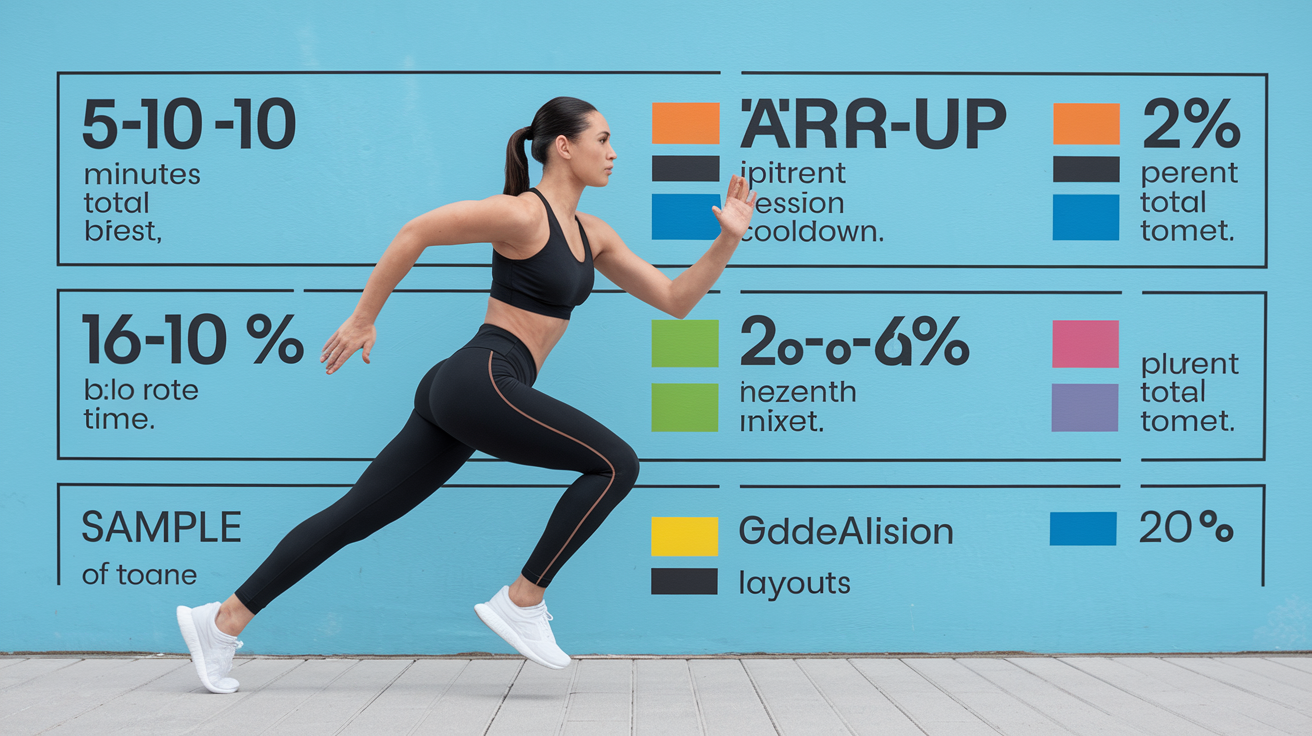
If you only have 5 to 10 minutes total for your warm-up, use this sequence:
- 2 to 3 minutes: Light cardio (march in place, brisk walk, or easy bike).
- 2 to 3 minutes: Dynamic mobility (10 leg swings per leg, 10 hip circles each way, 15 arm circles each direction).
- 1 to 3 minutes: Quick activation and rehearsal (8 to 12 bodyweight squats, 8 to 12 glute bridges, 8 to 12 banded side steps or incline push-ups).
This hits the essentials. You get your heart rate up, move your joints, and rehearse your movement patterns. It’s not perfect, but it’s enough to reduce injury risk and improve performance.
For a 10-minute cooldown, use this template:
- 5 to 7 minutes: Gentle cardio taper (easy walk, slow bike, or light marching).
- 3 to 5 minutes: Static stretches (pick 4 to 6 stretches from the list earlier; hold each 20 to 30 seconds).
If you have more time, extend the taper to 10 minutes and add 5 to 10 minutes of stretching, holding each position for 30 to 90 seconds and repeating 2 to 3 times per side. Longer holds increase flexibility more, but even short holds help when you’re consistent.
For a full 20-minute warm-up before a heavier session, structure it like this:
- 10 to 12 minutes: Low-impact general cardio (treadmill walk with gradual incline, elliptical, or easy bike). Increase intensity slowly. You should feel warm and ready, not tired.
- 5 to 7 minutes: Dynamic range-of-motion drills (deep reverse lunges, lateral lunges, leg swings, trunk twists, deep bodyweight squats). Move slowly and breathe.
- 5 to 7 minutes: Goal-specific activation (glute bridges, clamshells, banded side steps, superman extensions, scapular retractions). Use 3 sets of 8 to 10 reps or 40 to 60 seconds per movement.
This longer warm-up is worth it when you’re lifting heavy or doing complex movements. It reduces injury risk significantly and improves the quality of your working sets.
Tracking Your Warm-Up and Cooldown Progress
Most beginners don’t track their warm-ups and cooldowns, but doing so helps build the habit. In your training log, note the time you spent warming up and cooling down, the movements you did, and how you felt. Over time, you’ll see patterns. You might notice that sessions where you skipped the warm-up led to tweaks or poor performance.
You can also track simple metrics like “Did I feel ready after my warm-up?” or “Did my muscles feel tight the next day?” These subjective markers help you adjust. If you consistently feel tight after short cooldowns, extend them by a few minutes and see if that helps.
As you get stronger, your warm-up and cooldown routines should evolve. Beginners might need more time on joint mobility and movement rehearsal because their movement patterns are still developing. More advanced people might need more time on activation and ramp-up sets because they’re handling heavier loads. Both groups benefit from consistency.
If you’re doing the same strength circuit multiple times per week, you don’t need to reinvent your warm-up and cooldown each session. Use the same sequence for a few weeks, then adjust based on what you notice. This makes the process automatic, which increases compliance.
Breathing matters during both phases. During your warm-up, breathe steadily. Don’t hold your breath. During your cooldown, use slow, deep breaths to help your nervous system shift from work mode to recovery mode. Breathing is a simple tool that costs nothing and improves how both phases feel.
Common Mistakes Beginners Make with Warm-Ups and Cooldowns
The biggest mistake is skipping them entirely. The second biggest is rushing through them. A warm-up that feels hurried doesn’t prepare your body. A cooldown you cut short doesn’t give your heart rate time to settle. Both increase injury risk and reduce the benefit you get from the session.
Another mistake is doing static stretches before strength work. Long static holds before lifting can temporarily reduce force output. Save your static stretching for the cooldown when it improves flexibility without compromising performance.
Some beginners also over-complicate their warm-ups. You don’t need fifteen different drills and three pieces of equipment. A few basic movements done consistently work better than a complex routine you abandon after a week. Keep it simple and repeatable.
Many beginners don’t match their warm-up to their session. If you’re doing a lower-body strength circuit, spend most of your warm-up time on lower-body mobility and activation. If you’re doing upper-body work, focus there. A generic warm-up is better than nothing, but a specific warm-up is better than generic.
The same applies to cooldowns. If you pushed your legs hard, spend extra time stretching your quads, hamstrings, and hip flexors. If you did a lot of pressing, stretch your chest and shoulders. Match the cooldown to the work you did.
Start every session with a short dynamic warm-up: joint circles, leg swings and light cardio, then move into your strength circuit. Finish with a brief cooldown of slow walking, static stretches and deep breaths.
Keep it simple. Five to ten minutes each. Pick moves that prep the muscles you’ll use and scale the intensity. Pay attention to form and steady breathing.
Use this warm-up and cooldown for beginner strength circuits to lower injury risk, speed recovery and make each session count. Small, steady steps add up. You’ve got this.
FAQ
Q: What is the 3-3-3 rule at the gym?
A: The 3-3-3 rule at the gym usually means doing three sets of three reps, a strength-focused plan using heavier weight, longer rest, and strict form to build maximal strength on main lifts.
Q: How to warm-up and cool down for strength training?
A: To warm up and cool down for strength training, start with 5–10 minutes light cardio, dynamic mobility, and activation drills; finish with 5–10 minutes easy movement and targeted stretching to aid recovery.
Q: What is the 5 3 1 rule?
A: The 5-3-1 rule is Jim Wendler’s strength program: four-week cycles using main lifts with sets of 5 reps, 3 reps, then 1+ rep, progressively increasing working weights for steady gains.
Q: What is the 2 2 2 rule in gym?
A: The 2-2-2 rule in the gym commonly means a tempo: two seconds lowering, two seconds pause, two seconds lifting, which improves control, muscle tension, and safer technique.