
Think resistance bands are just rehab tools or travel toys?
They’re not.
Bands can build real strength, cut body fat, and fit in a suitcase.
Research shows band training gives gains similar to weights when used right.
This post walks you through the best bands to buy, how the resistance works, safety tips, and simple workouts you can do anywhere.
If you want a low-cost, portable way to get stronger without a gym, read on.
This guide gives clear, practical steps you can use today.
Quick answer: Can resistance bands replace weights?
Yes. Resistance bands can replace or supplement traditional weights for strength training. A 2019 study found that resistance-band training produces strength gains similar to conventional gym equipment. A 2022 review of 18 trials involving 669 participants showed resistance-band training reduced body fat in people with overweight better than other training modes.
Bands work by creating force through stretch. The more you pull, the harder they resist. Unlike dumbbells, which provide constant weight, bands deliver variable resistance that increases as the elastic lengthens. This tension profile makes the top of movements like a chest press or squat harder than the bottom.
The practical upside? A decent set of resistance bands costs about $25, weighs almost nothing, and fits in a gym bag. You can hit every major muscle group without a squat rack or bench.
One key difference: band “poundage” doesn’t equal dumbbell weight. A band labeled “30 lb” might deliver 10 lb at the start of a curl and 30 lb at full stretch. So you track progress by how close you get to failure, not by matching exact numbers on a free-weight chart.
If your goal is general strength, fat loss, or staying consistent while traveling, bands are enough. If you’re chasing a 300 lb deadlift, bands make a great supplement but won’t fully replace a barbell.
Either way, the research is clear: elastic resistance builds muscle when you use it properly.
How resistance-band training works
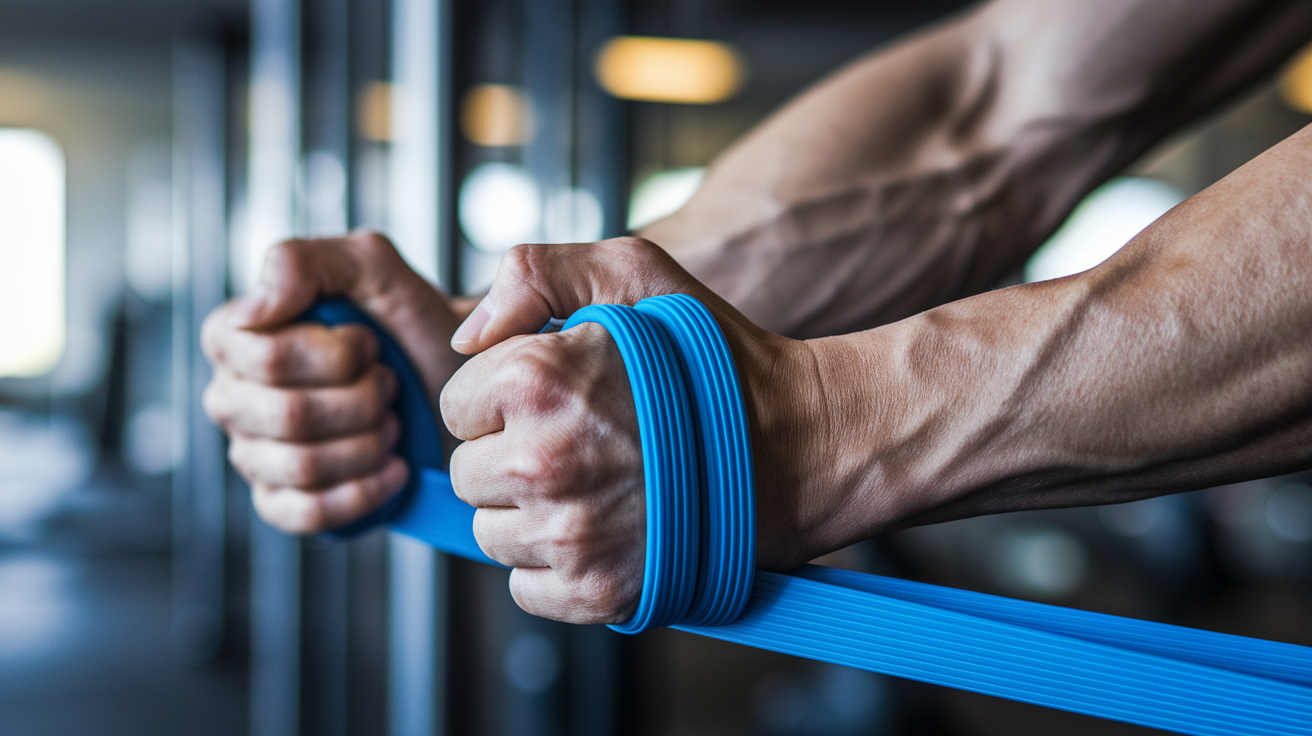
Resistance bands generate force through elastic tension. When you stretch the band, it wants to snap back. Your muscles work to control that snap in both directions: lengthening and shortening.
That’s different from a dumbbell. A 20 lb dumbbell weighs 20 lb at the bottom of a curl and at the top. A resistance band might start at 5 lb and climb to 25 lb as you curl higher. This variable resistance means the hardest part of the movement shifts.
Free weights rely on gravity. Bands rely on how far you stretch them. In a banded squat, the bottom is easier and the lockout is harder. Exactly the opposite of a barbell squat. That tension curve recruits different muscle fibers at different points in the range.
You can manipulate resistance in real time by shortening the band, changing your grip width, or anchoring it lower or higher. This adaptability is why bands are popular in rehab settings and why competitive lifters use them to vary loading patterns.
The downside: you can’t easily measure total volume the way you do with plates. A 50 lb band doesn’t mean 50 lb at every inch of stretch. But for most people, that’s fine. If you’re getting stronger (more reps, harder bands, better form), the exact number doesn’t matter much.
Bands also let you apply resistance in directions free weights can’t. Lateral band walks hit your glutes in a way dumbbells don’t. Banded rows let you anchor at any height. You can mimic cable machines without the cable stack.
The result: elastic training works because muscles respond to tension, not to whether that tension comes from iron or latex.
Benefits of resistance bands
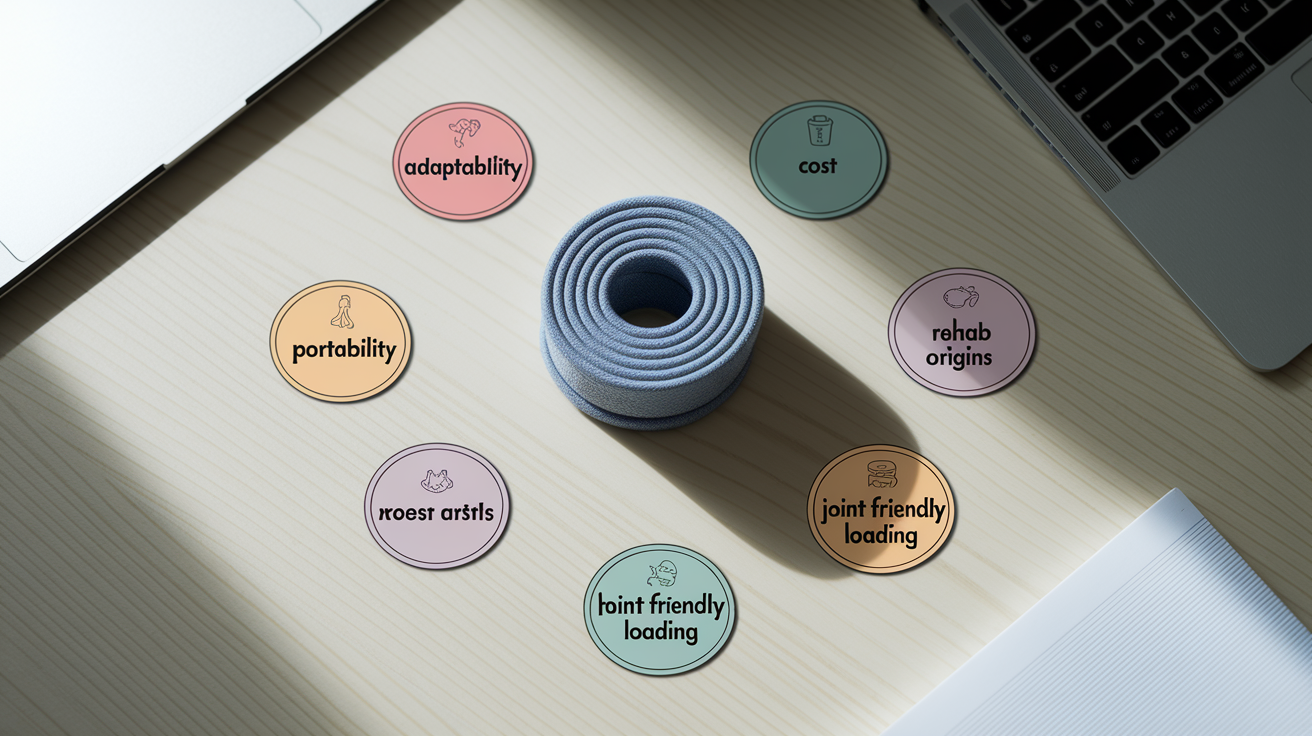
Adaptability. You can train anywhere. Hotel room, park, home office. Bands don’t need a rack or a bench. Loop one around a door anchor or step on it. Instant gym.
Portability. A full set of bands weighs less than a single dumbbell and rolls into a pouch smaller than a water bottle. If you travel for work or split time between locations, that’s a real advantage.
Cost. A decent five-band set runs about $25. Premium kits with handles, door anchors, and ankle cuffs might hit $40 to $70. Compare that to a pair of adjustable dumbbells at $200+ or a gym membership at $50/month.
Rehab origins. Resistance bands started as a nursing home rehab tool in the mid-20th century. Physical therapists needed a way to rebuild strength in patients who couldn’t lift heavy weights. Bands let them scale resistance precisely and safely. That same principle applies today. Beginners, people restarting after injury, and older adults benefit from the low-impact, scalable load.
Joint-friendly loading. Bands don’t compress your spine the way a loaded barbell does. There’s no drop risk if your grip fails. The elastic give makes eccentric (lowering) phases smoother, which can reduce soreness and joint stress.
Variable resistance. The tension curve forces your muscles to work differently than they do under gravity. That variance can break plateaus and recruit stabilizer muscles that free weights miss.
Stackable progression. You can combine two bands, shorten your grip, or switch to a darker (higher-tension) band as you get stronger. Progressive overload doesn’t require buying heavier plates. You already own the next level.
The trade-off: bands don’t feel as “solid” as iron. Some people prefer the feedback of a barbell. But for building muscle, burning fat, and staying consistent, bands deliver results that match conventional equipment at a fraction of the cost and space.
Buying guide: What to look for in resistance bands
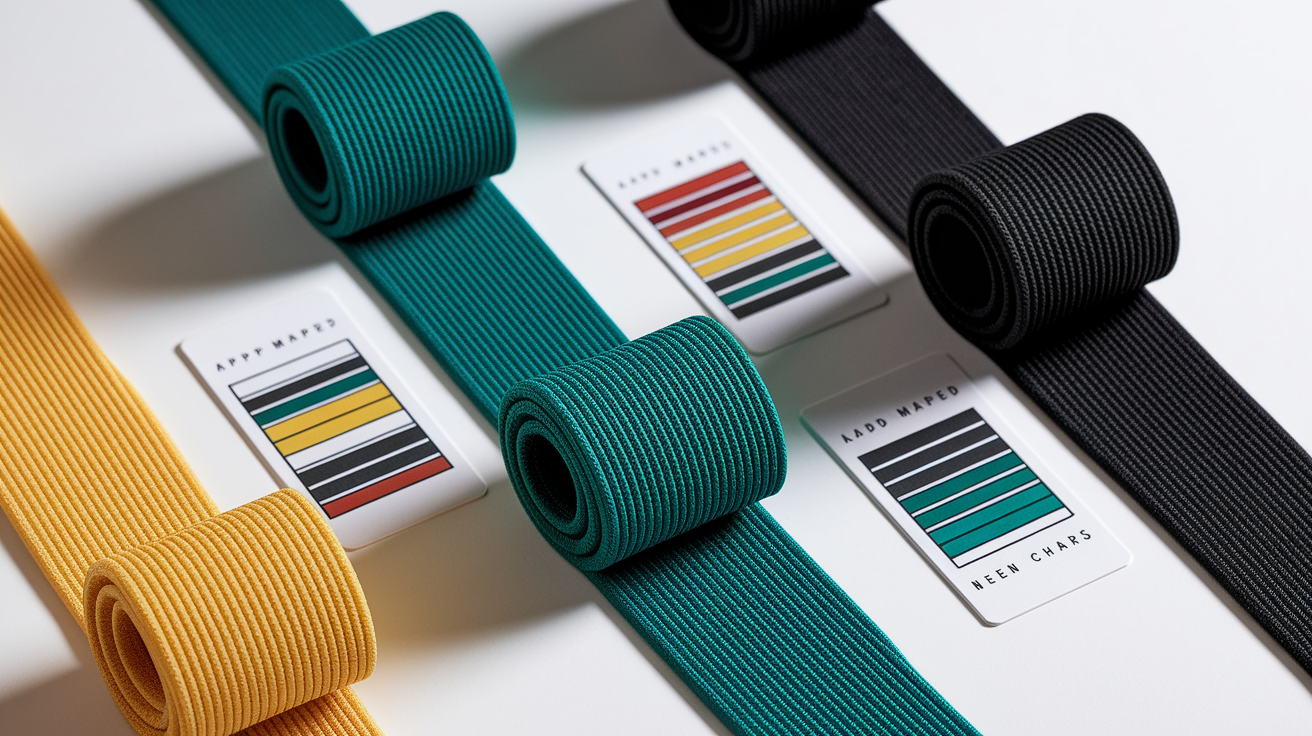
Band types. You’ll see three main formats. Flat therapy bands are wide, non-looped strips, common in physical therapy. Flat loop bands are continuous circles, often sold in mini sizes for glute work or full-length for general training. Elastic tubing with interchangeable handles looks like a jump rope with clips. You stack tubes onto handles to adjust resistance.
Flat loops are the most versatile for strength training. Mini loops work well for activation and warm-ups. Tube sets give you a more traditional “handle” feel but can be bulkier to pack.
Resistance levels. Bands are color-coded, and darker colors usually mean higher tension. A typical set includes yellow or red (light), green or blue (medium), and black or purple (heavy). Some brands add extra-light and extra-heavy options.
Match resistance to the exercise. Compound moves like chest presses and squats need heavier bands. Isolation moves like biceps curls or lateral raises need lighter bands. If a band feels too easy for 15+ reps, step up. If you can’t hit 8 reps with good form, step down.
Many bands list a poundage range (like “20 to 60 lb”). That means 20 lb at minimal stretch and 60 lb at full stretch. Don’t expect it to feel like a 60 lb dumbbell. The number is a reference point, not an exact match.
Materials and durability. Most bands are made from layered latex or synthetic rubber. Layered construction lasts longer and resists tearing better than single-ply designs. Some premium bands add a fabric sleeve over the latex to prevent whipping if the band snaps.
Check for smoothed edges. Rough seams or visible nicks are early warning signs. Inspect your bands before every session: look for small tears, discoloration, or chalky texture. If you see damage, replace the band.
Latex allergies are common. If that’s you, look for TPE (thermoplastic elastomer) or fabric-covered bands labeled latex-free.
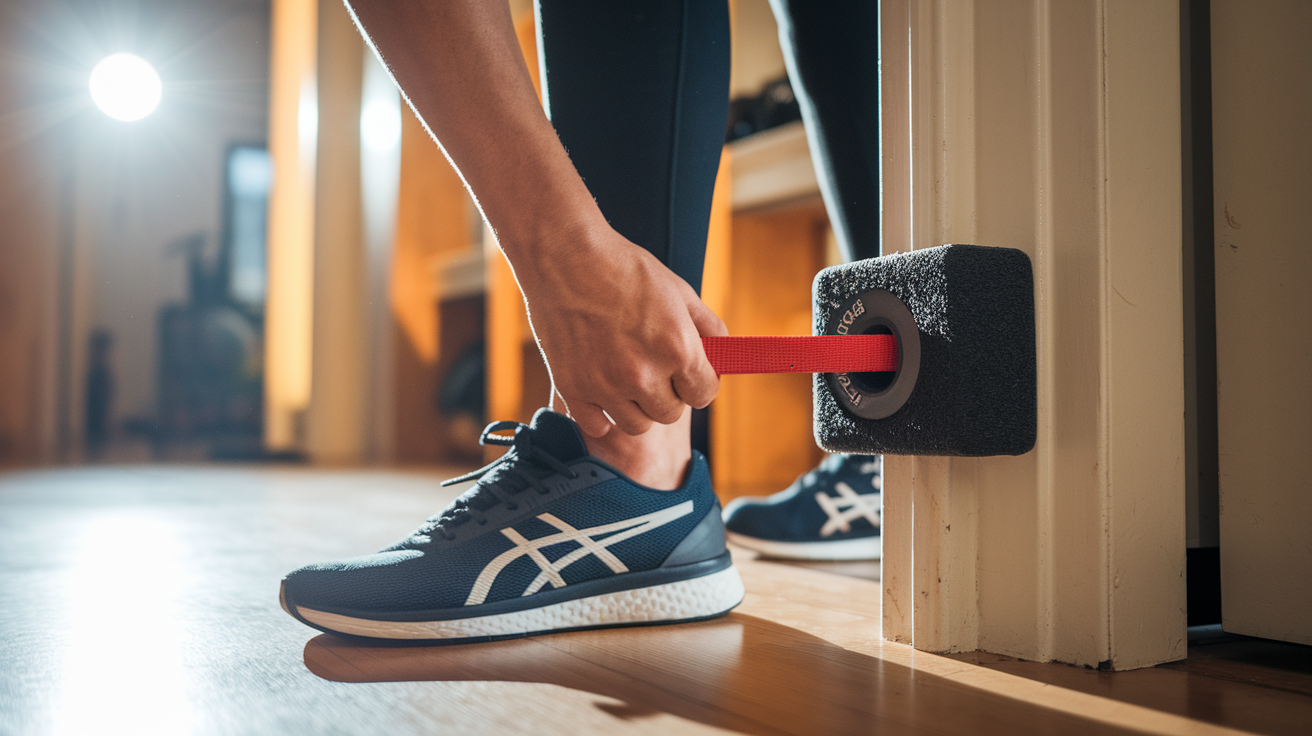
Accessories. A door anchor is a must if you want to replicate cable exercises. It’s a fabric strap with a foam block that wedges into a door frame. Tug hard before your first rep to make sure it’s secure.
Ankle cuffs and handles make certain exercises more comfortable. Handles reduce hand fatigue during rows and presses. Ankle cuffs let you attach a band for kickbacks and leg extensions.
Some sets include a carrying pouch. If yours doesn’t, a gallon freezer bag works fine.
Price expectations. A basic flat-loop set (three to five bands) costs $20 to $30. Mid-range tube sets with handles and a door anchor run $30 to $50. Premium kits with extra accessories, fabric sleeves, and wider resistance ranges can hit $70 or more.
Individual heavy-duty loop bands (the kind that go up to 150 lb) are often sold separately for $15 to $25 each. If you only need one or two resistances, buying individually can be cheaper than a full set.
Color-code and resistance mapping. Every brand uses a slightly different color system, so check the product specs. A common mapping:
| Color | Resistance (approx.) | Typical use |
|---|---|---|
| Yellow / Red | 5–15 lb | Warm-ups, small muscle groups (biceps, triceps) |
| Green / Blue | 15–35 lb | Moderate strength work, upper-body presses |
| Black / Purple | 35–80 lb | Lower-body compound moves, heavy rows |
| Silver / Gold | 80–150 lb | Advanced squats, deadlifts, assisted pull-ups |
If you’re new to bands, start with a set that includes light, medium, and heavy. You’ll swap between them depending on the exercise.
What to avoid. Skip sets that don’t list resistance ranges. If a product just says “5 bands, various colors,” you’re guessing. Also avoid bands stored in direct sunlight or extreme cold. UV and freezing temps degrade latex fast.
If reviews mention frequent snapping or exaggerated resistance claims (a $15 set claiming “up to 300 lb”), proceed carefully. Real 300 lb bands exist, but they’re thick, expensive, and hard to stretch by hand.
A decent set is affordable, but cheap construction costs you safety and consistency. Spend the $25 to $40 for a name-brand option with clear specs and decent reviews.
Safety and setup
Wear shoes. Bare feet or socks can slip when you’re stepping on a band. A solid rubber sole keeps the band locked under your foot and protects your arch if the band snaps.
Inspect before every session. Run your fingers along the entire length of each band. Feel for nicks, rough spots, or thin areas. Look for discoloration. Chalky white patches on black bands mean the latex is breaking down. If you find damage, retire that band. A snapped band can whip back hard enough to leave a welt or bruise.
Tug door anchors hard before your first rep. Close the door, loop the anchor strap over the top (or through the gap at hinge height), and pull with both hands. If the door flexes or the anchor slips, reposition it. Never anchor to a door that doesn’t latch securely.
Do not overstretch. Bands are designed to stretch two to three times their resting length. If you’re pulling a 40-inch band out to 120 inches, you’re in the danger zone. Instead, step closer to the anchor point, shorten your grip, or switch to a lighter band.
Avoid textured or sharp anchor points. Knurled barbell sleeves, rough brick, or splintered wood can fray a band in one session. Use a door anchor, a smooth post, or wrap the band around your own hand or foot.
Check the training environment. Bands degrade in extreme temperatures. Don’t leave them in a hot car or in direct sunlight. Cold makes latex brittle. If you’re training outside in winter, warm the bands indoors first or switch to synthetic options.
Start with lower resistance. If you’re new to bands, the tension curve feels different from free weights. A band that seems easy at the bottom of a squat might be brutal at the top. Test each movement with a lighter band before loading up.
Keep slack out of the setup. Start each rep with light tension already on the band. If there’s slack, the band can snap tight suddenly, jerking your joints. Step farther from the anchor or shorten your grip until you feel constant, smooth resistance.
No jerky movements. Bands reward controlled tempo. If you yank or bounce, you risk losing tension mid-rep or overstretching the elastic. Slow and steady wins here.
A quick pre-session checklist:
- Bands inspected for damage?
- Anchor point secure (door latched, no sharp edges)?
- Shoes on?
- Light tension at start position, no slack?
- Resistance level appropriate for the exercise?
Run through those five points and you’ll avoid most band-related injuries.
Technique tips
Form first. Adding a heavier band doesn’t build muscle if your form falls apart. Nail the movement pattern with a light band, then progress. If your back rounds, your elbow flares, or you’re using momentum, drop to an easier resistance.
Take muscles to fatigue. Strength grows when you challenge the muscle near its limit. Pick a band that lets you complete 8 to 15 reps with good form, but the last 1 to 3 reps should feel hard. If you finish 15 reps and could do 10 more, the band is too light.
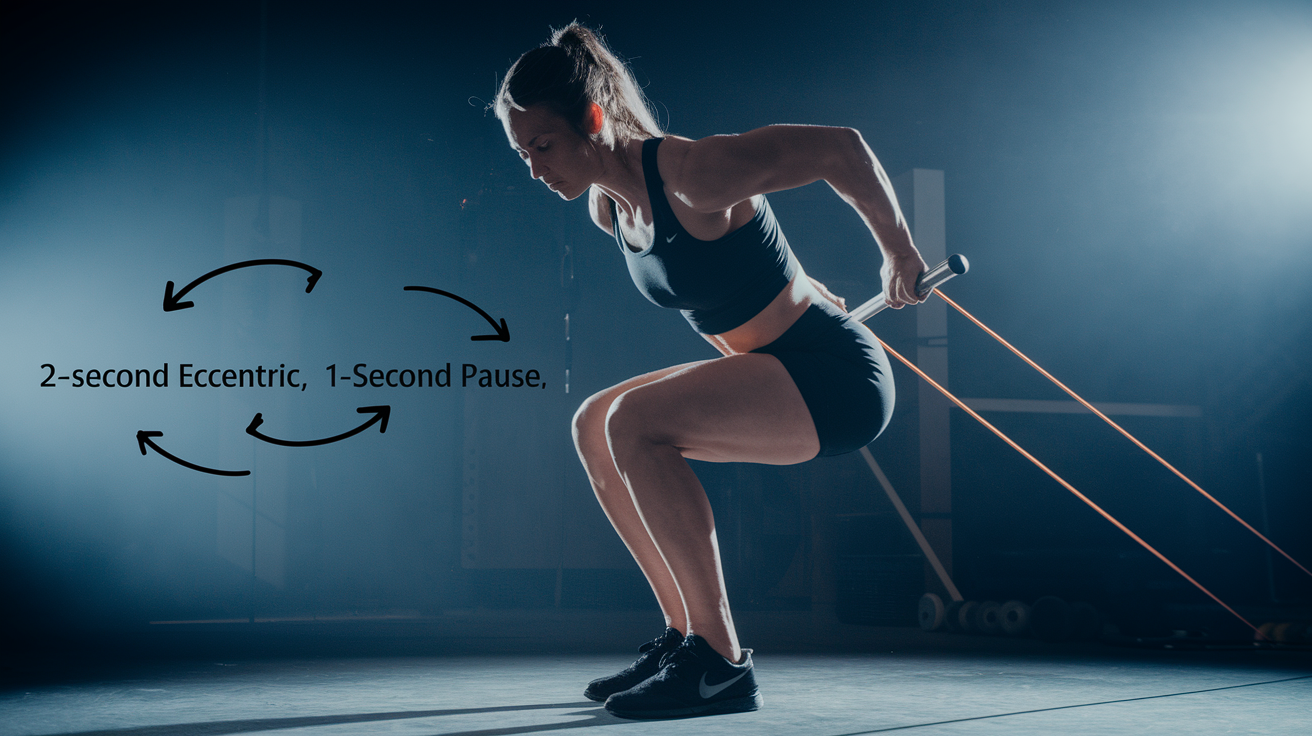
Control both phases. The stretch (eccentric) and the squeeze (concentric) both matter. Don’t let the band snap back. Lower slowly, press or pull with intent. A 2-second lower, 1-second squeeze tempo works for most moves.
No jerky motion. Bands reward smooth, deliberate reps. If you yank, you lose tension at the bottom and overstretch at the top. Keep constant tension through the full range.
Anchor the band with intent. If you’re stepping on a band, plant your foot flat and centered. If you’re anchoring to a door, check it before every set. A loose anchor turns a chest press into a face slap.
Breathe. Exhale on the hard part (the press, the pull), inhale on the return. Holding your breath under tension spikes blood pressure and makes you lightheaded.
Adjust resistance mid-set if needed. If a band feels wrong halfway through, stop. Shorten your grip, step closer, or swap bands. Better to reset than to grind through bad reps.
Use a mirror or record a set. Band tension hides some of the “weight” feedback you get from dumbbells. You might think you’re hitting depth on a squat when you’re cutting it short. A quick phone video will show you the truth.
Start every session with light activation. Do one set of 15 to 20 reps with a mini band or a light loop before the working sets. Banded glute bridges or lateral walks wake up stabilizers and prep connective tissue.
Don’t chase numbers. Band poundage is a rough guide, not a precise measurement. A “50 lb” band at full stretch might feel easier than a 30 lb dumbbell at the same point in the range. Track progress by reps, sets, and how hard the last few reps feel, not by the number printed on the band.
If you keep these principles tight, bands will build strength as reliably as any barbell. Lose them, and you’re just stretching rubber without results.
Five foundational exercises
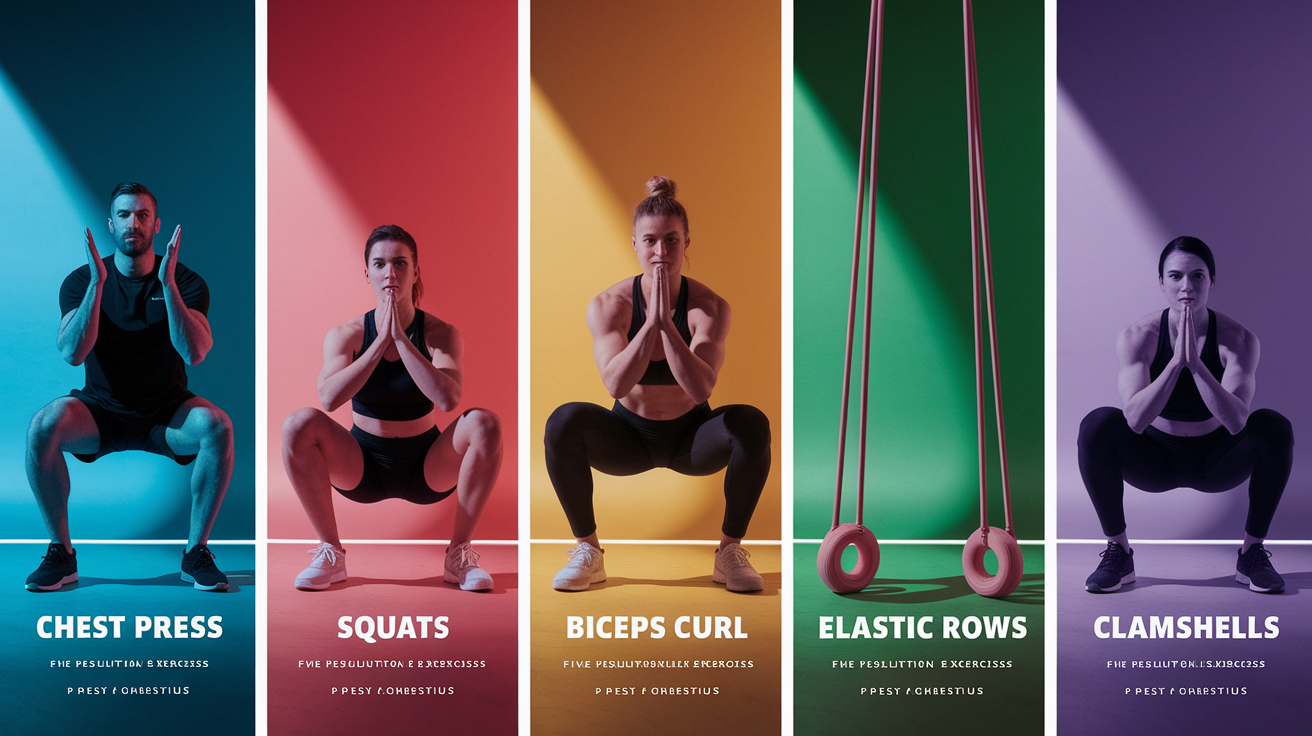
Chest press
Loop the band around a sturdy post or door anchor at mid-chest height. Hold one end in each hand, step forward until you feel tension, and stagger your feet for balance. Start with your hands at chest level, elbows bent about 90 degrees. Press both hands forward until your arms are almost straight, then return slowly to the start. Keep your core tight and don’t let your lower back arch.
Common mistake: letting the band pull your shoulders forward at the start. Pull your shoulder blades back and down before you press.
Squats
Stand on the center of a long loop band with feet shoulder-width apart. Bring the top of the band up to shoulder height. Either hold the loops in your hands at your shoulders or drape the band across the back of your neck (like a front-rack position). Sit back and down as if aiming for a chair, keeping your chest up and knees tracking over your toes. Drive through your heels to stand back up.
The band adds resistance as you stand, making the lockout harder than a bodyweight squat. If the band pulls you forward, widen your stance or use a lighter resistance.
Biceps curl
Step on the band with both feet, hip-width apart. Hold one end in each hand, arms straight, palms facing forward. Curl both hands toward your shoulders, keeping your elbows pinned at your sides. Squeeze at the top, then lower with control.
Don’t rock your torso or swing the band up. If you need momentum, the band is too heavy. A light or medium band works best here. Your biceps are small muscles and don’t need a ton of resistance to fatigue.
Elastic band rows
Anchor the band at waist height (door anchor or loop it around a post). Hold both ends and step back until your arms are fully extended in front of you. Pull both hands toward your ribcage, squeezing your shoulder blades together. Your elbows should travel straight back, not flare out to the sides. Pause, then extend your arms again.
This move hits your mid-back and rear delts. Keep your chest up and core braced. If you’re leaning back to finish the row, step closer to the anchor to reduce tension.
Clamshells
Lie on your side with a mini loop band around both thighs, just above your knees. Bend your hips and knees about 90 degrees, stacking your feet. Keep your feet together and lift your top knee as high as you can without rotating your hips or lower back. Lower slowly and repeat.
Clamshells activate your glute medius, a stabilizer that’s often weak and underused. Use a light band. This isn’t a strength move. It’s about control and feeling the right muscle work.
Sample routine from research
Perform 2 sets of 15 reps of each exercise, once per day, on at least 2 days per week. Rest 60 to 90 seconds between sets. Start with bands that let you complete all 15 reps with good form but make the last 3 reps challenging.
As you get stronger, progress by using a darker (higher-resistance) band, adding a third set, or increasing to 3 or 4 training days per week. The goal is consistent tension and gradual overload, not maxing out every session.
Programming for strength and progressive overload
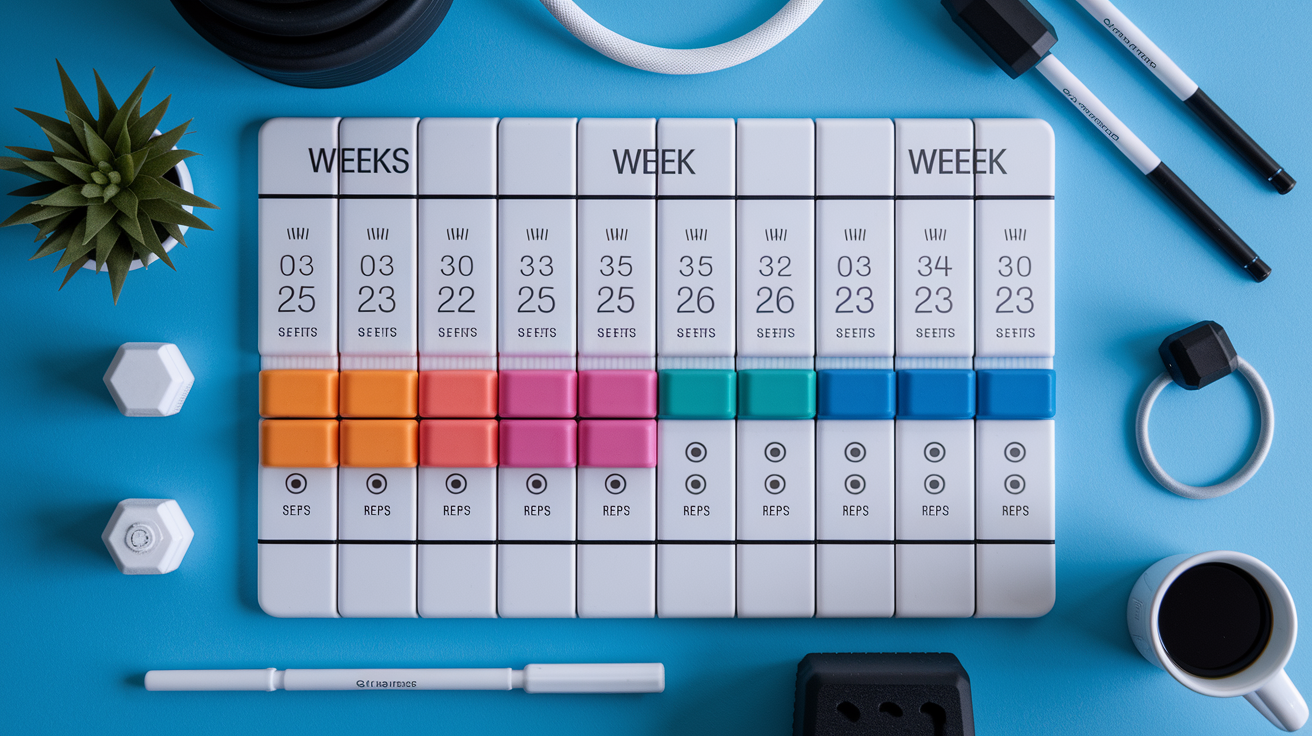
Muscle grows when you ask it to do more over time. With bands, you can’t just add a 5 lb plate. Instead, use these six methods to keep tension climbing.
Increase band tension. Swap to the next darker band. If green feels easy for 12 reps, move to black. If black is too hard for 8 reps, stay on green and add reps until you’re hitting 15, then switch.
Shorten the band. Step farther onto a loop band or choke up on your grip. A shorter band delivers more resistance at the same stretch length. This lets you progress without buying new bands.
Double up bands. Loop two bands together for a single exercise. A green plus a yellow gives you a custom resistance between green and black. Just make sure both bands are the same length so tension stays even.
Change anchor point or angle. Anchoring a band lower for a chest press shifts the resistance curve and challenges your muscles differently. Moving from a mid-anchor row to a high-anchor pulldown recruits different fibers. Small angle changes create new stimulus without new equipment.
Increase sets or reps. If 2 sets of 12 reps feels manageable, go to 3 sets. Once 3 sets of 12 is easy, push to 15 reps. When you’re hitting 3 sets of 15 with clean form, it’s time to increase band tension.
Tempo manipulation. Slow down the eccentric (lowering) phase to 3 or 4 seconds. Or add a 2-second pause at peak contraction. Time under tension builds strength even if the band resistance stays the same.
A simple 8-week progression might look like this:
- Weeks 1–2: 2 sets × 12 reps, medium band, 2 days/week
- Weeks 3–4: 3 sets × 12 reps, medium band, 2 days/week
- Weeks 5–6: 3 sets × 12 reps, medium band, 3 days/week
- Weeks 7–8: 3 sets × 12 reps, heavy band, 3 days/week
Track your sessions in a notebook or phone app. Write down which band color you used, how many reps you completed, and how the last set felt. If week 8 feels easier than week 1, you’ve gotten stronger.
For compound moves like squats and chest presses, heavier bands and lower reps (6 to 10) build max strength. For isolation moves like curls and clamshells, lighter bands and higher reps (12 to 20) work better. Mix both ranges across the week if your goal is general fitness.
Don’t jump resistance levels every week. Spend 2 to 4 weeks with the same setup, then change one variable. That consistency lets your body adapt and your technique stay clean.
Bands vs free weights: The practical comparison
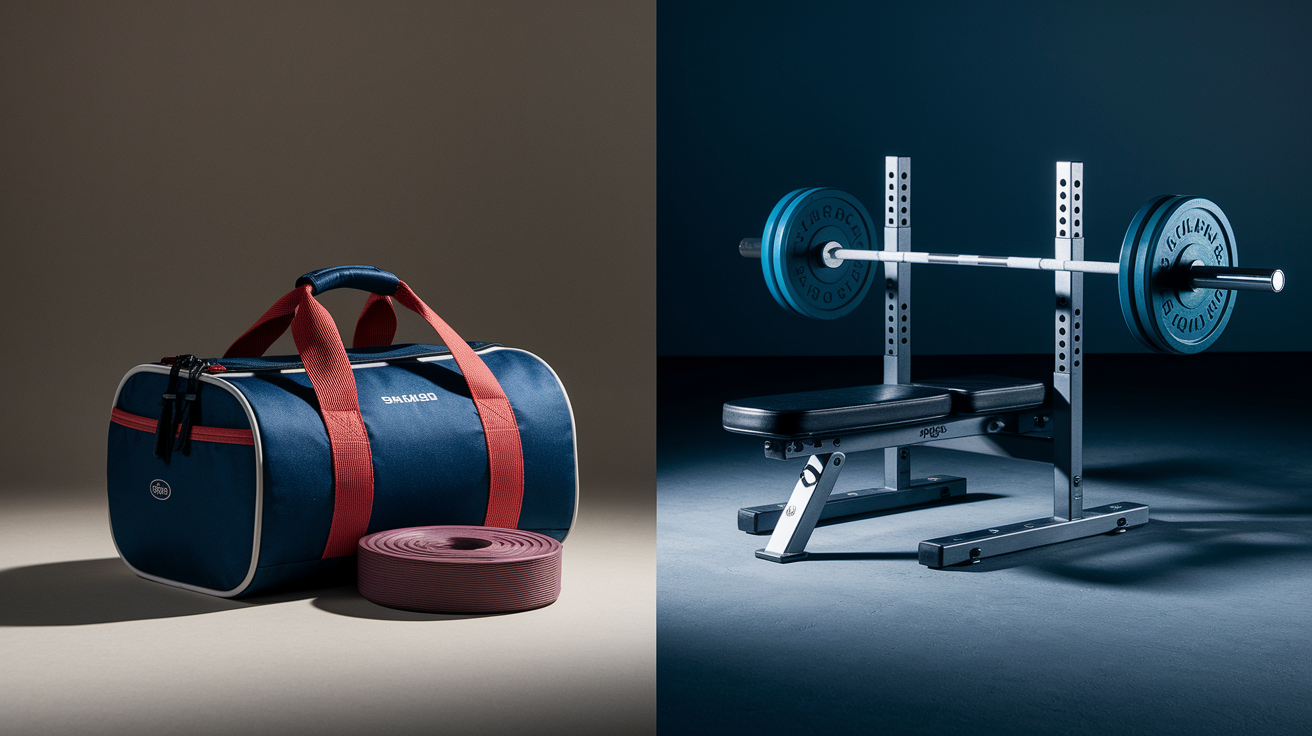
Strength gains. The 2019 study showed that resistance-band training produces strength improvements similar to conventional gym equipment. For most people, that means bands can replace dumbbells and machines without sacrificing results. If your goal is getting stronger, leaner, or more functional, bands work.
Tension profile. Free weights provide constant resistance. A 30 lb dumbbell weighs 30 lb at the bottom and top of a curl. Bands provide variable resistance: 5 lb at the start, 30 lb at peak stretch. That difference shifts where the exercise feels hardest.
Example: In a barbell squat, the bottom (the hole) is the hardest part. In a banded squat, the lockout at the top is hardest. This recruits muscle fibers differently and can break plateaus if you’ve stalled on traditional lifts.
Portability. A full band set weighs less than a single kettlebell and fits in a backpack. Free weights require racks, benches, and floor space. If you travel, work irregular hours, or train at home, bands win on convenience.
Feedback and feel. Dumbbells and barbells give you solid, predictable feedback. You know exactly how much you’re lifting at every point. Bands feel “softer” and less precise. Some lifters love that. Others find it frustrating. If you’re training for powerlifting or Olympic lifting, you’ll want barbells. If you’re training for health, fat loss, or general strength, bands deliver the stimulus you need.
Joint stress. Bands don’t compress your spine the way a loaded barbell does. There’s no drop risk. The elastic tension is gentler on connective tissue, which makes bands a good choice for rehab, older adults, and people with joint issues.
Cost. A quality band set costs $25 to $50. A barbell, rack, bench, and plates can run $500 to $1,500+. If budget matters, bands are the clear winner.
Progressive overload. With free weights, you add 5 or 10 lb plates in precise increments. With bands, you switch colors or combine bands. It’s less granular but still effective. You track progress by reps to failure, not exact poundage.
Range of motion. Bands let you apply resistance in any direction: lateral, rotational, diagonal. Free weights are limited by gravity. That makes bands versatile for sport-specific training, rehab, and accessory work.
Practical trade-offs. If you want to build max strength for a specific barbell lift (squat, deadlift, bench), you need a barbell. Bands can supplement, but they won’t teach the exact motor pattern. If your goals are fat loss, muscle tone, injury prevention, or staying strong while traveling, bands can be your primary tool.
Many lifters use both. Barbell for heavy compounds, bands for warm-ups, accessory work, and deload weeks. That hybrid approach takes advantage of each tool’s strengths.
Sample routines and replacement timeline
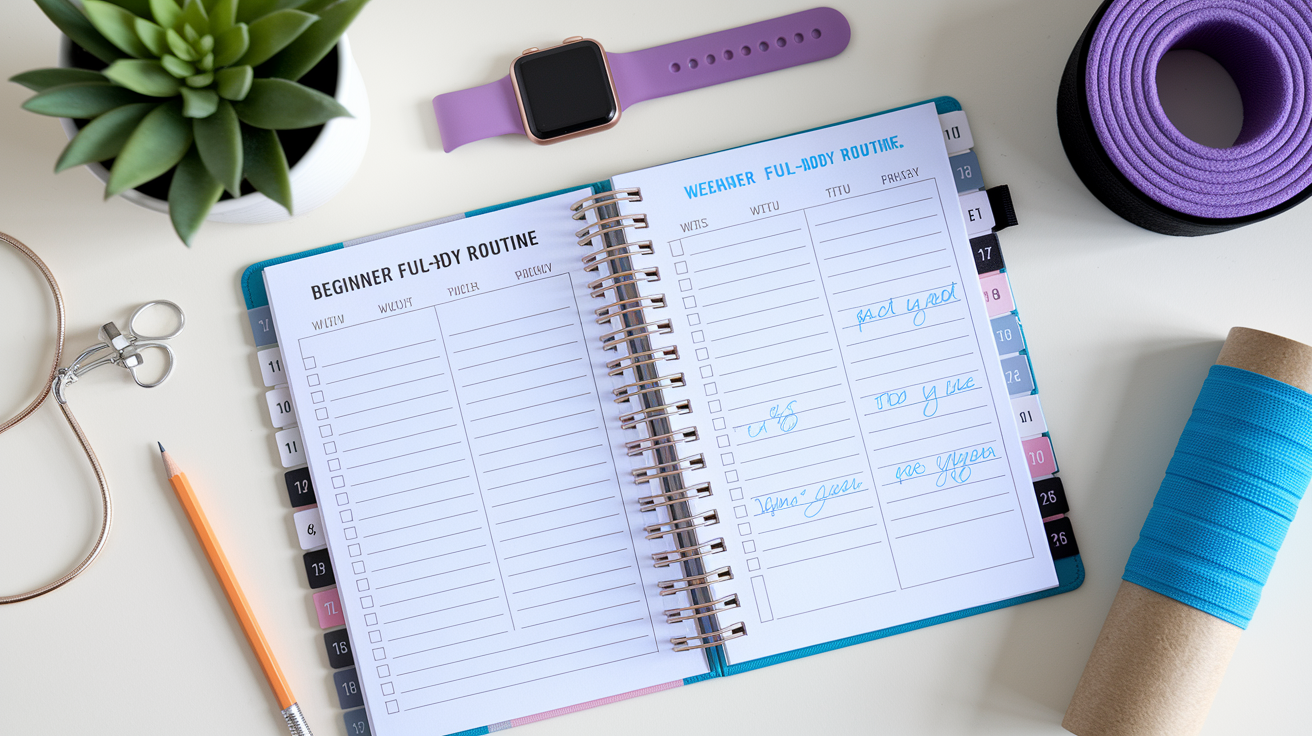
Beginner full-body routine (2 days/week)
- Banded squats: 2 sets × 15 reps (medium band)
- Chest press: 2 sets × 12 reps (medium band)
- Elastic band rows: 2 sets × 12 reps (medium band)
- Biceps curl: 2 sets × 15 reps (light band)
- Clamshells: 2 sets × 20 reps per side (mini band)
Rest 60 to 90 seconds between sets. Perform this routine on non-consecutive days (Monday/Thursday or Tuesday/Friday). After 4 weeks, add a third day or increase to 3 sets per exercise.
Intermediate split (3 days/week)
Day 1: Lower body
- Banded front squats: 3 sets × 10 reps (heavy band)
- Glute bridges: 3 sets × 15 reps (heavy band, 20–30 second hold on last rep)
- Split squats: 3 sets × 10 reps per leg (medium band)
- Lateral band walks: 2 sets × 10 steps each direction (mini band)
Day 2: Upper body push
- Chest press: 3 sets × 10 reps (heavy band)
- Single-arm overhead press: 3 sets × 12 reps per arm (medium band)
- Single-arm triceps extension: 3 sets × 15 reps per arm (light band)
Day 3: Upper body pull + core
- Elastic band rows: 3 sets × 12 reps (heavy band)
- Resistance band pull-apart: 3 sets × 20 reps (light band)
- Wood chop: 3 sets × 12 reps per side (medium band)
- Hip flexor-resisted crunch: 3 sets × 15 reps (mini band)
Rest 90 seconds between sets. Progress by adding reps, adding a fourth set, or increasing band resistance every 3 to 4 weeks.
Advanced progression options
- Tempo squats: 4-second lower, 1-second pause, explosive stand (medium or heavy band, 3 sets × 8 reps)
- Banded push-ups: Drape a band across your upper back, anchor ends under your hands. The band makes the top harder (3 sets × max reps)
- Offset squats: Step on one end of the band with your left foot, hold the other end at your right shoulder. Squat. This creates rotational resistance and challenges your core (3 sets × 10 reps per side)
- Band-resisted sprints: Loop a band around your waist, anchor it behind you, sprint forward against resistance for 10 to 20 yards (6 to 8 sprints, full recovery between)
When to replace bands
Inspect bands before every session. Replace immediately if you see:
- Tears, nicks, or cuts (even small ones)
- Chalky white discoloration on black or dark bands
- Thin spots or uneven thickness
- Stiffness or brittleness (band doesn’t snap back smoothly)
Even with perfect care, latex degrades over time. Expect to replace heavily used bands every 6 to 12 months. Bands used 2 to 3 times per week in a climate-controlled space can last 12 to 18 months. Bands stored in a hot car or used outdoors in sun/cold degrade faster. Replace every 3 to 6 months.
Mini bands and light therapy bands wear out faster than heavy-duty loop bands because they’re thinner. If you’re using a mini band daily for warm-ups, plan to replace it every 6 months.
Buy replacements before your current set fails. Keep one backup band in each resistance level so you’re never stuck mid-program.
FAQ
How long do resistance bands last?
With proper care, 6 to 18 months. Bands degrade faster in heat, sunlight, and cold. Store them indoors in a cool, dry place. Wipe them down after sweaty sessions. Avoid leaving them stretched or knotted between workouts.
What are the signs I need to replace a band?
Look for tears, nicks, thin spots, or white chalky patches on dark bands. If a band feels stiff, brittle, or doesn’t snap back smoothly, retire it. If you see any damage, replace the band before your next session. A snapped band can whip back hard enough to bruise or cut skin.
Can resistance bands build serious muscle?
Yes. The 2019 study showed strength gains equivalent to free weights. The 2022 review found bands reduced body fat better than other training modes in people with overweight. Muscle grows in response to tension and progressive overload. Bands deliver both. If you’re training to failure, increasing resistance over time, and eating enough protein, you’ll build muscle.
Do I need multiple resistance levels?
Yes. Your quads can handle more tension than your biceps. A heavy band for squats will be too hard for curls. A light band for curls will be too easy for squats. A set with at least three levels (light, medium, heavy) lets you match resistance to the exercise. Most people end up using 4 to 6 different bands across a full program.
Can I use bands if I have a latex allergy?
Yes. Look for bands made from TPE (thermoplastic elastomer) or fabric-covered resistance bands labeled latex-free. They cost a bit more but work the same way.
Are tube bands better than loop bands?
Neither is better. They’re different. Tube bands with handles feel more like cable machines and are comfortable for presses and rows. Loop bands are more versatile for lower-body work, stretching, and anchoring. Many people own both. If you’re buying one set, start with flat loop bands. They cover more exercises.
How tight should a band feel at the start of a rep?
You should feel light tension with no slack. If the band is loose, step farther from the anchor or shorten your grip. If there’s slack, the band can snap tight suddenly and jerk your joints.
Can bands replace a gym membership?
For most goals (fat loss, general strength, muscle tone, staying active), yes. Bands plus bodyweight exercises cover all major movement patterns. If you’re training for a specific barbell lift (powerlifting, Olympic lifting) or need very heavy loads, you’ll want access to a barbell. But for health and fitness, a $30 band set and consistency beat an unused $50/month gym card.
What’s the best way to track progress with bands?
Write down which color band you used, how many sets and reps you completed, and how hard the last set felt. When you can hit the top of your rep range (say, 15 reps) with good form for all sets, increase the resistance. Progress happens when the last 1 to 3 reps feel hard but doable.
Why do some bands list a range like “20 to 60 lb”?
Because resistance increases as you stretch the band. At minimal stretch, the band might provide 20 lb of tension. At full stretch, it provides 60 lb. That’s different from a dumbbell, which weighs the same at every point. Use the range as a reference, not an exact match to free weights.
Can I combine bands for more resistance?
Yes. Loop two bands together or hold two in the same hand. Just make sure both bands are the same length so tension stays even. This is a quick way to progress without buying new bands.
Do bands work for building strength after 50?
Absolutely. Bands are low-impact, scalable, and joint-friendly. Research shows band training improves balance, mobility, and gait function, important for older adults. Start with light resistance, focus on form, and progress slowly. Bands let you train safely at home without the intimidation or injury risk of heavy free weights.
Final Words
Send the full outline now: start with “Here is the full outline:” then paste your real H2 sections and notes so the editor can apply changes.
We couldn’t update anything because the outline wasn’t an actual outline. The article showed what a proper outline looks like and gave the exact text to send so we can move forward.
Once you provide that, we’ll shape the plan: workouts, sets, progress cues, even resistance bands for strength training, to fit your week. Ready when you are.
FAQ
Q: Are resistance bands good for strength training?
A: Resistance bands are good for strength training because they add progressive tension, build muscle, and improve movement patterns; use varied band strengths, 8–12 reps, and controlled form for best results.
Q: Can resistance training improve bone density?
A: Resistance training can improve bone density by loading bones, which signals them to strengthen; aim for weight-bearing or band exercises 2–3 times weekly and gradually increase intensity.
Q: Can resistance bands help rotator cuffs?
A: Resistance bands can help rotator cuff rehab by providing low-load, controlled movements to strengthen shoulder stabilizers; use light bands, slow reps, pain-free range, and follow a physical therapist plan.
Q: Can resistance bands help with arthritis?
A: Resistance bands can help with arthritis by improving joint mobility, muscle support, and pain control; choose light resistance, short sets, and focus on pain-free range, adjusting during flare-ups.